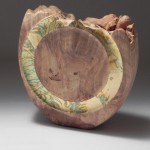
I have seen turnings done using combinations of centers much like the process I’ll describe here but not with this result. The final product is a combination of multi-center turning and hollow turning.
I always check the “dollar bin” at my wood supplier in the off chance there is a gem worth picking up. Of course I always find something. Not long ago I found some off-cut slabs from a burl with a natural edge and a lovely line between new and older wood. The shape of the piece worked for a small bowl but the grain direction was all wrong. I had no idea what I would get out of them but I knew I would find something. After sitting on my bench for a while it hit me one day what I could make from them. The process would involve turning a lot of air, so the lessons learned from Mark Sfirri were going to be very valuable.
The process
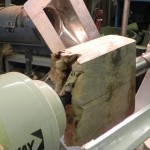
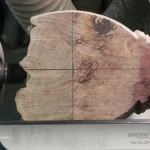
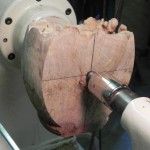
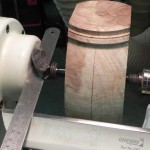
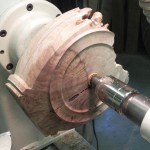
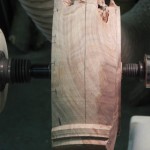
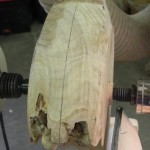
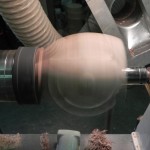
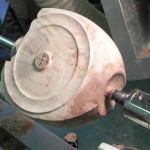
I tested my idea on a piece of scrap (yet another piece from the dollar bin) and came up with a process. I have included a series of photos below so that it is easier to follow the process. The first order of business was to make a vase shape by turning it between centers as shown. After getting a suitable vase shape in profile I needed to give it some curved sides so turned it between centers laterally. Choosing the height of that center seemed critical so I chose the same height as the wide spot on the vertical axis. That seemed to make sense and in the end was clearly the right choice. This was somewhat tricky since I wanted both sides to have a symmetrical curve and accurately marked vertical and horizontal centers was the key. There was also the issue of balance since the lateral center chosen was anything but the center of the height of the piece. Although it seemed horribly out of whack it wasn’t too bad since the shape gave it almost equal mass both sides of the center; I was able to get it up to about 900 rpm which was quite suitable.
Turning the first side was a cinch. At first it seemed the second side was going to be difficult, but as often is the case, the solution appears just when it is needed. I had drawn center lines everywhere including on the vertical turned faces. By stepping off the distance on both sides of center using dividers to measure the completed side I was able to make a series of dots along the uncompleted side making a mirror image of the first side. By simply stopping the lathe after each pass to check my progress, I was able to replicate the first side. It became evident through the process that accurately marked centers were of utmost importance when a symmetrical shape is the goal. It did occur to me however, that if one wished, there is no reason the whole thing couldn’t be asymmetrical, producing a whole other look.
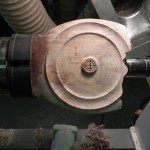
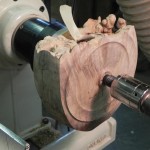
The piece looked and felt top heavy and considering that most people presented with a vase shape would expect to see some sort of a hollow interior, I decided to hollow it. Obviously I couldn’t follow the profile form without cutting it in half, so I hollowed it using the curved sides as a guide. This lightened the top and added a little interest in general. Once hollowed I was able to turn the base using the mandrel that I use to turn the base on my hollow forms. By turning a concave base I was able to replicate the curve theme giving it a nice curve on the bottom as well as a bit of lift to give it a lighter look overall.
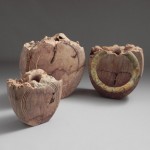
I was so pleased with the result that the last time I was at the supplier I rummaged deep into the dollar bin again and came up with several more gems – obviously from the same burl! Clearly no one else had seen the potential. It’s a good thing I found some more because these three have been added to the “That’s not leaving the house” series. 🙂
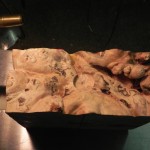
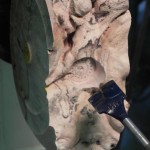
- Natural edge spot drilled for center
- Mounted between centers for turning profile
- Vertical center line drawn
- Vertical center established
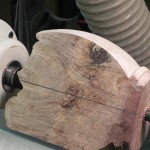
- Mounted on lateral centers
- Center established using headstock for reference
- First face turned
- Take offs established using center line
- Second side turned to take off marks.
- Chuck mount for hollowing
- Center confirmed
- Boring prior to hollowing
- Concave bottom produces a graceful curve at the foot
- Vacuum mounted to finish turn faces. Tape is used to seal bark inclusion.
- Three variations on the theme
As always, I encourage your comments and questions, so please refer to the tag line at the bottom of the article to post a comment.

