I was approved several months ago for a personal showing at the Circle Craft Gallery in November 2012. I never dreamed that I would be accepted but just in case, I made sure that I applied for a time slot quite a while in the future so I had time to prepare. The month before Christmas wasn’t a bad choice either. 🙂 Fortunately, in the mean time the store has been renovated making the Gallery much more prominent as well as making it obvious the space is a gallery rather than an odd corner of the store.
Even though I applied for the gallery spot, I had no idea what having a show entailed or what my expectations should be. After seeing a few showings it occurred to me that it could be anything that I wanted. I decided to make it an opportunity to not only challenge myself, but challenge the average person’s understanding of wood turning as an art form.
My work in general is a challenge to the established view of what wood turnings should be. The bold colours that I use and the fact that my work is almost exclusively “non functional” by most standards (I believe that pleasing the eye is a “function”) is a start. The thought that I should have a theme for my show never occurred to me until I was asked to put something in the monthly Circle Craft newsletter about my show: title and artist’s statement. If I had a title I needed a theme. Since my outlook is generally one of challenging the norm, I felt that everything that I would put in the show would be as far from what the accepted idea of woodturning could be. What better title than “Thinking Outside the Circle”?
A perfect theme for me and with the time I have to prepare, I believe I can pull it off. Obviously all items will have at least one turned element or part of a turned element. I have plans for a couple of things that will not look turned at all and still others that will be clear they are turned, yet otherwise depart from the norm in some way.
I hope to incorporate multi-centered turning, textured surfaces, colour – of course – that will include outright painting, deconstructed and reconstructed pieces but most of all I want to produce pieces that live on the wall rather than the shelf. I suddenly realized that I had become very limited by the place that turnings were expected to be displayed. I have also come to understand that there those people who don’t consider something is art unless it hangs on the wall.
I have been turning for what seems like a lifetime – and it almost has been that long. Only recently have I been producing work worthy of display and sale in a gallery but already I feel like I need to move on. This will be my opportunity to engage the abstract, completely alter my perspective and let ideas take me where they will.
Sounds pretty lofty, but I’m up for it. I have several pieces planned and have started working on those that I feel will be the most time consuming. I feel refreshed already.
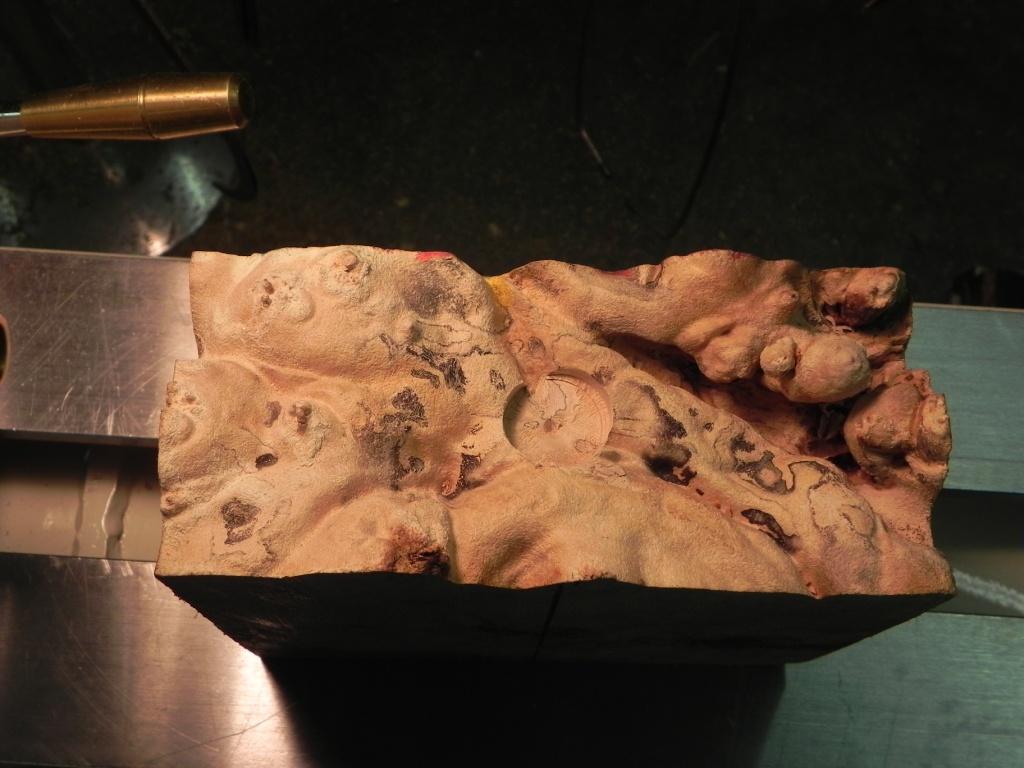
And yes, all that wood I have been buying will come in very handy. Thank you , Rocco.
As always, I encourage your comments and questions, so please refer to the tag line at the bottom of the article to post a comment.