
Originally written by Ed for Craftsy as “Helpful Tips for mounting Work in a Chuck on a Lathe”.
Chucks are one of the handiest ways of holding work on the lathe. There are a few types of chucks but the most common and versatile are the 4-jaw, self-centering chucks. Let’s talk about things to be aware of in general use and ways of taking advantage of that versatility.
Types of chucks: variations on the theme
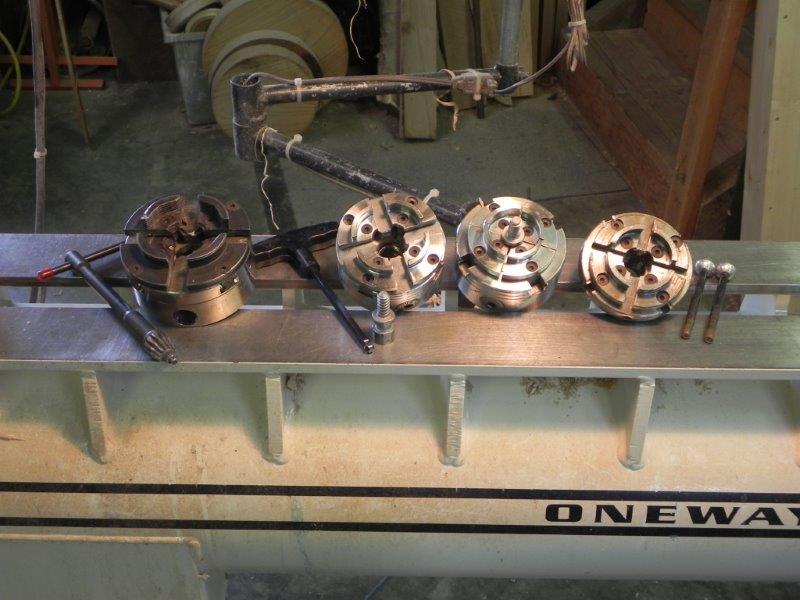
In the photo above you will see that chucks are opened and closed in two ways: two “tommy bars” or a single chuck key or chuck wrench. The tommy bar chucks on the right are less expensive but still hold smaller work very well. Keyed chucks are easier to operate because you use one hand to tighten them but more importantly they can be tightened more securely. The jaws move in and out by rotating a “scroll” plate with the tommy bars or through a gear operated by the key.Keyed chucks vary in size, ranging from very small to large, covering most work for the average turner. Very large or irregularly shaped work pieces require a faceplate, held to the work with strong screws, so chucks do have their limitations.
The jaws are able to hold work by clamping externally on a tenon on the work piece, expanding internally into a recess in the work piece or screwing the worm screw into a hole drilled into the work piece. The worm screw is held by the jaws. Be sure to read the manufacturer’s instructions to insert the screw into the chuck properly.
By the way never, never, never leave tommy bars or a chuck wrench in the chuck unless you are actually using them. You haven’t lived until you’ve seen a chuck wrench go through a block wall when the lathe is turned on inadvertently.
Holding work with a screw chuck
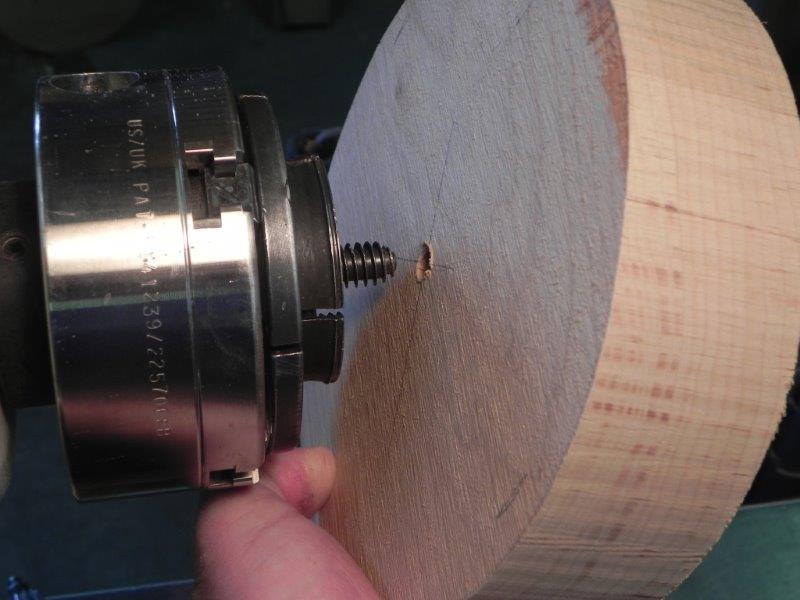
The screw chuck is usually used at the start of a project to hold the work to make either a tenon or recess for the jaws. When using any chuck, it is always wise to use the tail stock for added support when possible, but it is highly advisable when using a screw chuck. A screw chuck does not have enough holding power by itself for anything other than a very small piece.
To use the screw, first drill a hole in the work to accommodate the diameter of the screw shank. This hole will be turned away in the finished product because it is typically made in the top of the piece.
Creating and using a tenon to hold the work
Note that this piece is a demonstration only — typically the tenon is associated with the bottom of the bowl.
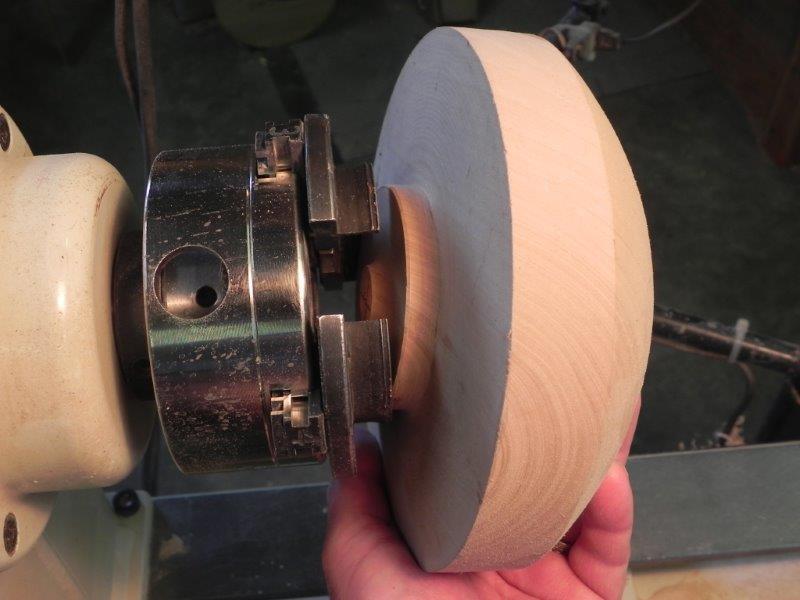
The jaws hold the tenon by clamping it tightly but the jaw faces provide the most security by resisting lateral forces, so the wood immediately adjacent to the tenon must be square and flat. If anything, the bearing surface could be slightly concave so that the outer diameter of the jaw faces can bear against the wood. Further, the tenon should not bottom out inside the jaws to ensure that the face of the wood bears on the jaw faces.
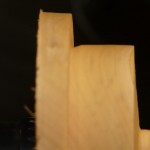
The difference between a cut and scraped surface can affect the security and accuracy of the piece.
The tenon surface should be cut, not scraped. A scraped surface has soft spots that will cause uneven clamping. The shape of the tenon should reflect the profile of the jaws rather than expecting the jaws to crush into the wood. The tenon on the left below is cut to fit a Nova chuck while the tenon on the right below is cut to fit a Oneway chuck. Others may vary. The objective is to hold the work square and true and you should do everything you can to make that possible.

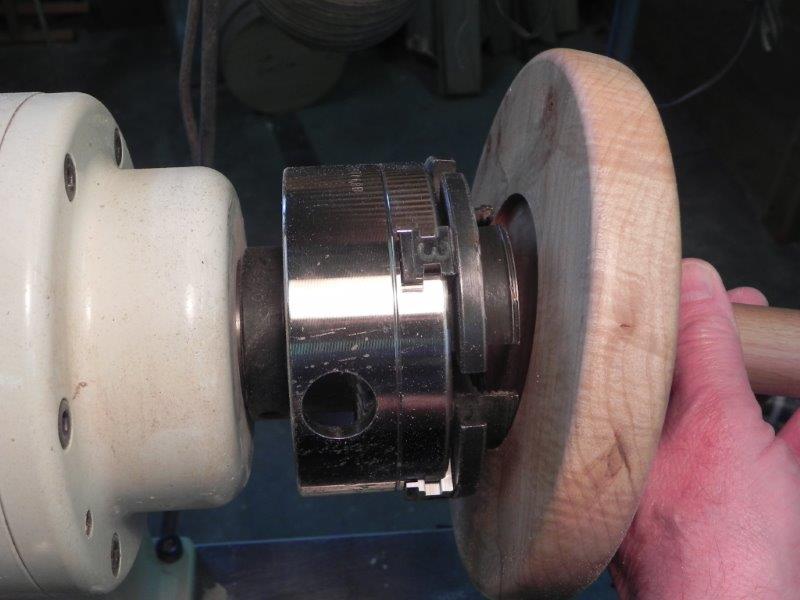
When mounting the work in the chuck, bring the tail stock up to hold the work tightly against the jaw faces. Holding the piece only with your hand is never as firm or as square.
The tenon is usually on the bottom of the piece and is created at the same time as turning the external profile of the piece. If you design your piece accordingly, the tenon can be worked into the foot.
Creating and using a recess to hold the work
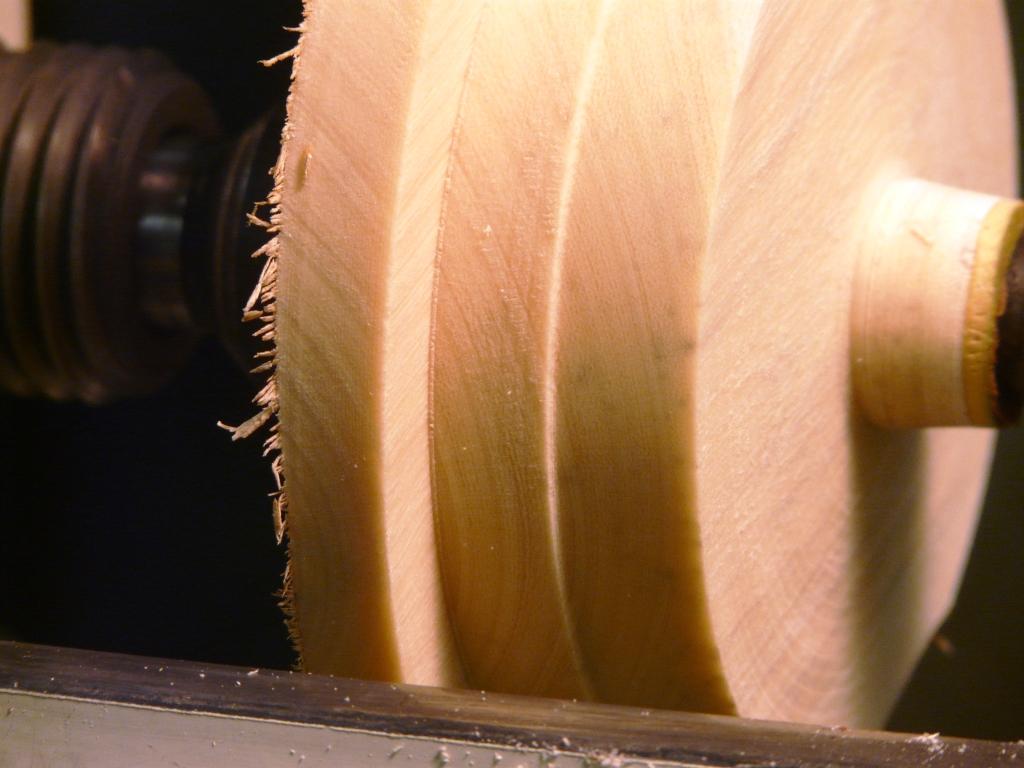
The jaws expand into the recess to hold the work and like the tenon, the jaw faces resist lateral forces so it is important that they bear squarely against the wood surface in the recess. Wood is not strong in tension so there should be adequate wood surrounding the recess area so that the wood doesn’t break from the outward force of the jaws. Like the tenon, all surfaces should be cleanly cut rather than scraped to eliminate weak surface areas. Some tool companies sell scrapers for creating recesses. Save your money, cut them cleanly with a gouge and hold your work better.
When mounting the piece, just like the tenon, hold the work against the jaws with the tailstock to ensure it is firmly and squarely held against the jaws while tightening.
Often turners work the recess into their design by adding a couple of rings, other decorative work or turn them away completely to make them appear to be part of the piece rather than part of the process.
So why buy a chuck?
Chucks are a bit pricey, for sure. Their big advantages are ease of use and versatility. Even though your may be able to mount a piece in the lathe in some other way, it can take almost as long to create that holding device(s) as it does to turn your whole piece. Not only that, faceplates — the main alternative for work holding — typically limit your design opportunities simply because they limit the diameter at the mounting point. Since turners often have only an evening or an afternoon to be at the lathe, using a chuck will make that time far more enjoyable.