
Originally written by Ed for Crafsty as “Pommel Cuts: The Shapes of Things to Come”.
A pommel cut on a spindle is the transition between a straight-sided pommel (usually square) to the round or turned portion of the piece.
The stock is typically square but other geometric shapes may occur depending on the design of the work it will be attached to. For instance, an eight-sided table may have octagonal-shaped pommels at the tops of the legs. Besides providing a strong, flat thrust face, the straight portion of the spindle or leg facilitates a much more easily constructed joint, so the pommel is a necessary part of the spindle.
As always, woodworking design influences shape so there are as many basic shapes of pommel cuts as the imagination will allow.
Let’s discuss the cutting techniques as well as the tools used to make some of those shapes.
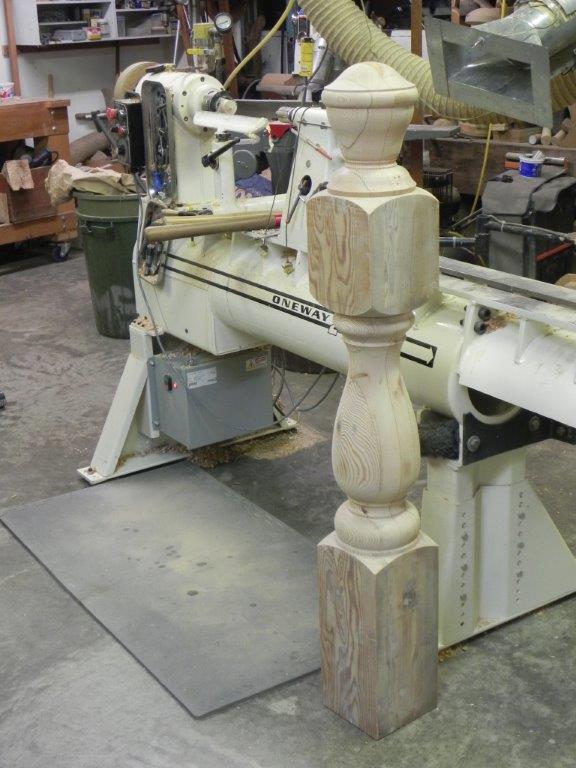
The square pommels on this stair newel post are required to anchor the post itself and the railing to the post. The pommel cuts are simple quarter beads.
Proper cutting technique — no different than any other cut used in woodturning — produces a clean, crisp edge that may seem difficult, but is not. The proper cutting technique is using the bevel as a guide or “rubbing the bevel.” In this way, you can produce square or angled cuts, quarter or half beads, lamb’s tongues, tapers, long curves or any shape you may desire. You will be surprised just how easy it is.
Mark the piece with a starting point and end point on the face of one of the sides. When the blank is rotating, it will appear as if all sides are marked. Make a cut with a gouge or skew at the “finish” end of the cut that reaches down to the full diameter of the wood.
If a sizing cut is required with a parting tool, remove enough waste so it can be made on a full round portion rather than tearing the wood on the square portion. The start and finish points are now defined.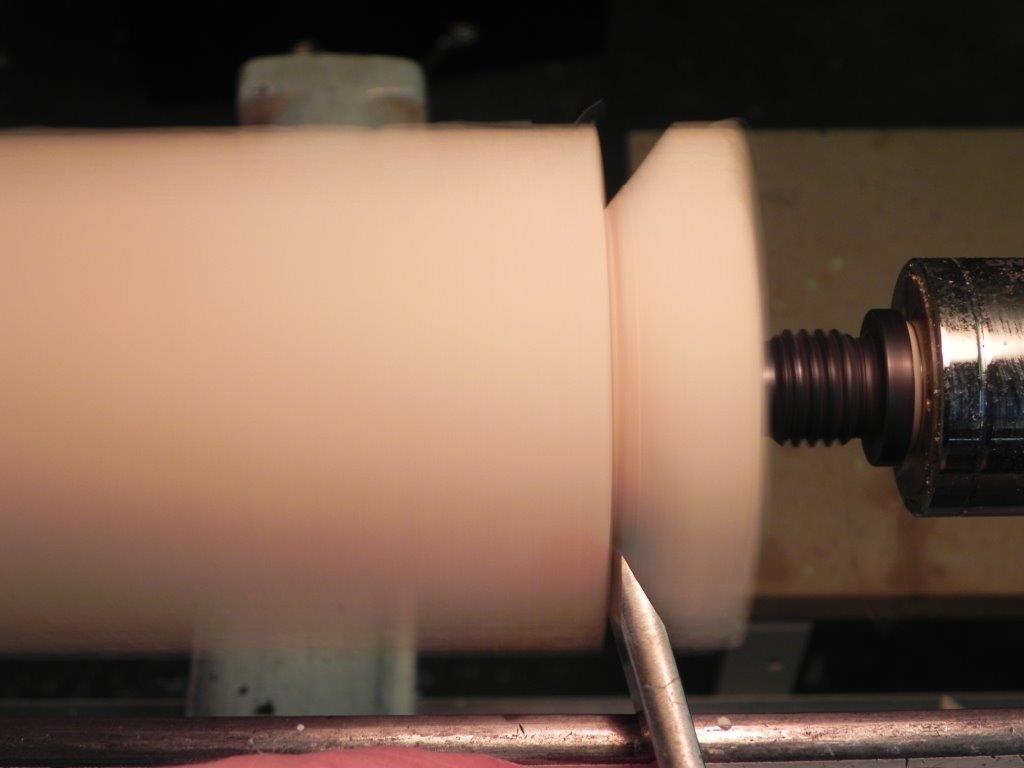
Note the side of the skew is aligned square to the center line, keeping the bevel on the wood being cut. This will require three or four passes to reach the final depth.
Place yourself so that you can see the ghost of the “diameter” of the square as it is rotating near the tool rest. In this way, you can treat the square portion as if it were round. Make a rough cut or at least a marking cut so that it is easier to see where to start the finish cut. Perform the particular cut (half bead, taper cut, etc.) so that the cut ends at the finish diameter.
Obviously at the start of the cut, you will be cutting mostly air, so not a lot of wood to register the bevel. More care is required at this point, but it gets better almost instantly. If you have been rubbing the bevel on the work, the cut will be clean enough that it won’t require sanding. This is an extremely difficult place to sand so it’s worth practicing this technique.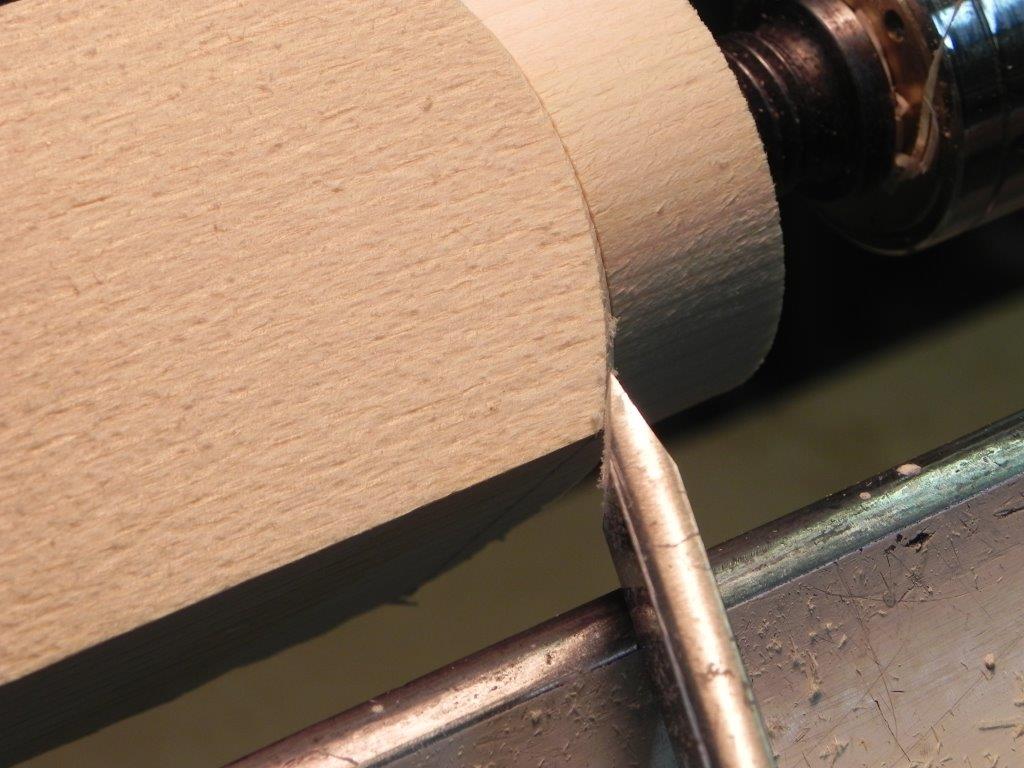
This photo shows the diameter of the spindle turned prior to the pommel cut and the bevel of the skew against the wood. This cut can be made with a gouge or either the heel or toe of the skew, which ever you are the most comfortable with.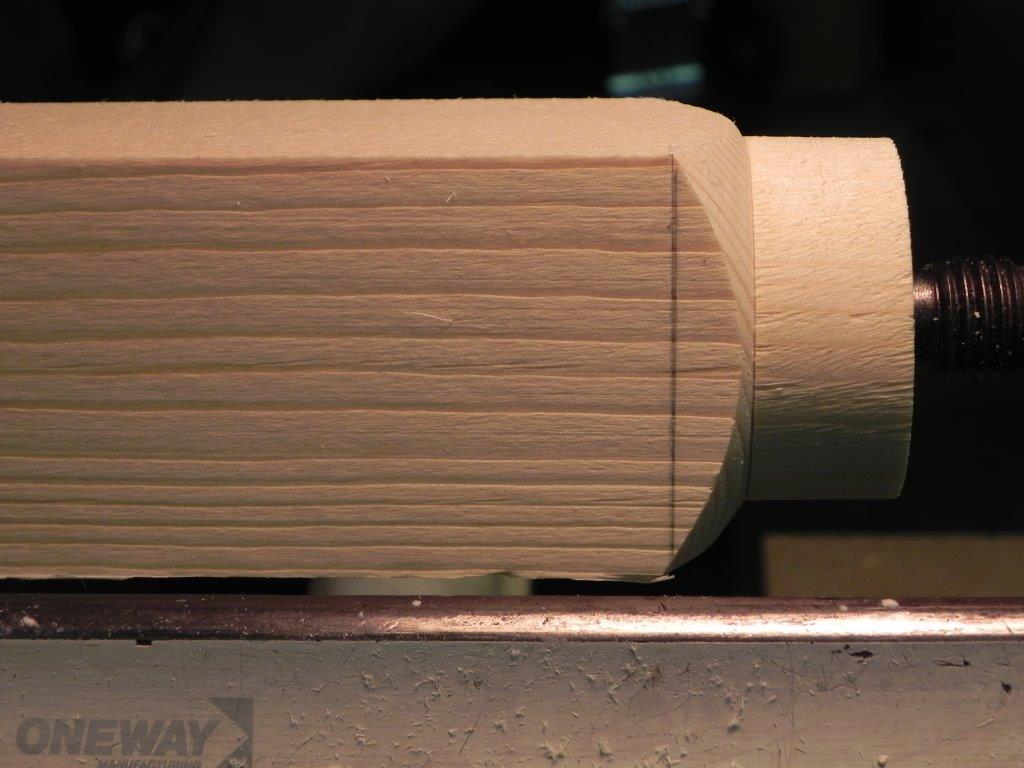
The completed cut. Note the starting point, end point and how cleanly the cut has been made. No sanding is required.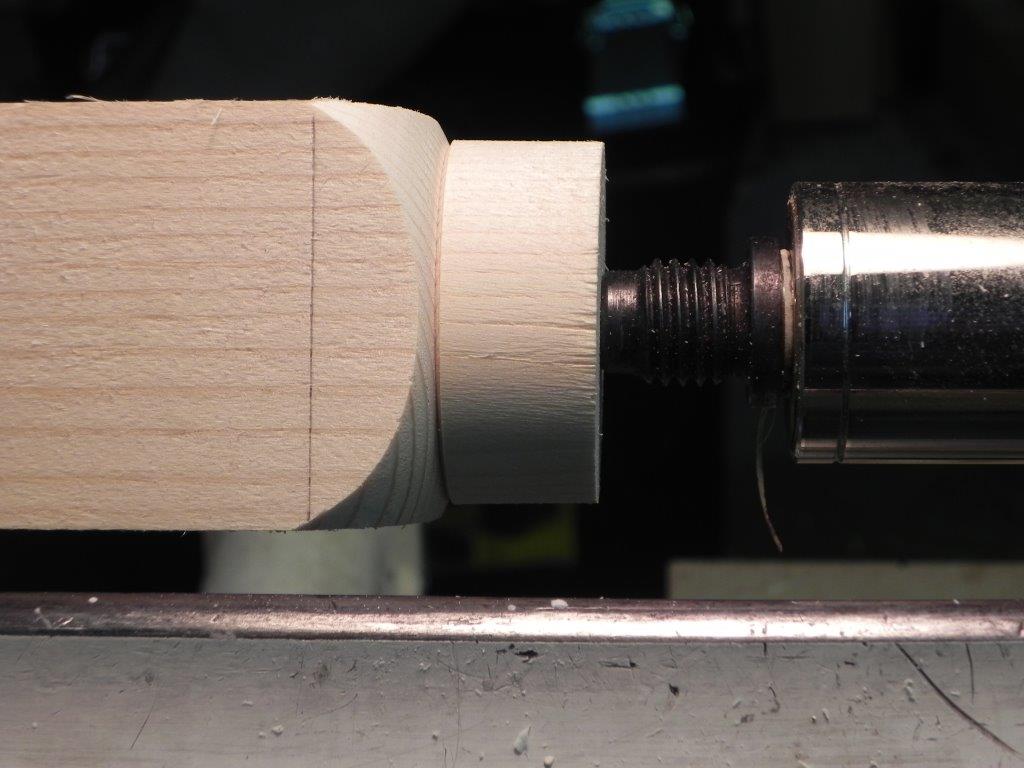
This half bead is very similar to the quarter bead.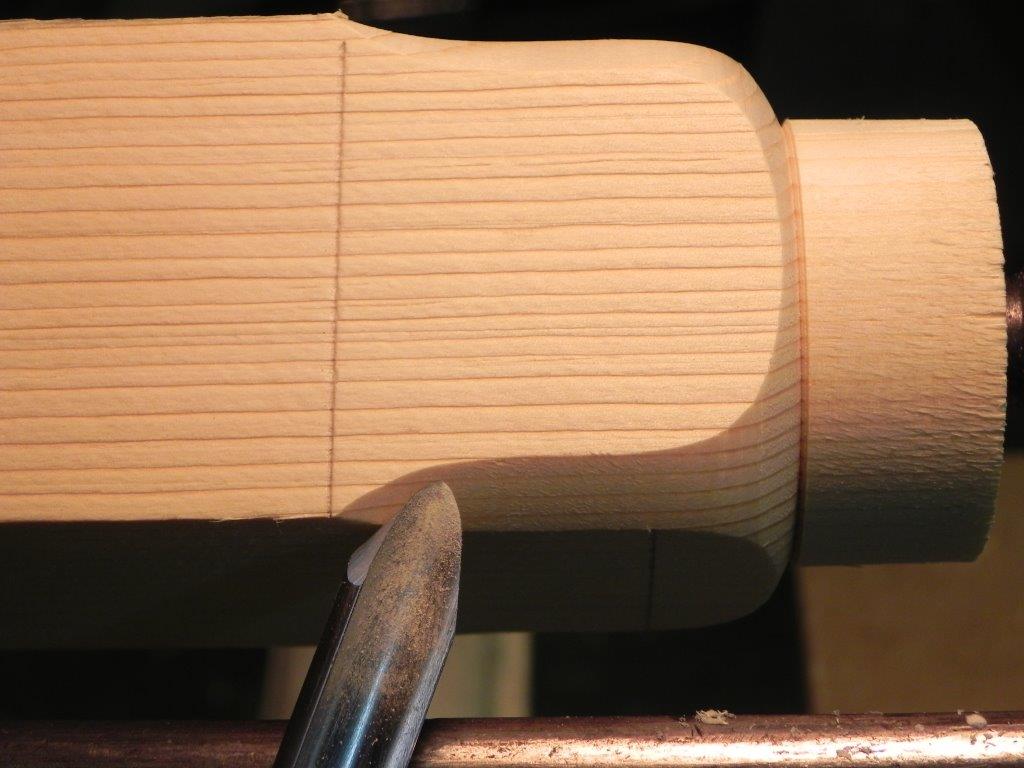
A lamb’s tongue can only be cut with a gouge. The radii of the cove and bead significantly affect the resulting shape on the flat of the pommel so care must be used in making these cuts. It is possible to cut a pattern and mark that on one flat so you have a shape to work to. This cut can be made even more elaborate with a smooth transfer between a cove and bead (rather than straight) before reaching the finished diameter. Again, no sanding is required.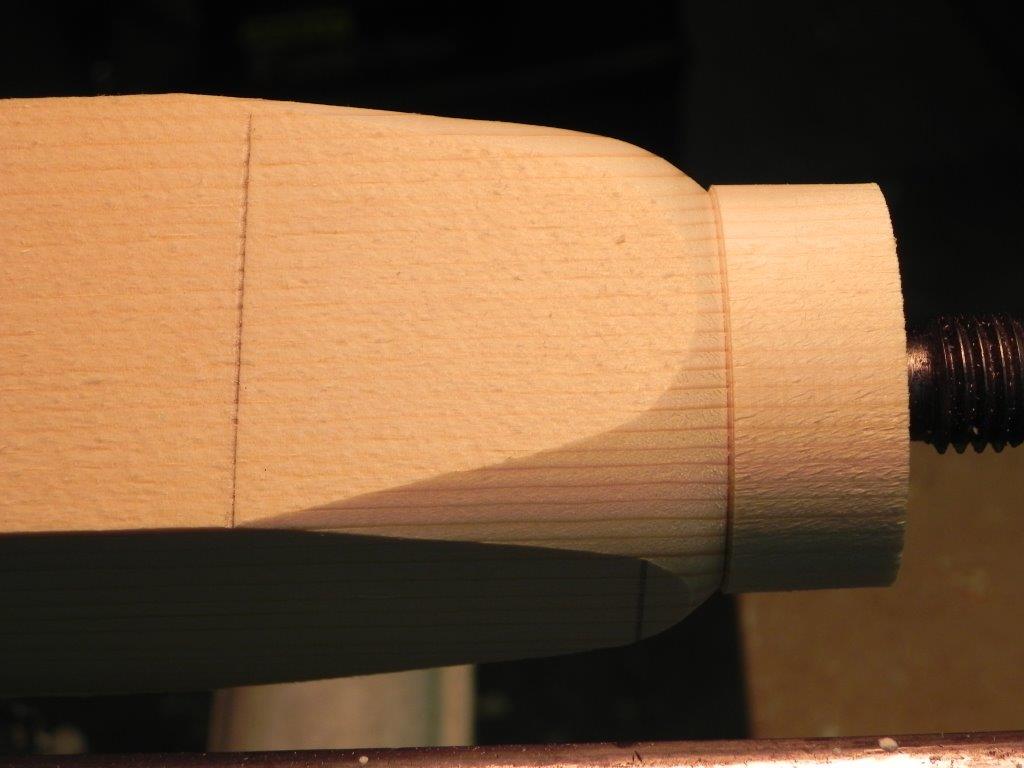
This is not a “standard” pommel cut, but perhaps something that will fit the bill in come cases. Note that the corners of the cut are different lengths. This is due to a poorly marked center, warped stock or stock that is not square (the latter in this case). The longer the pommel cut, the more critical this is.