Originally written by Ed for Crafsty as “Turn Better Bowls: How to Make a Bowl with Legs”
In my last post I pointed out a few design considerations for turned forms. One primary consideration was that bowls will appear much lighter if the curve profile appeared to complete itself above, on or slightly below the surface upon which it sits. The bowl will have a lighter appearance if it does not have an overly wide base relative to the diameter of the bowl. I turn a series of forms which I call “Zen Candles” that present a problem as far as the required diameter of the base.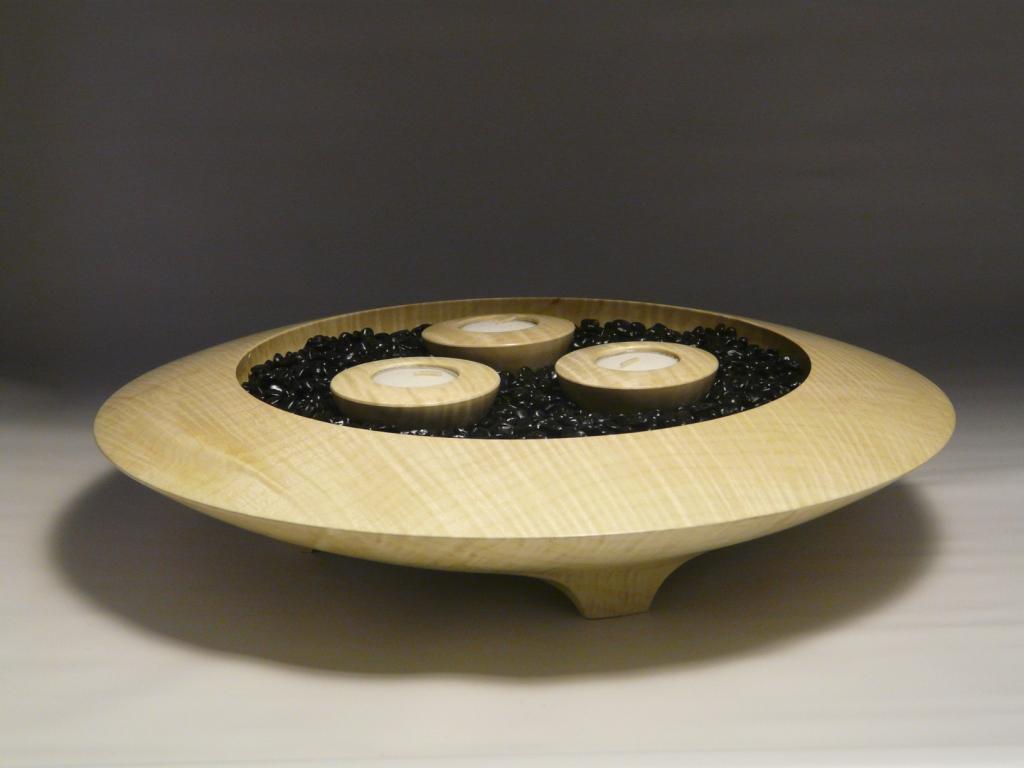
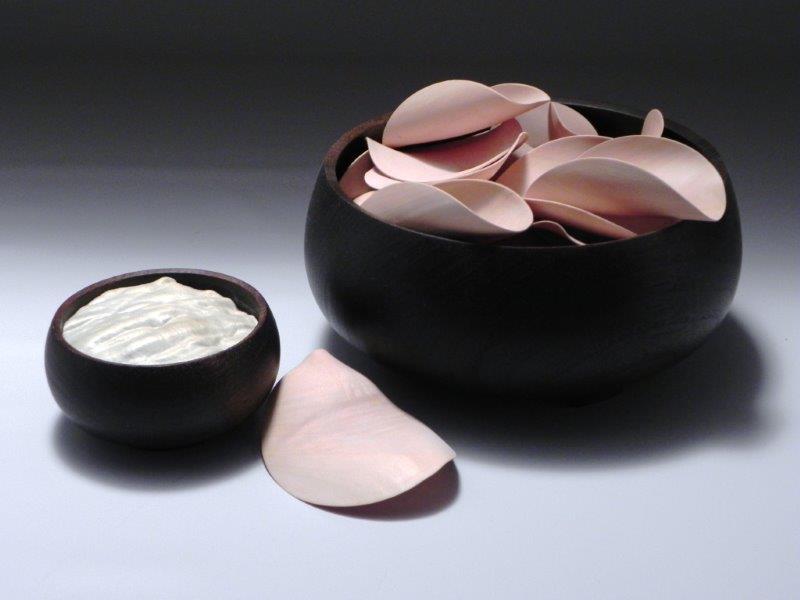
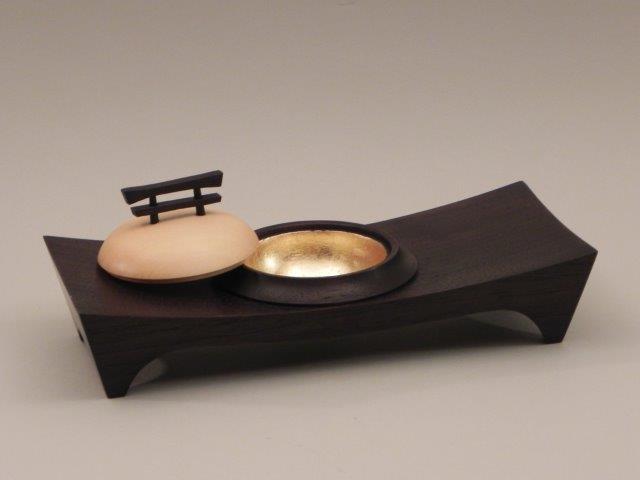
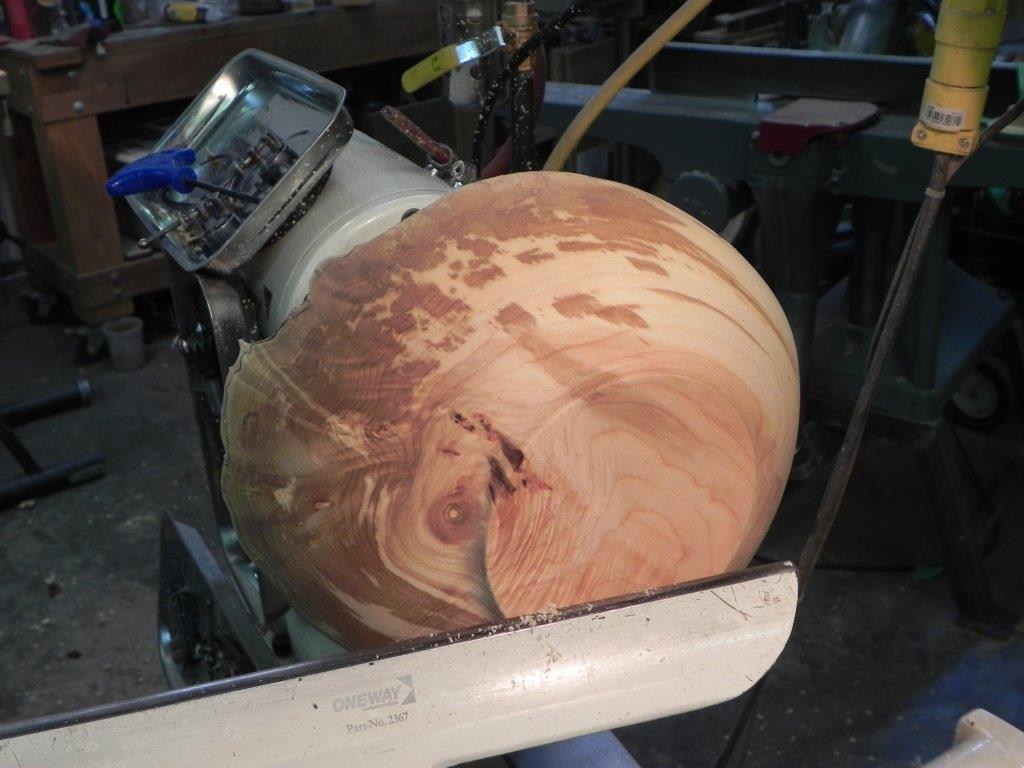
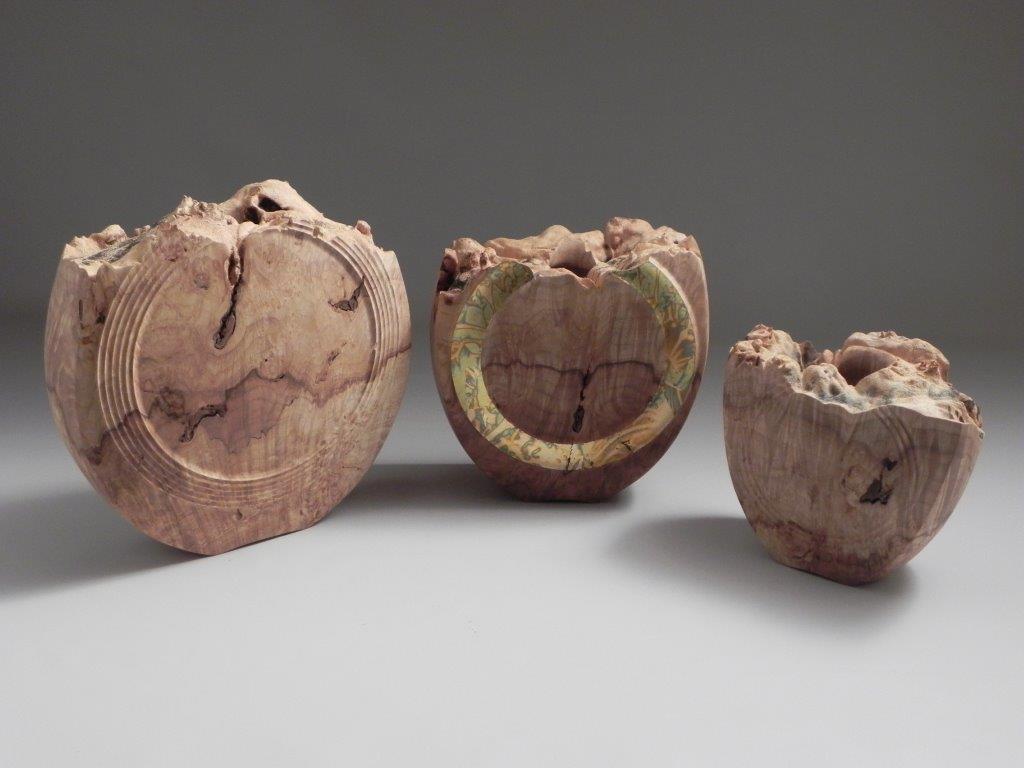
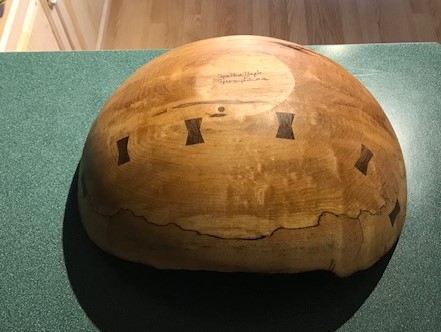
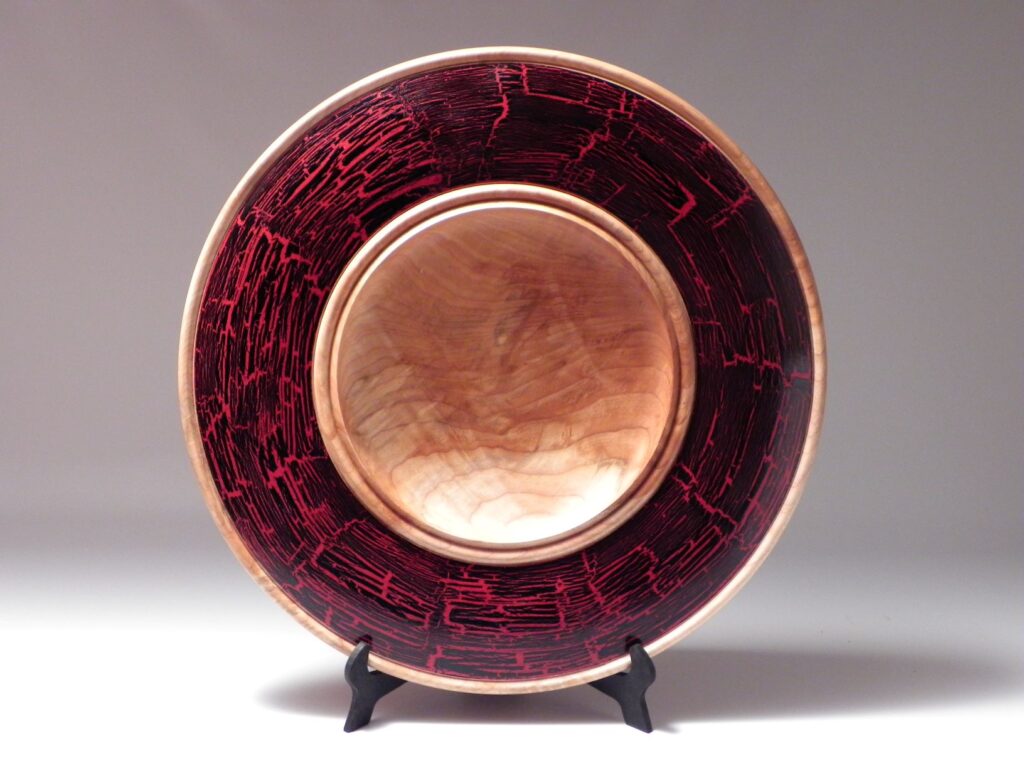
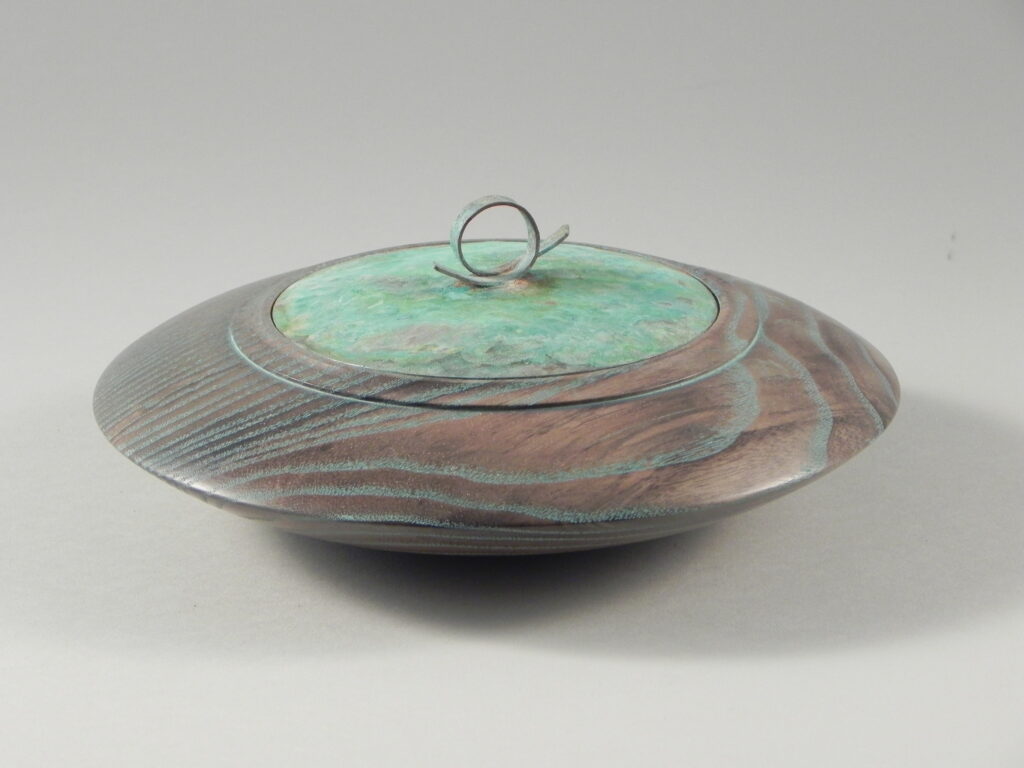
In the photo above, the profile of the bowl form appears quite graceful and light, yet the piece is physically very heavy because it is filled with rock. Considering that the rock makes the bowl top heavy it cries out for a wide foot, at least as wide as the inside diameter in this case, to maintain its stability. A foot that wide would hide the elegant curve of the bowl and dominate the design to the point where it would take away from the intended feel of the piece. The answer then, is to make the footprint or stance as wide as needed for stability but in some way allow the line of the bowl to show.
Feet! Feet provide the width of stance but also allow a visual insight into the line from rim to center. You can add separately turned feet – which I have done – but you can also make them an integral part of the piece. How slick is that? A feature like this can really showcase your craftsmanship. Let’s find out how we put feet on a bowl that appear to “sprout” from the piece.
The obvious answer to the question is to turn a ring then carve away the wood that you don’t want (which is what turning is all about anyway – getting rid of the wood you don’t want). The tough part is making the curve of the bowl on both side of the ring appear as one.
Turning a bowl with legs tutorial
Step 1:
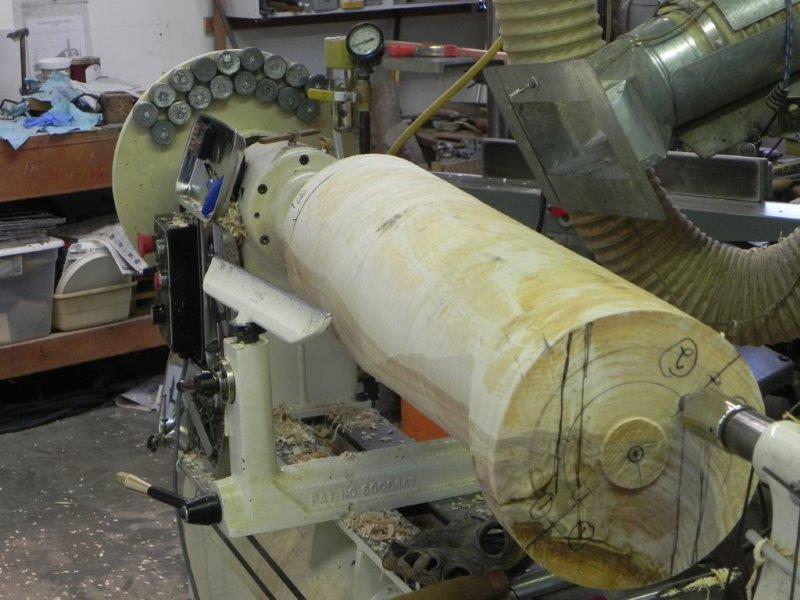
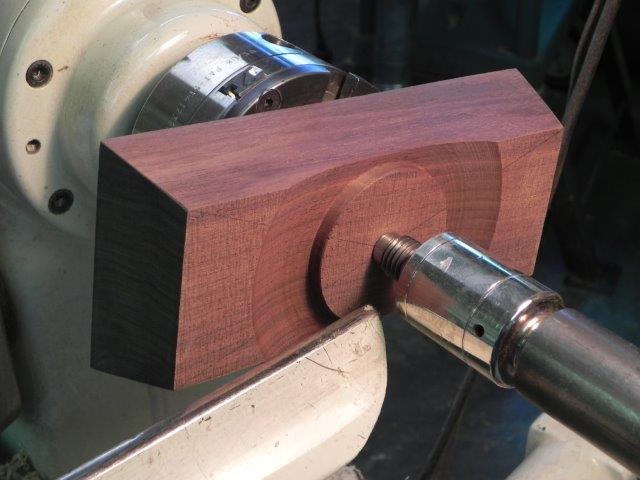
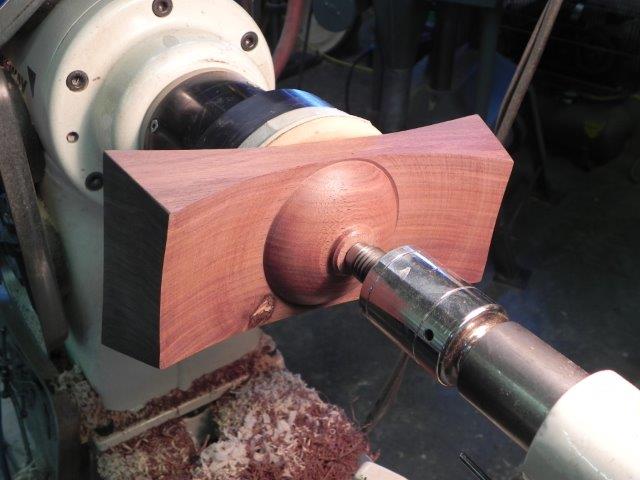
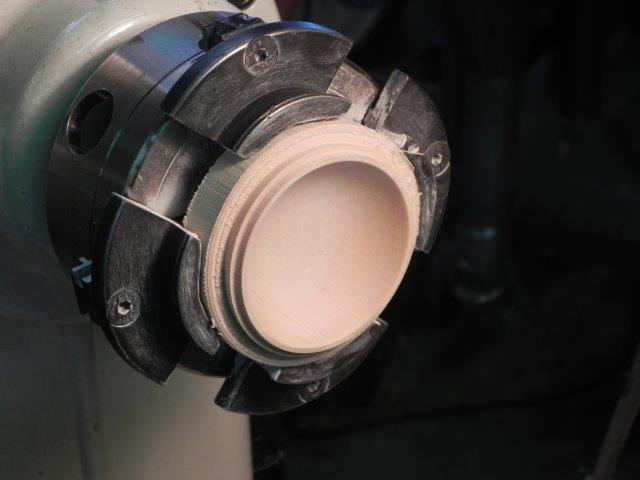
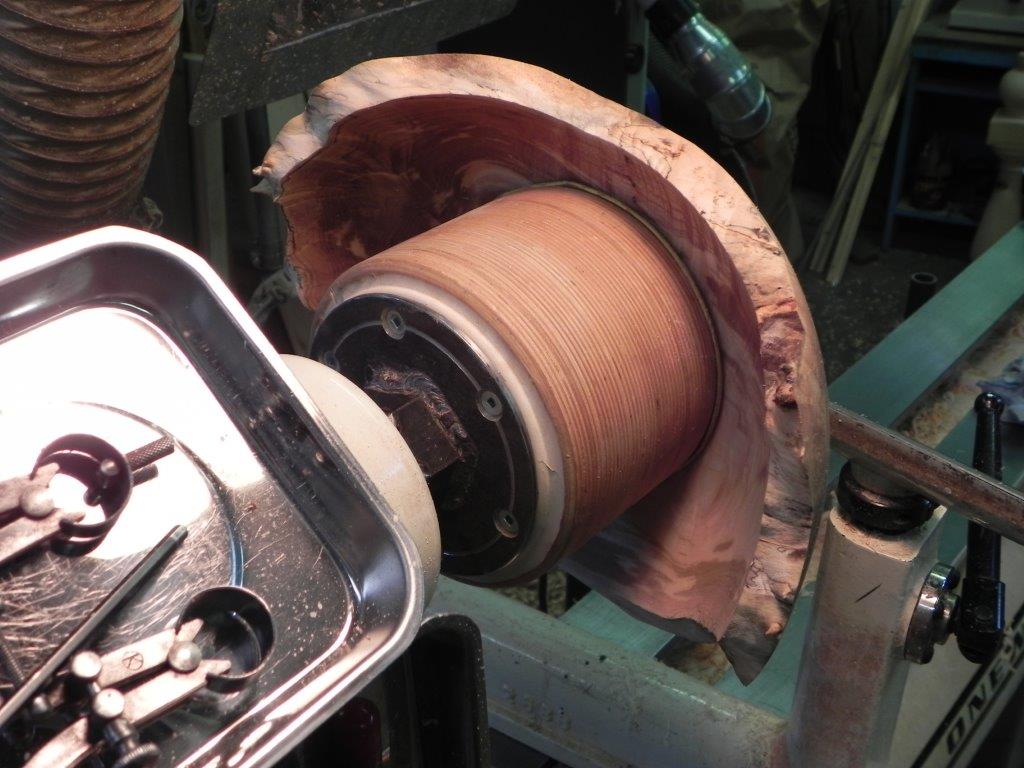
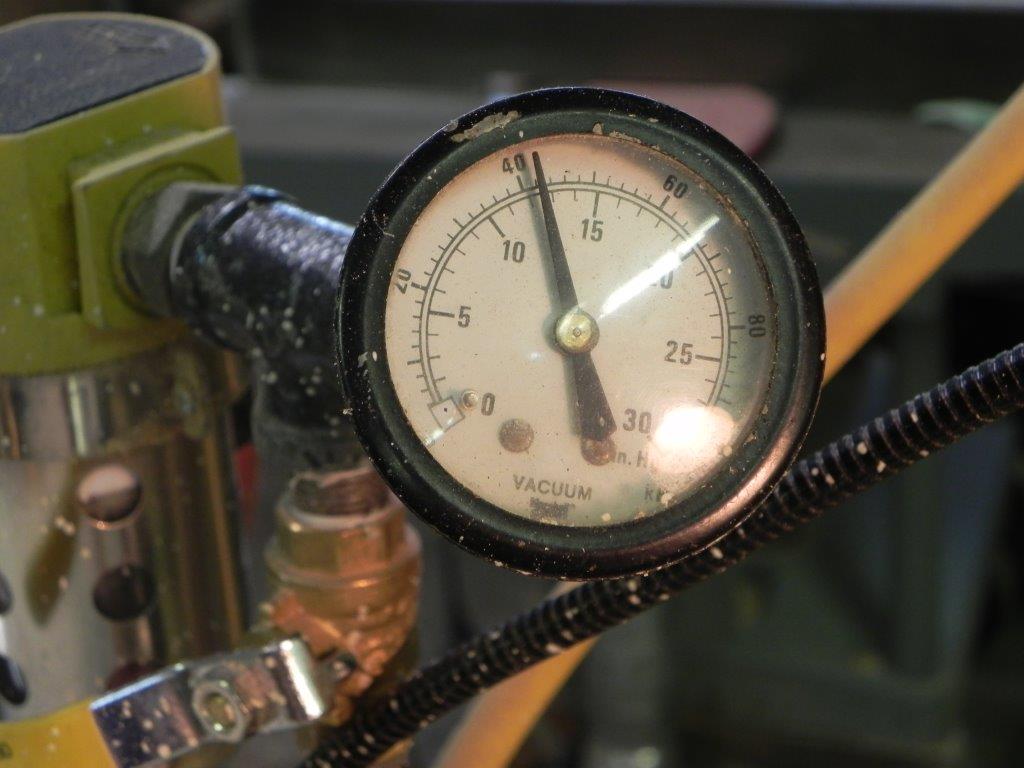
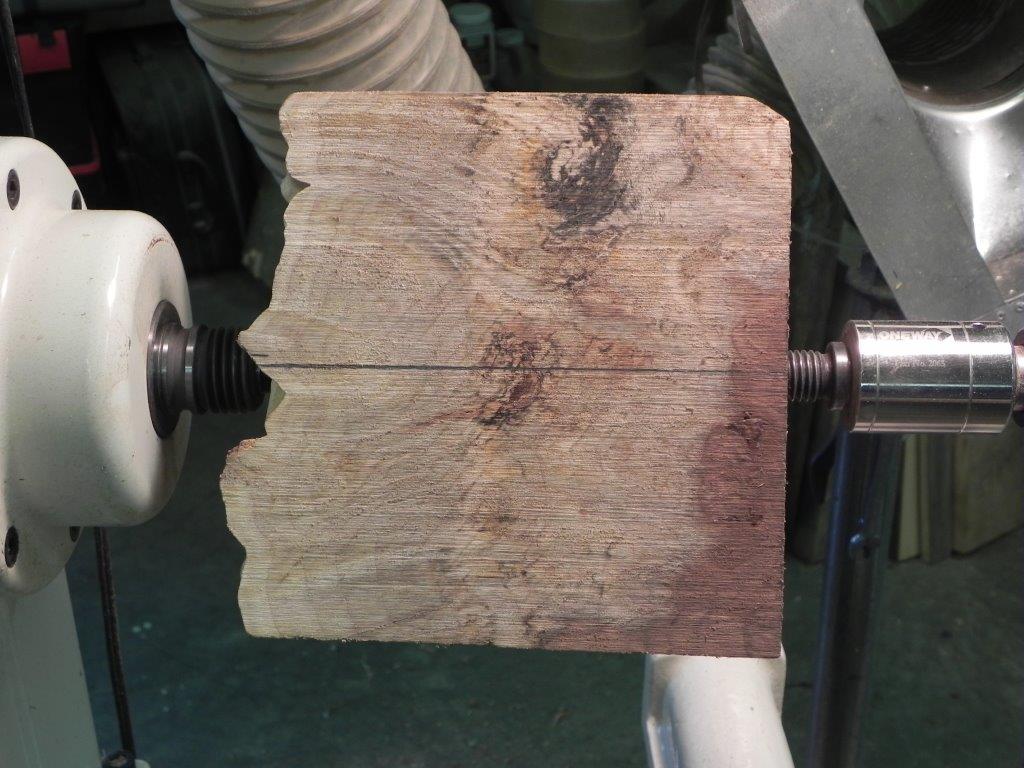
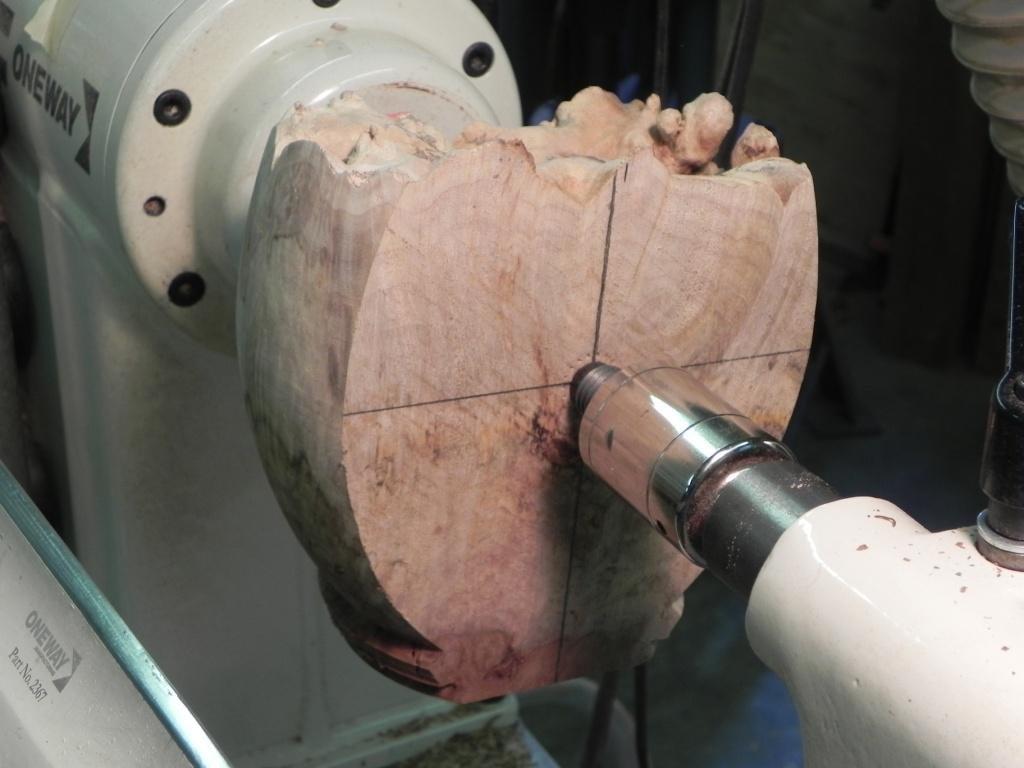
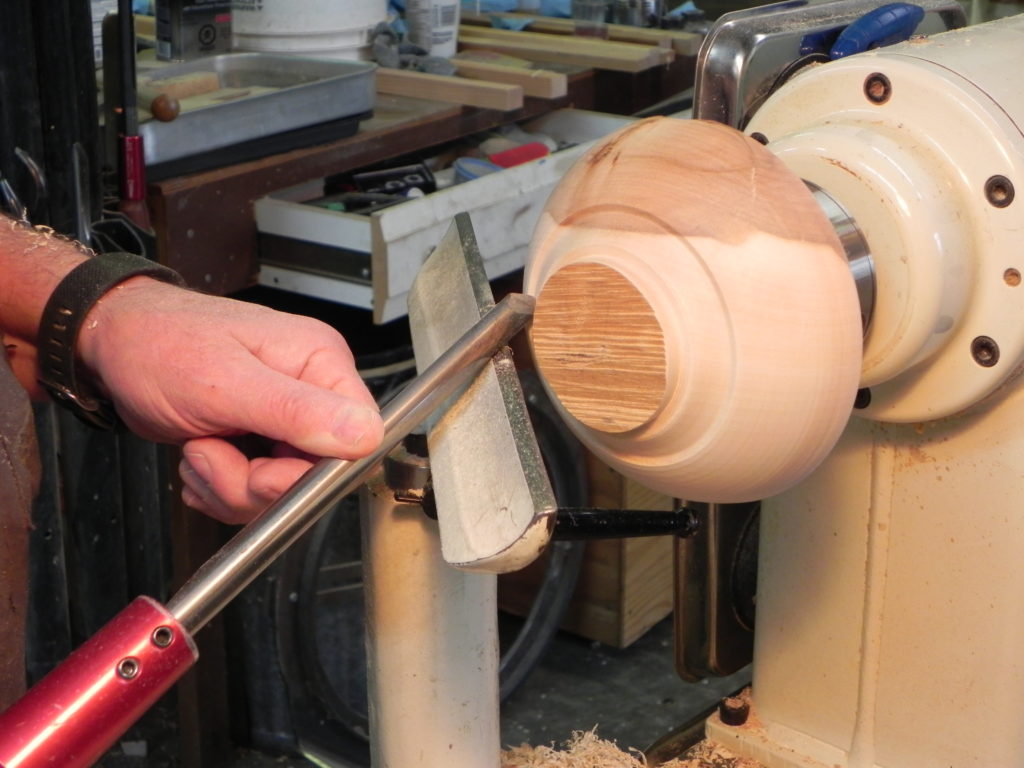
I used a jam chuck with a soft foam face to support the piece in these photos so the tail stock is required to keep it in place. A vacuum chuck would be suitable as well as any other method that you care to use as long as the piece is held firmly while you work.
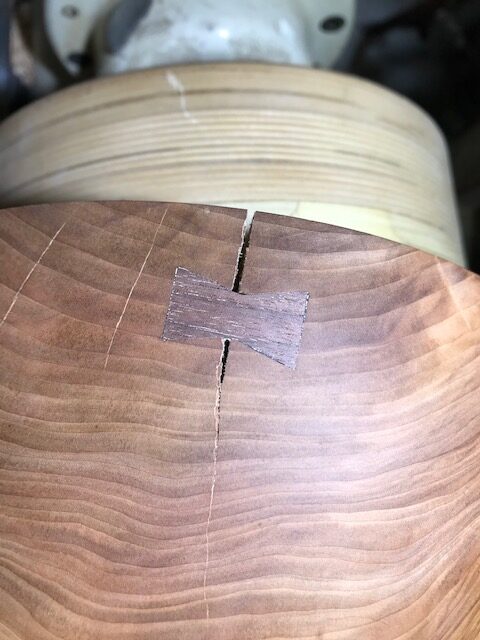
Three feet are ideal because the piece will always sit level on a surface without rocking but you can make as many as you want. After turning a ring that blends nicely into the form of the bowl, mark the location of the boundary between the feet and the bowl form with a line on both sides of the intended foot. Your rough cuts will stay above the lines and finish cuts will go to the lines. If a cut is made below the line it will interrupt the line of the curve.
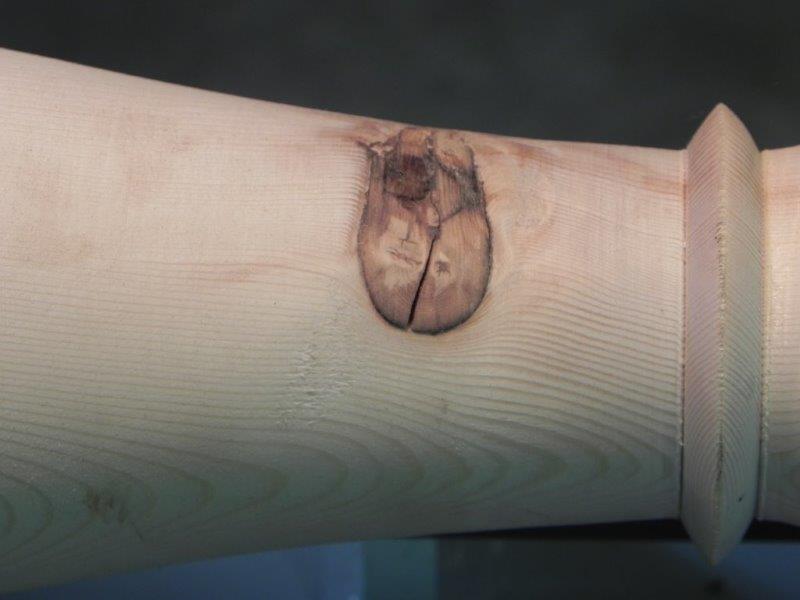
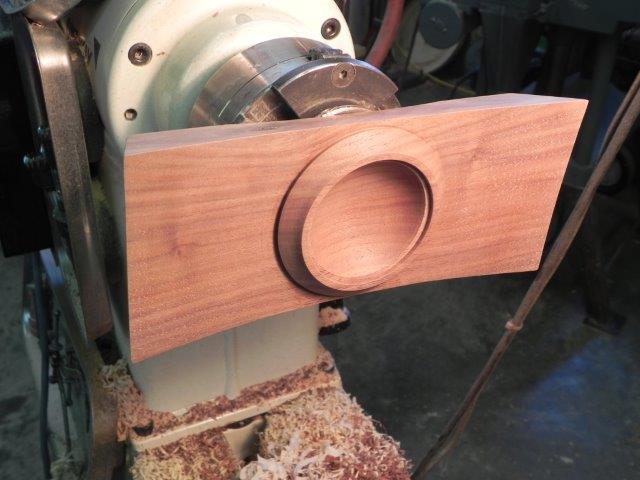
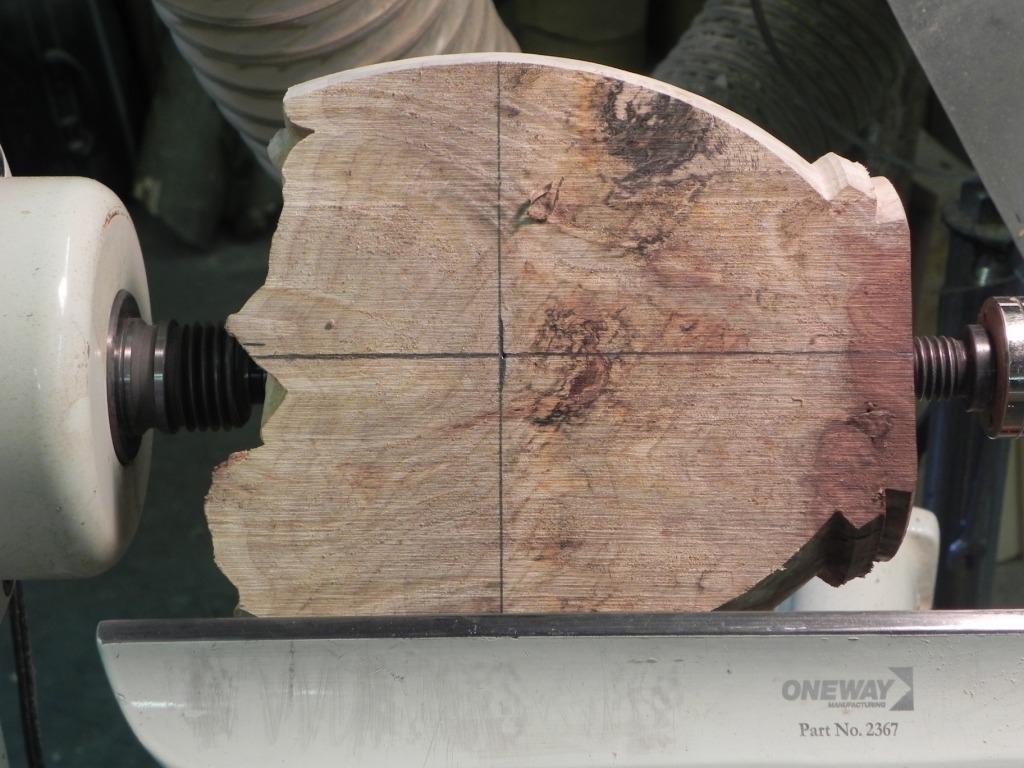
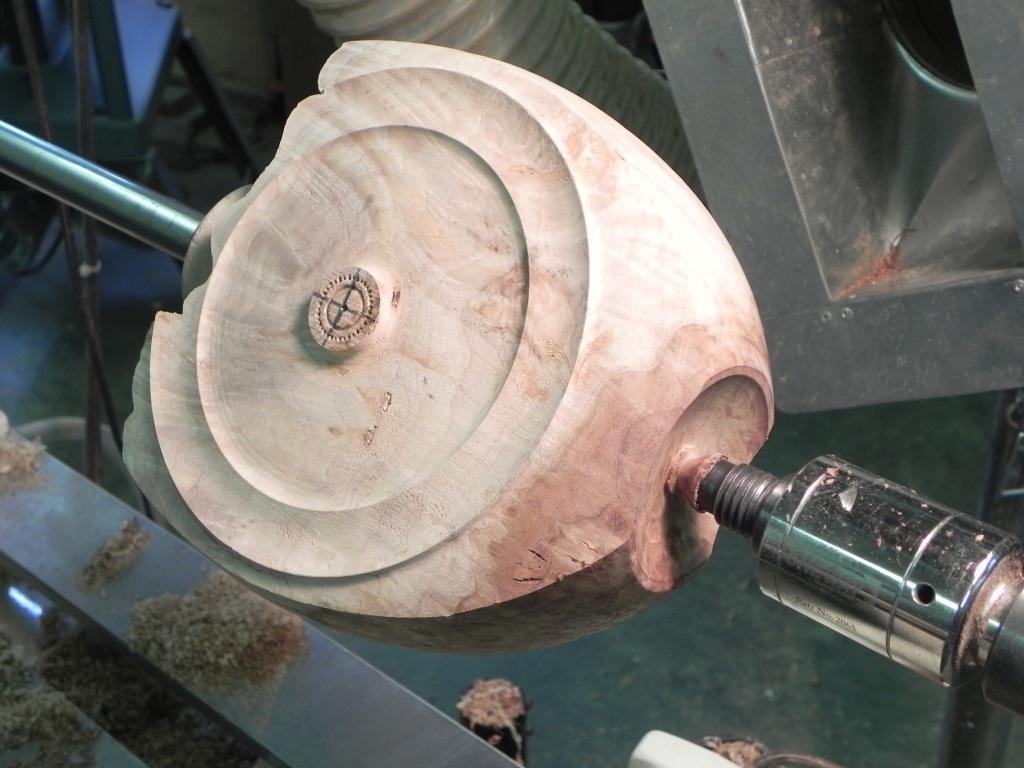
Mark out the centers of the feet in equal thirds around the circumference using the index head on your lathe or by setting a compass at the radius of the ring and step it off around the circumference. This is your opportunity to cut away any unattractive flaws like bark inclusions but be mindful of grain direction for strength. Mark the width of the feet, then using a template, draw a pleasing arc from the bottom of the feet to the line. I’ve done this often enough now that I draw these arcs freehand – so will you after a few bowls.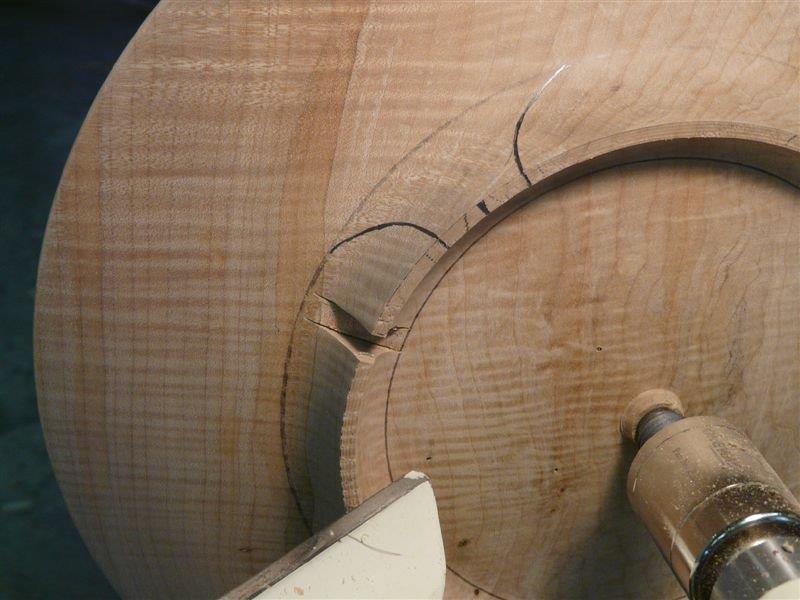
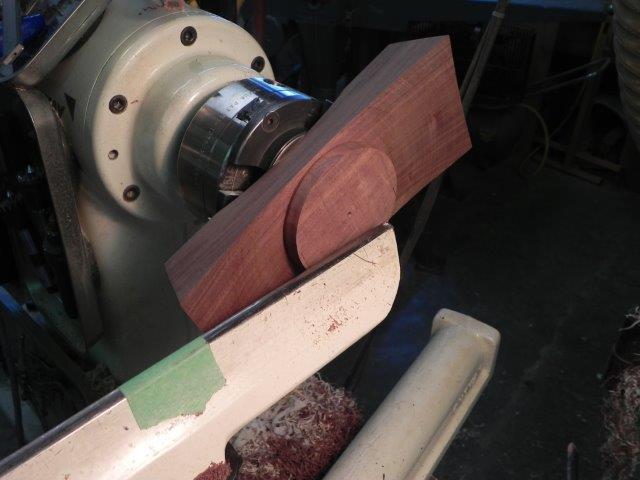
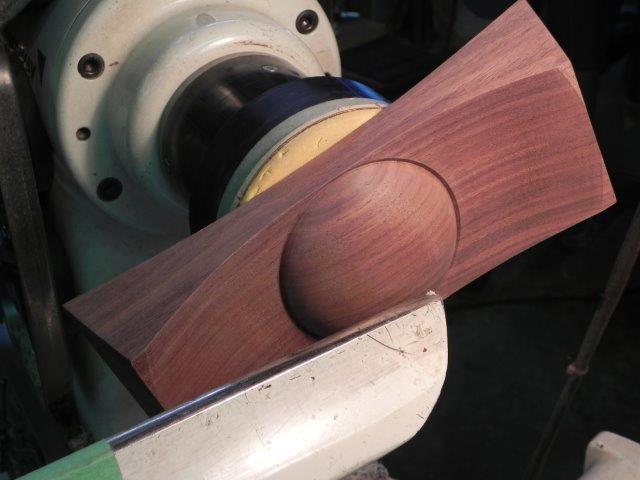
Cut a trench through the ring in an area where the wood will be removed between the feet. I used to cut a cardboard profile placed in this trench to determine when the profile inside matched the profile outside but now I use a profile gauge seen in the photo at the end of the post. It is wise to leave more wood than necessary on the inside and gradually turn that away to match a pleasing curve with the outside, using either the cardboard pattern or profile gauge as a guide. Above all, make sure the curve completes at a point where the bottom of the bowl is above the feet (in relation to the support surface) so that when the feet rest on the table, they hold the bottom of the bowl above the table.
Step 2:
Now it’s time to make the rough cuts to remove the wood you don’t want. In the photos I used a coping saw and rasp. This is quite time consuming but it gets the job done with less danger of cutting too deeply. Now I use a “Lancelot” cutter on an angle grinder and a small belt sander but great care must be taken not to remove too much wood.
If using a Lancelot, be absolutely certain the piece is anchored by a spindle lock or similar. Use both hands on the grinder – not one on the grinder and one holding the piece. This tool is extremely dangerous and you must maintain full control. I place a steel shaft in the banjo in place of the regular tool rest, making a vertical tool rest to help guide the grinder. Typically I can work on about a 2″ stretch of the ring at a time this way. Leave enough material for a finish cut.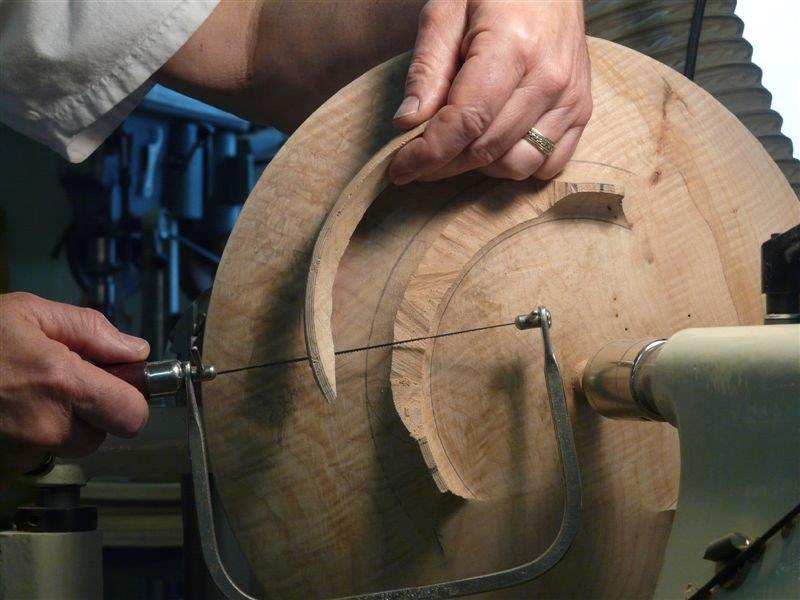
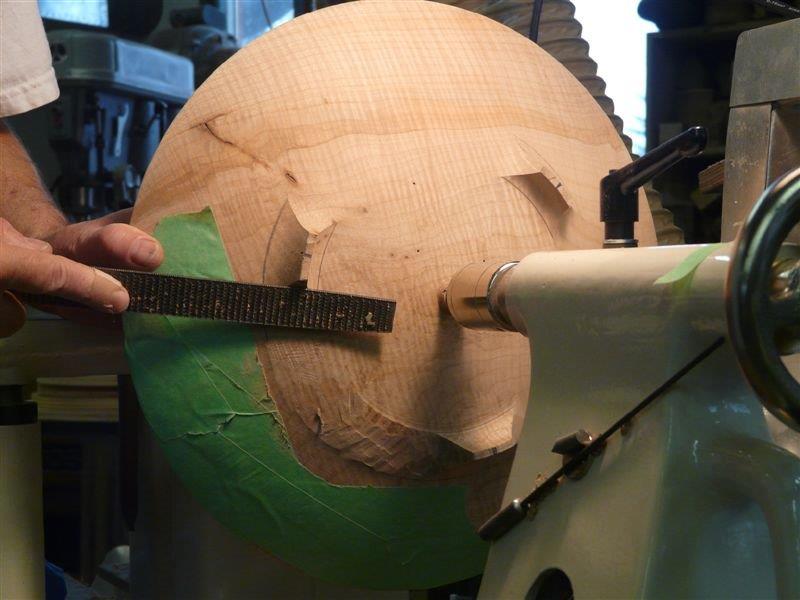
At this point you can use a rasp and bench chisel as in the photos or the small belt sander. If you have some other wood removal tool that is suitable, then by all means use that. Using your hand to feel the curve will tell you far more about your progress than anything else. Be sure to blend the sides of the feet into the curve as well. The masking tape helps to protect the finished surface to some degree.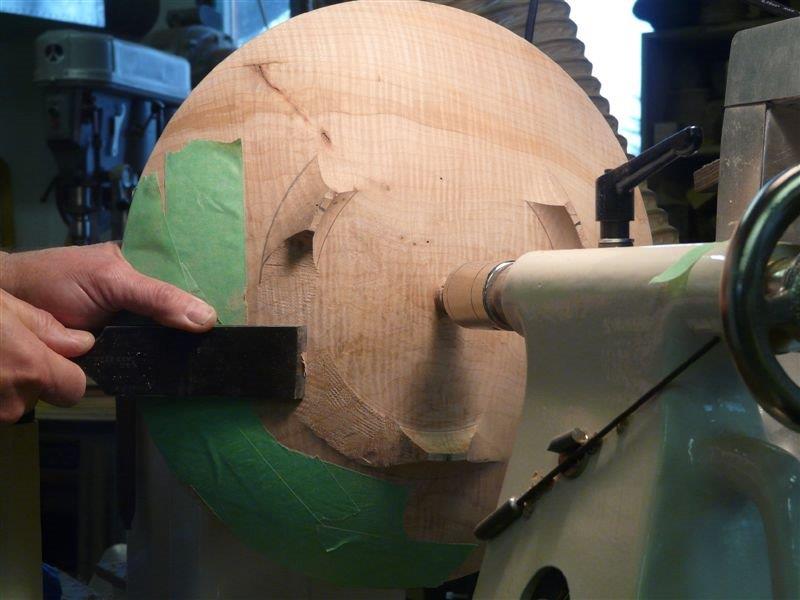
Step 3:
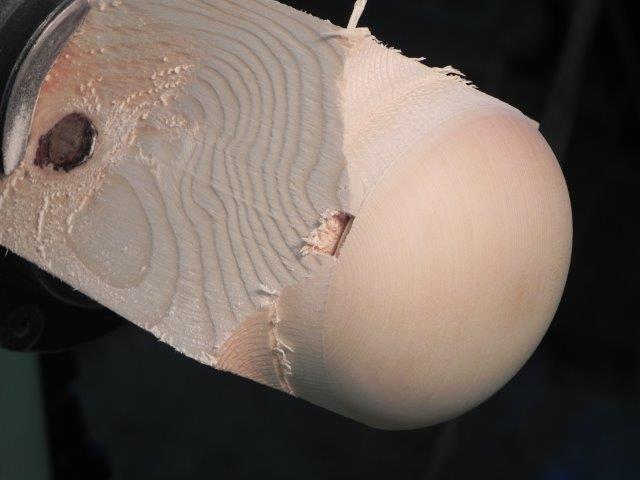
Once you have a fair curve and a nice blending of the feet, block and hand sand until there are no discernible steps anywhere. In the photo below a profile sander is being used to sand the sides of the feet. This helps keep their shape uniform.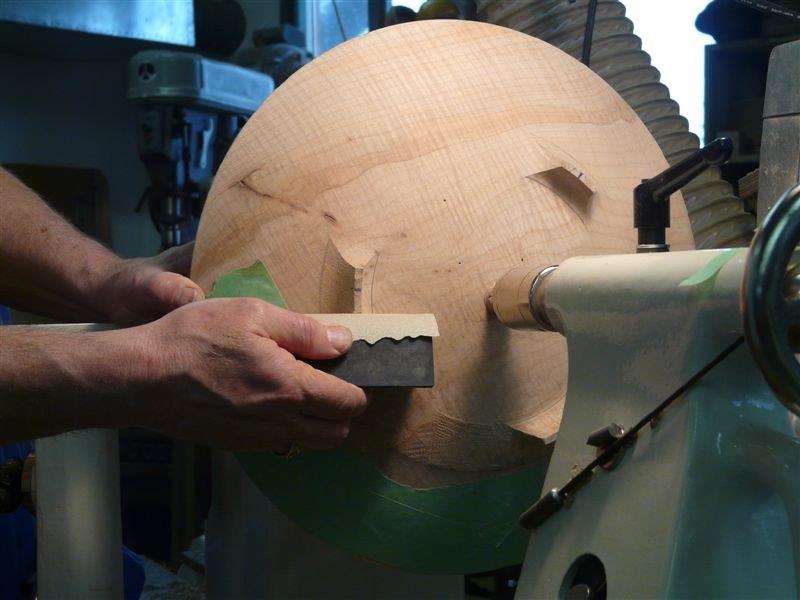
Once the legs are done the piece can be removed from the lathe and the center spot carved away and sanded. This whole process could be done on the bench if you desire but I find it far easier to use the lathe for a clamp. If you are using a Lancelot or similar cutting tool it is imperative that you clamp the piece securely.
This whole process can take as long or longer than turning the actual bowl, but the effect is well worth it.
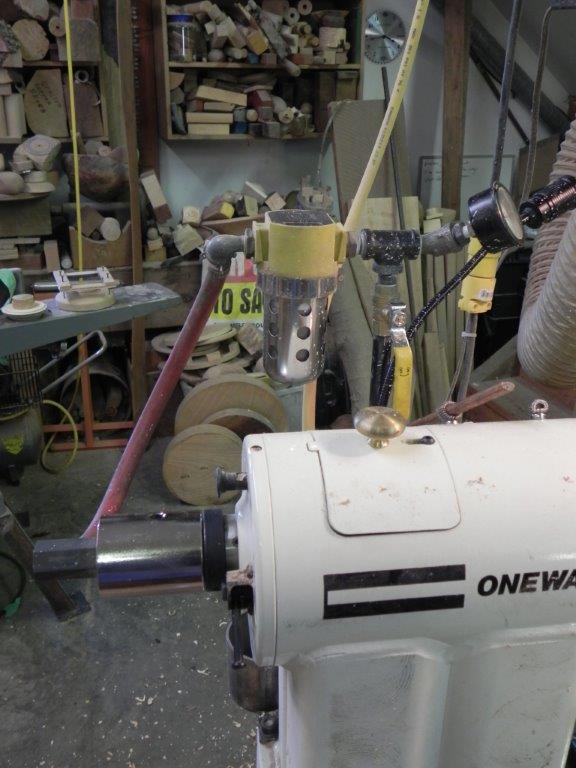
The photo below shows the three tools that I use now that I didn’t have at the time of these photos. The profile gauge is very handy and quite inexpensive. The power carver speeds the process immensely as does the small belt sander, however it is very easy with both to take too much wood away, ruining the effect.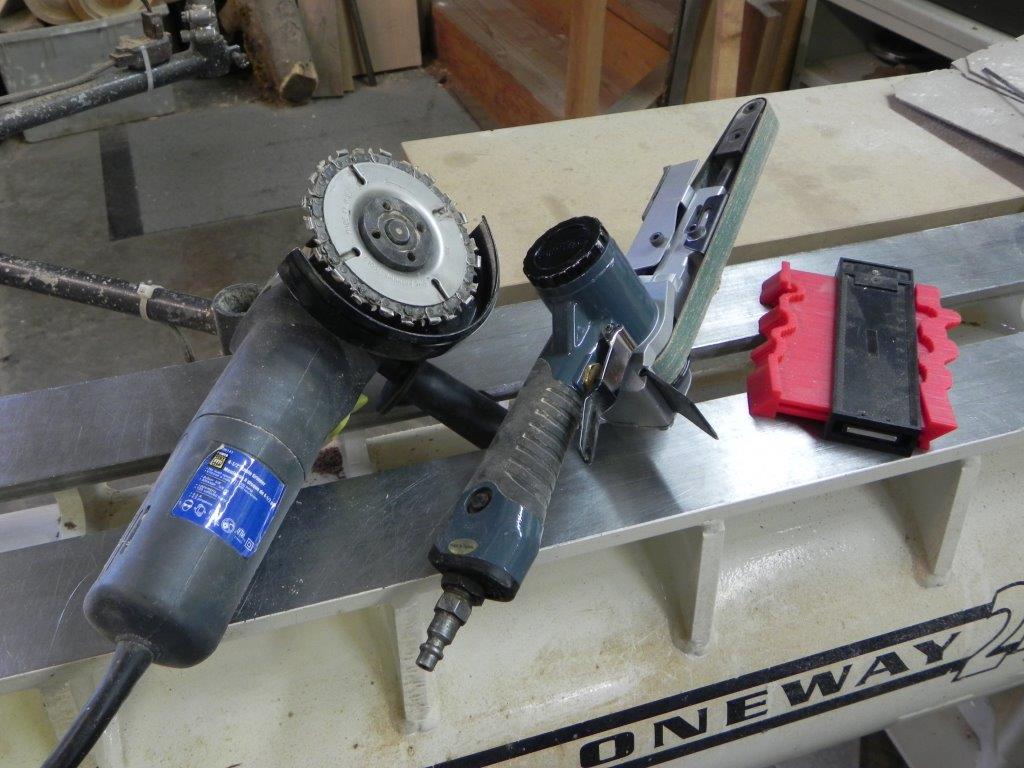
One last time, if you are using an angle grinder with a Lancelot type cutter, I can’t stress enough that you should use both hands on the grinder and have the piece held securely with clamps or in the lathe with the spindle locked.