Originally written by Ed for Craftsy as “One and the Same: Spindle Turning Without a Copy Attachment”
If Eli Wallach were a wood turner, his famous line would have been, “Copiers! We don’t need no stinkin’ copiers!”
It seems that many turners assume that producing several identical items on the lathe requires a copy attachment. Not so! You probably already own the needed tools to turn as many similar pieces as possible. You may already possess the necessary skills. If not, they are easy to learn.
Learn spindle turning without a copy attachment with the tips below.
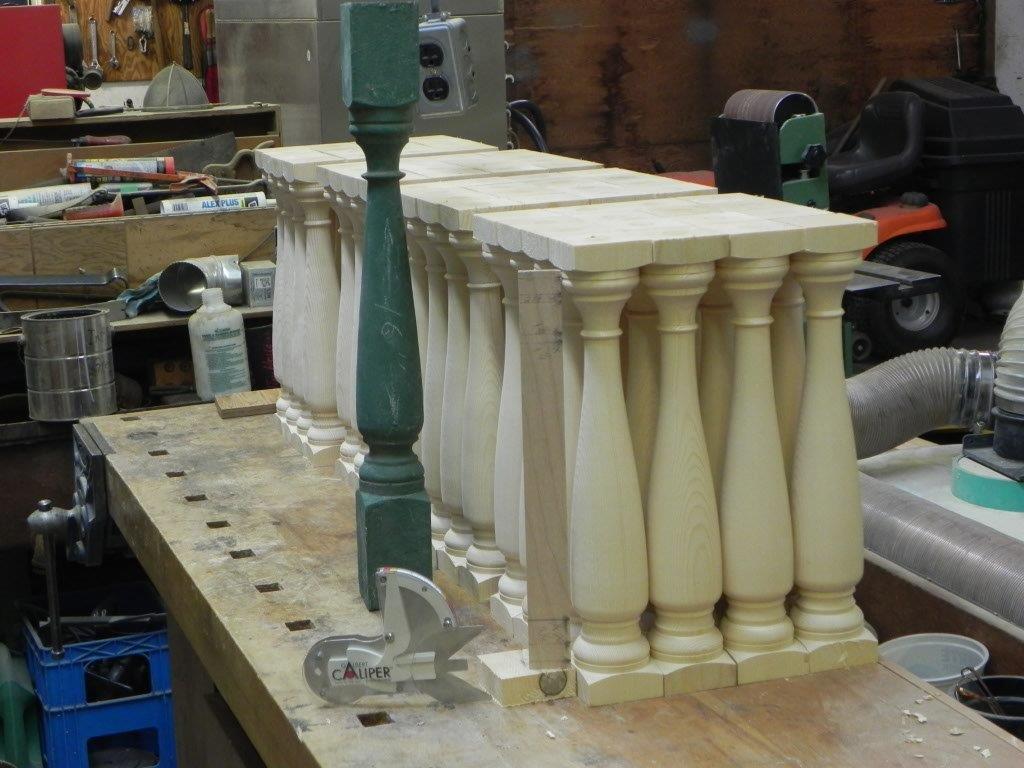
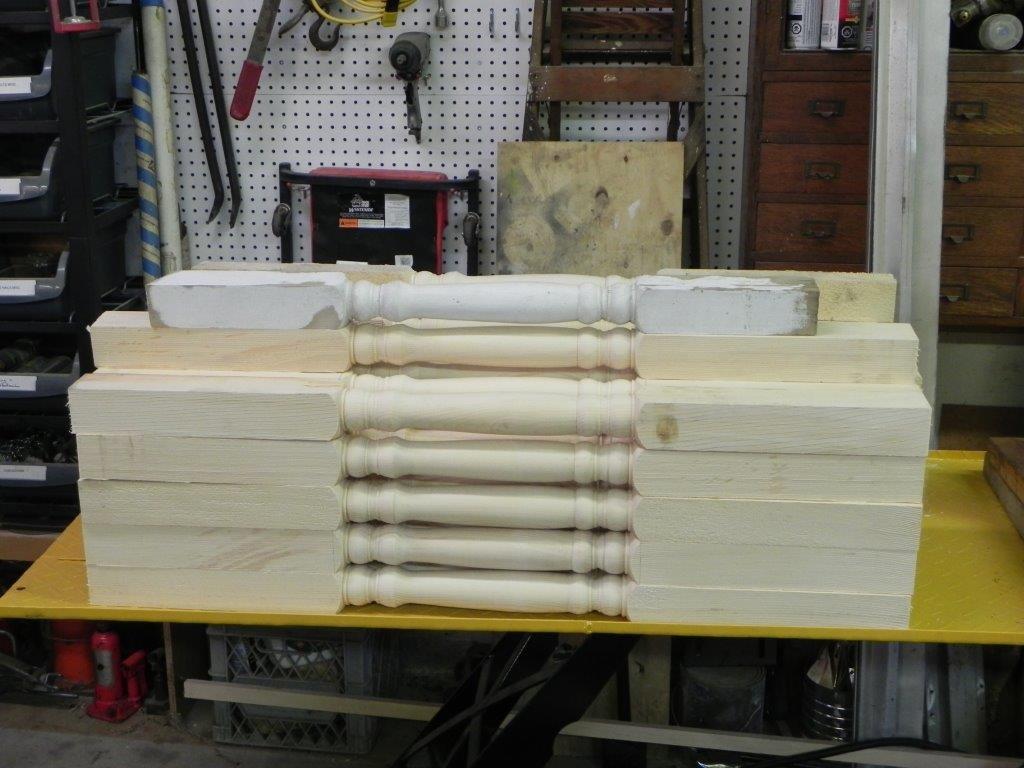
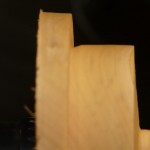
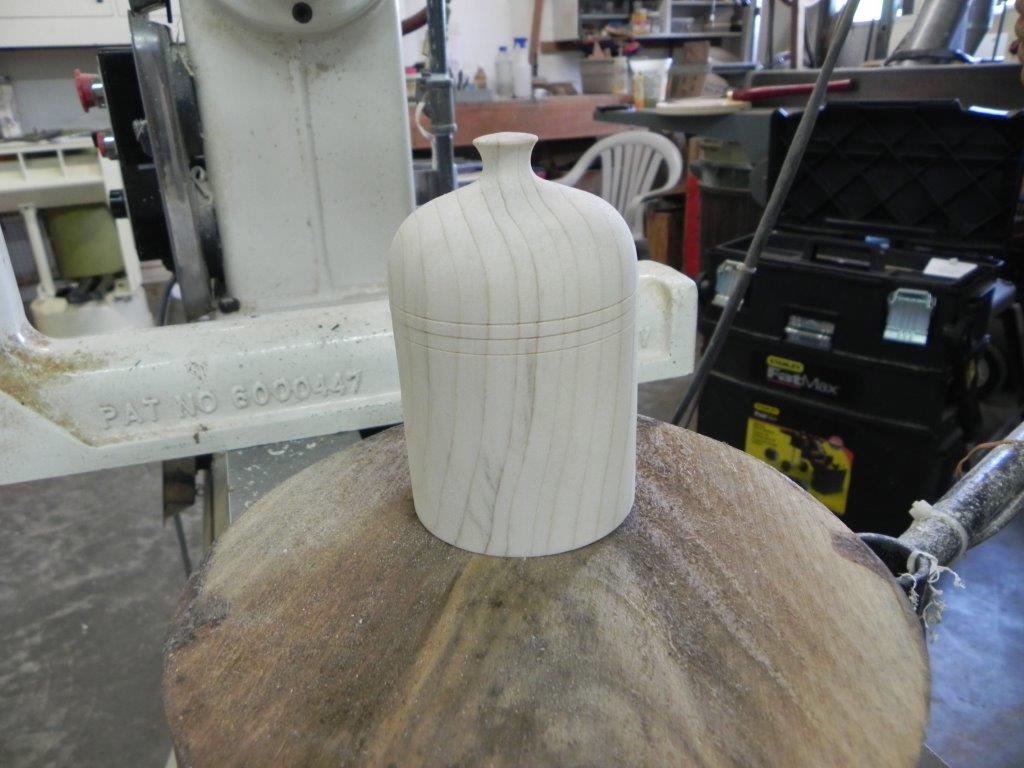
A set of spindles for historical Kaslo City Hall restoration. The green spindle was the sample.
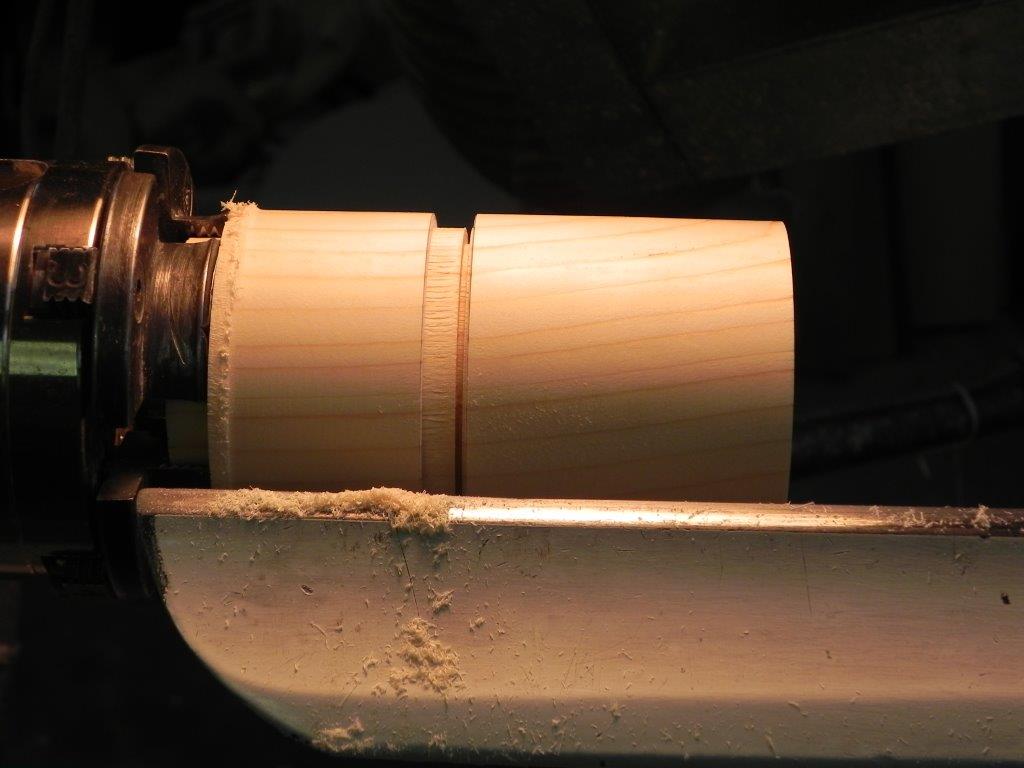
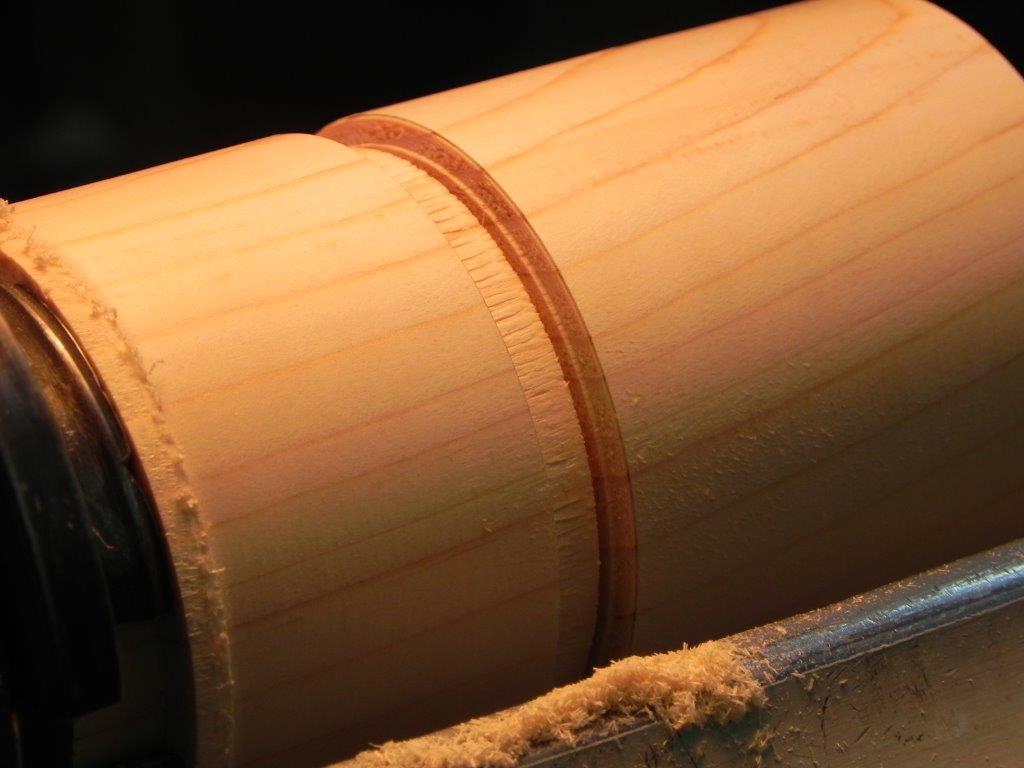
Spindles — whether chair legs, table legs, stair spindles, newel posts or handles — are made up of three elements: beads, coves and connecting straight or curved lines. The example above shows that sometimes there are also half beads and coves.
Basic elements of a spindle
Spindle designs consist of three elements: beads, coves and cylinders. Sometimes the beads and coves are complete, sometimes only half. The cylinders may be straight, tapered or slightly curved. Typically there are only two or three measured diameters in the length.
For example, the major diameter of the material (minus a bit to allow for errors in mounting), one smaller diameter to separate beads from coves and perhaps a third to designate the location of a minor diameter of a taper. The spindles in the photo above have exactly that. They look far more complex than that, don’t they?
The major diameter of beads is usually the major diameter of the stock, the minor diameter is the transition between the bead and the neighboring cove, the minor diameter of coves is determined by the wrist action of the turner. The shapes between lineal elements are all determined by the turner’s style, so repeating the same element the same way is the key to the whole works.
Reduced to simple terms, turning a piece to a specific design is simply connecting the dots. The turner’s skill is the key. With practice, any turner can produce quality duplications like a musician playing scales.
The linear spacing of the elements (vertical or horizontal) is the most critical aspect of a spindle, especially if they are oriented alongside one another — as in a balustrade — where they can be compared to one another. The eye can pick out variations in height much easier than variations in diameters.
My “Aha!” moment
I grew up in a home with many fine antiques, several with turned elements. One table had four legs that were simple spindles attached in pairs to a “horse” at each end. Either one or three of those were upside down. My mother dusted that table with great care for over 50 years and never noticed. Another table had four cabriolet legs with very ornate finals rising from them as they supported a finely turned and carved central post. The finials each had a turned ball that was finely carved with leaves. One was noticeably smaller than the rest, clearly the turner “flubbed” and simply turned the ball smaller. No one ever noticed except this inquisitive turner and only when I was examining the work in minute detail. This was an exquisite piece, clearly sporting the finest craftsmanship, yet that error passed.
It became clear to me that when viewing several pieces that are supposed to be the same, the brain assumes they are the same until each individual piece is considered on its own. This was an epiphany! In these modern times with machines that spit out identical pieces, the fact that spindles used to be skillfully reproduced actually differing slightly from each other… and no one noticed! Look at the batch of spindles in the photo above. They are all slightly different in the smallest ways, but do they look different?
This led to my first and so far largest spindle job — 650 spindles in a pub. Six hundred and fifty spindles in a darkened room filled with drinkers focusing totally on the opposite sex. How could I go wrong?
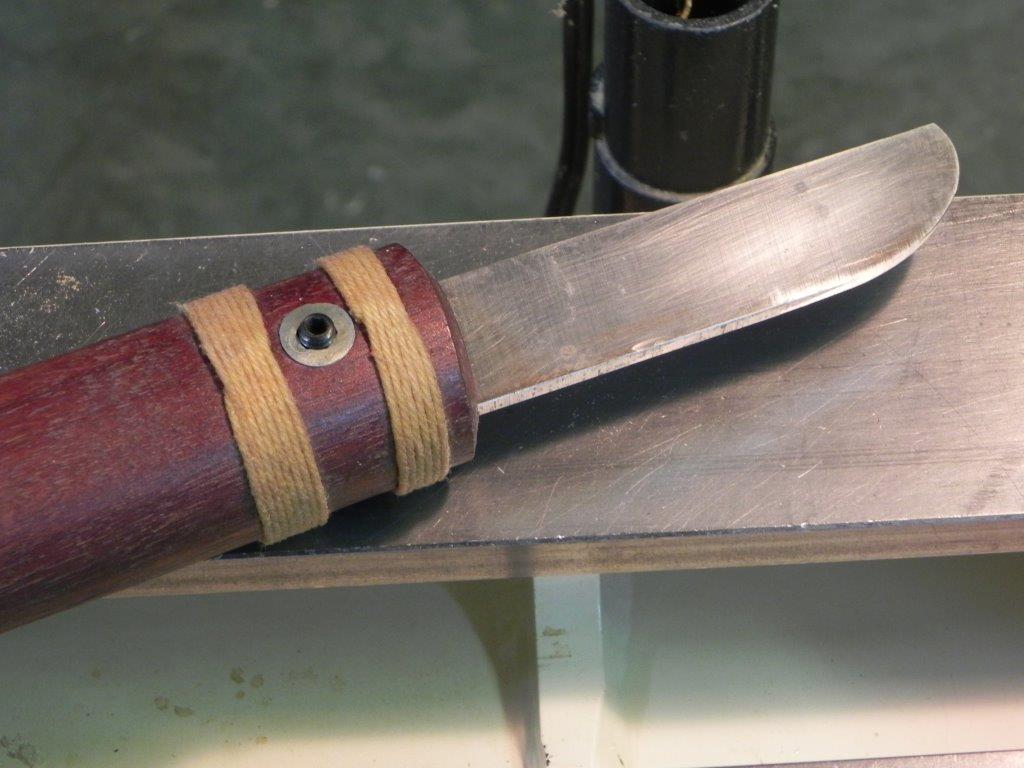
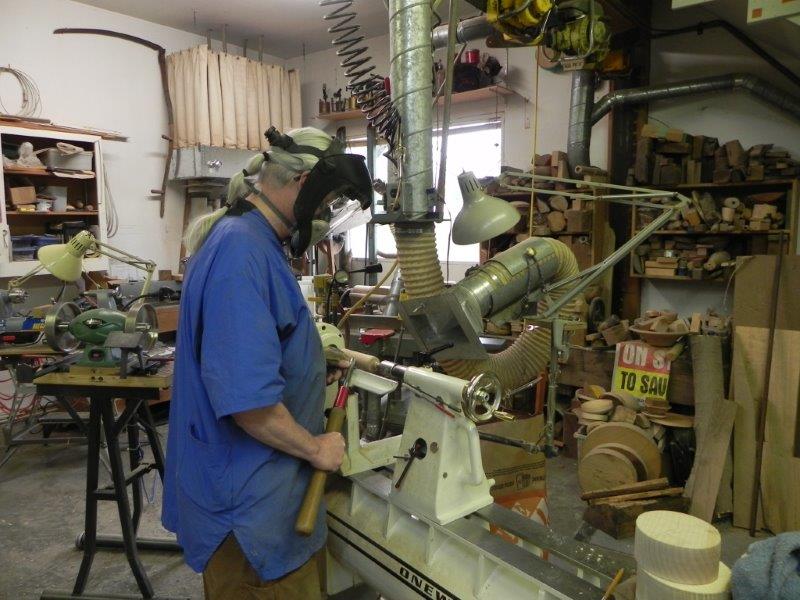
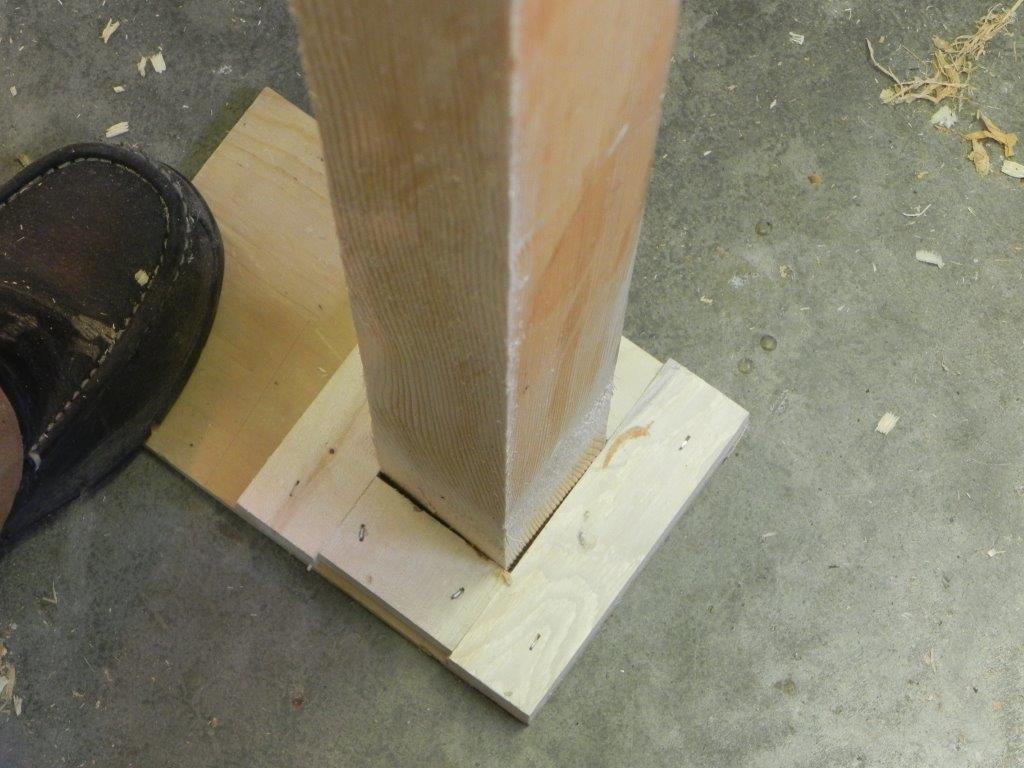
The story stick
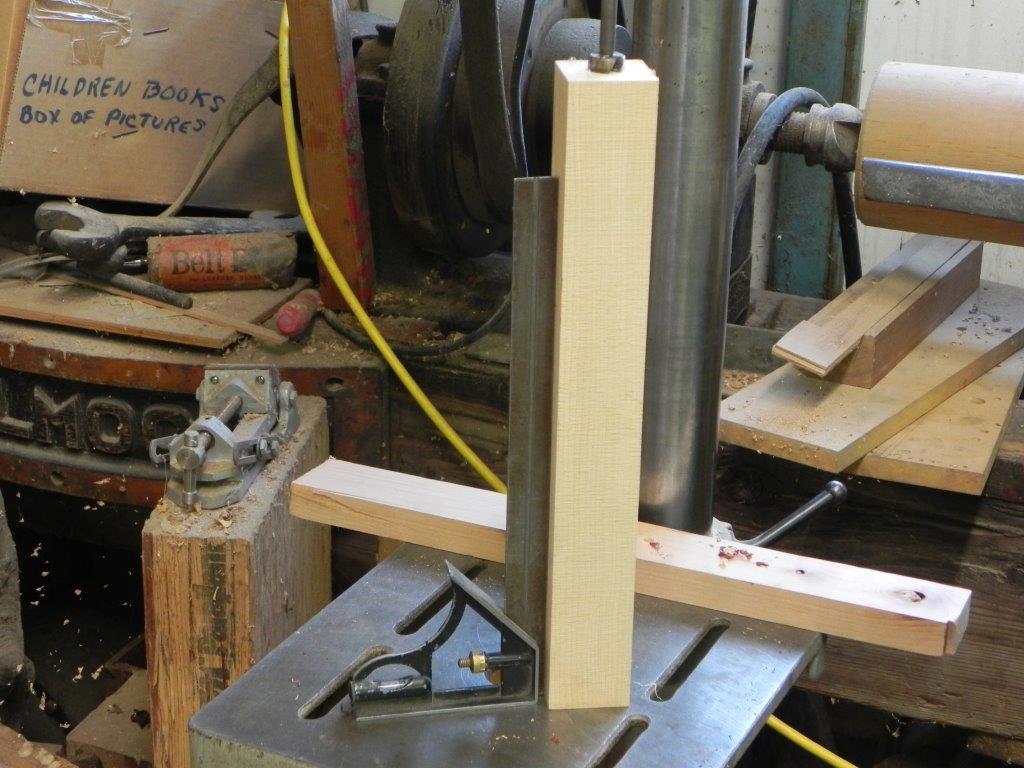
A story stick is simply a lath with marks along its length designating relevant diameters and their locations by cutting a notch at each location the pencil slots in at the exact same spots every time. If the story stick is aligned along the length at the same spot, every spindle will have their lineal elements aligned with the rest.

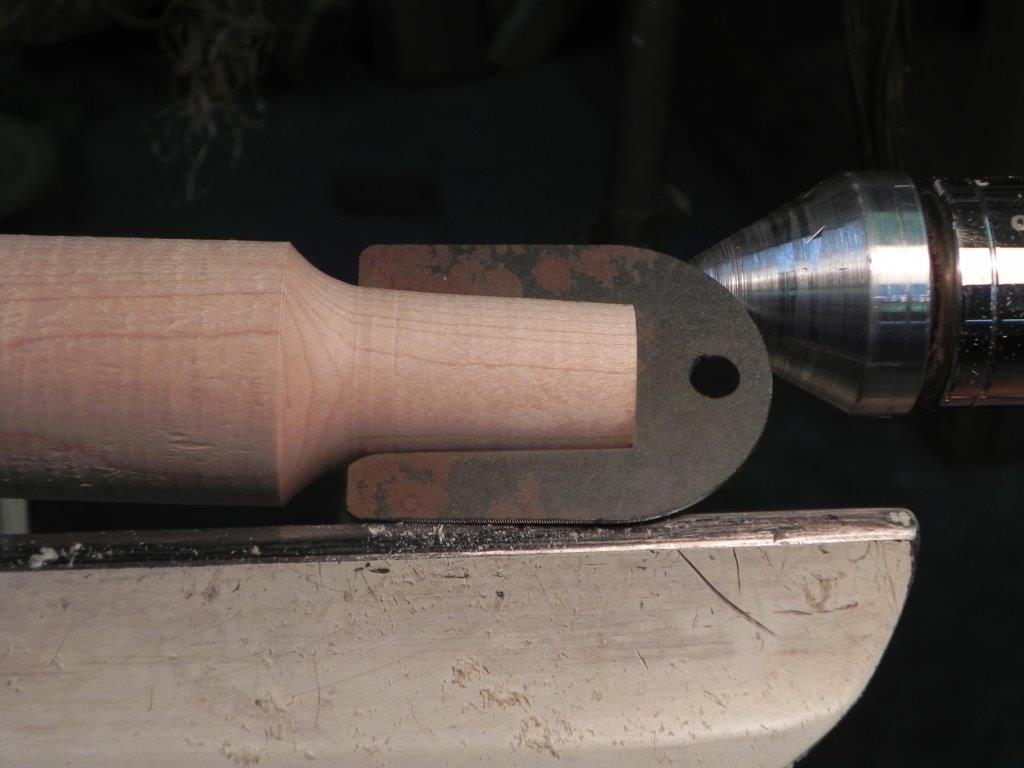
Story stick in use. Note the heavy shading indicating which side of the line the sizing cut will be made.
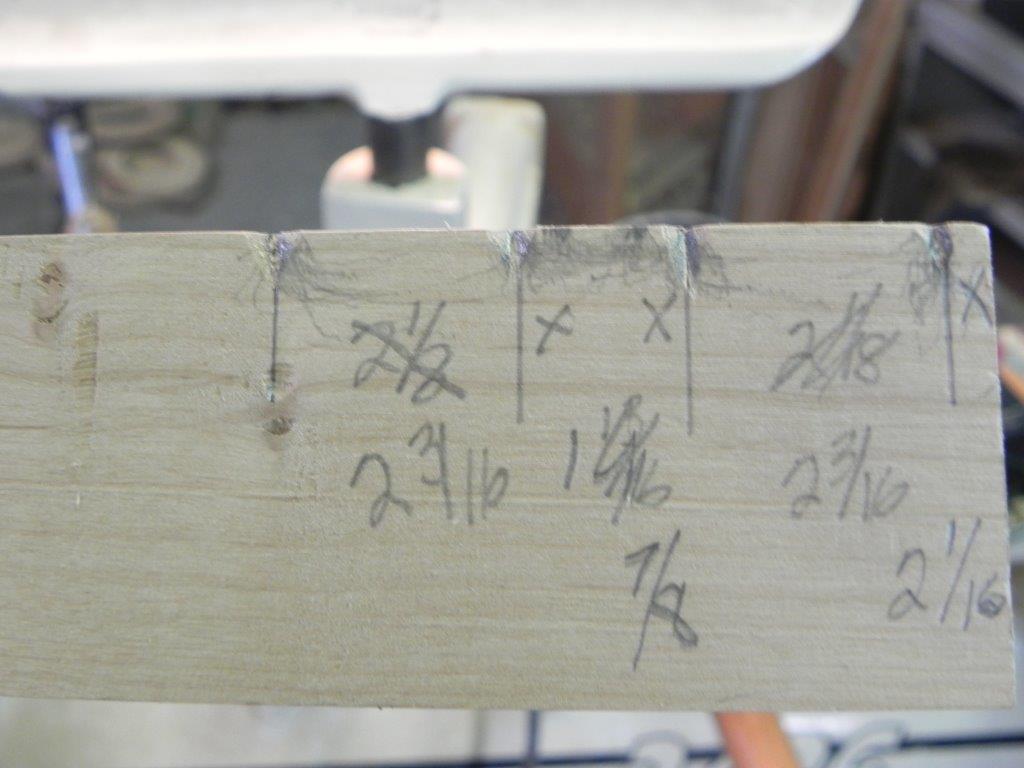
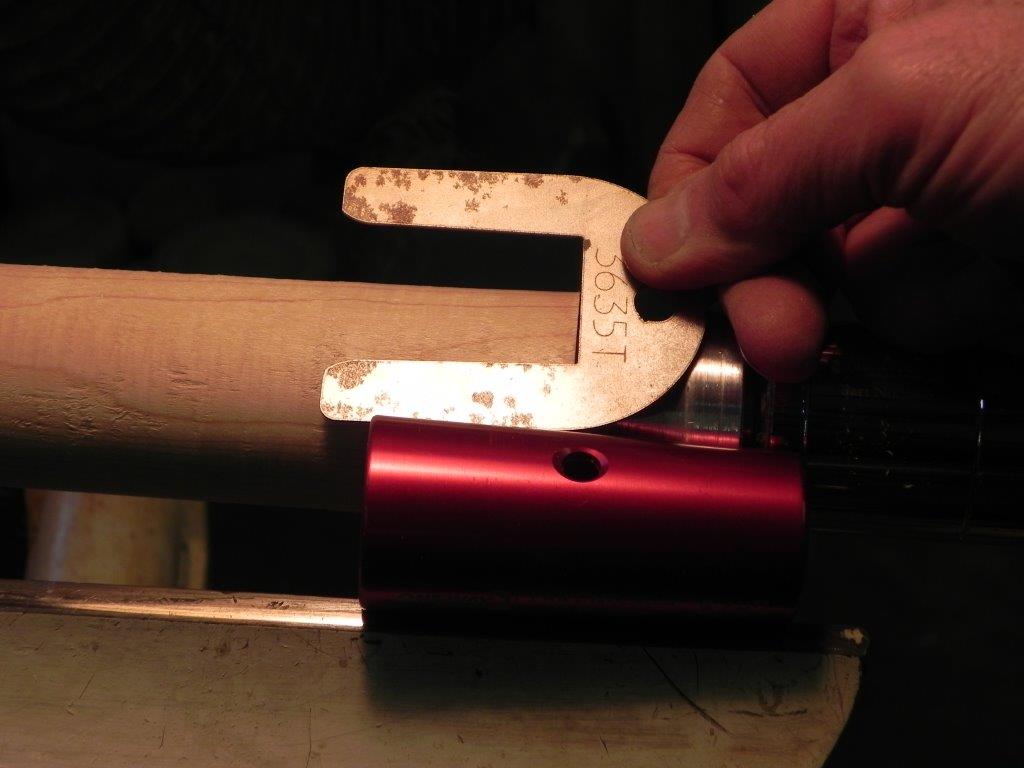
Close-up view of a story stick. Note the notches to ensure the pencil is in the same place every time. The “X” indicates which side the sizing cut is made and the diameters are noted.
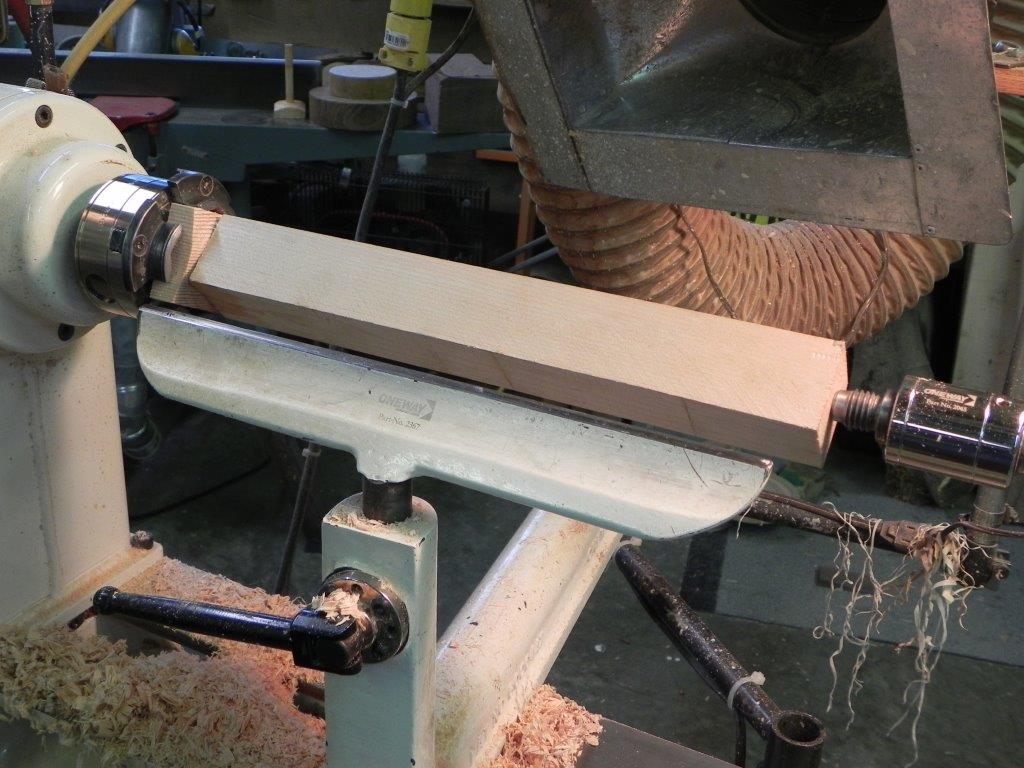
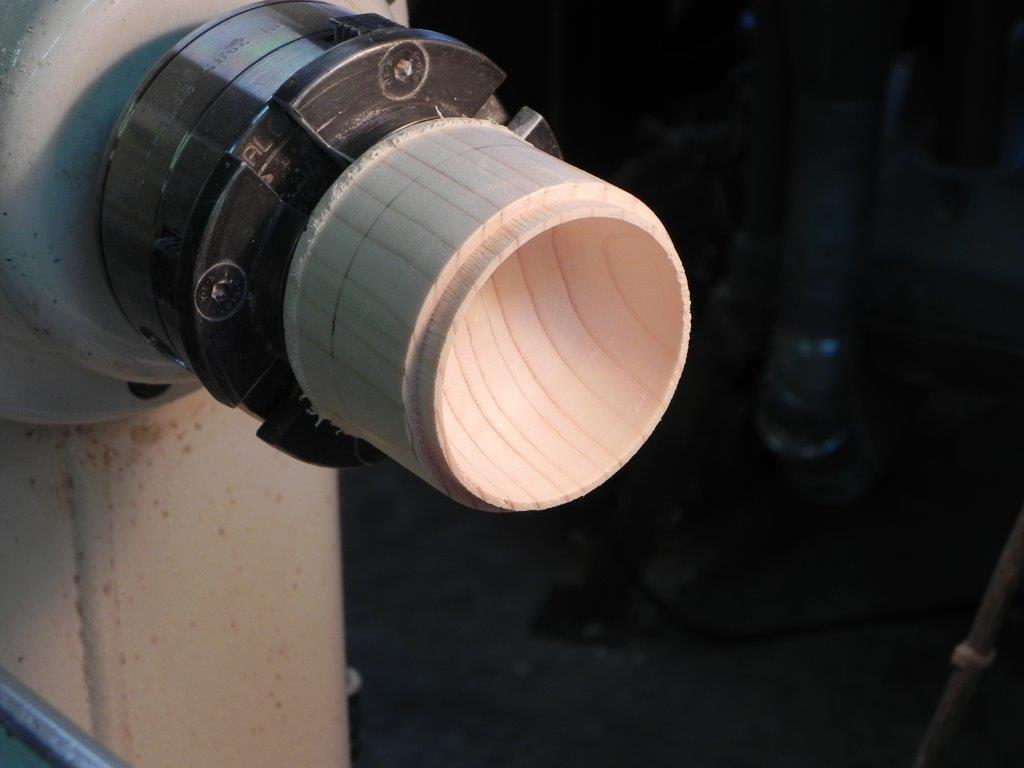
By turning the cylinder to the major diameter of the design, the first diameter is already determined. If there are one or more pommels (square sections where such things as rails or spreaders are mounted), a “pommel cut’ is required to transition between square and round sections and can be one of several different shapes.
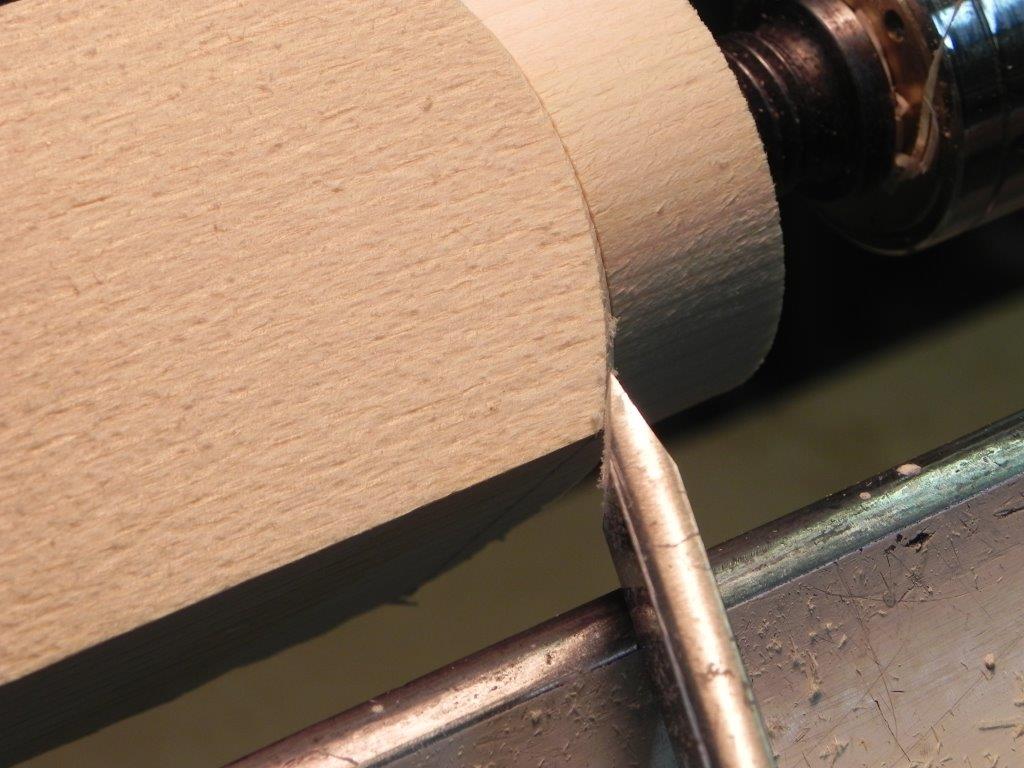
The story stick is the length of the turned section(s) only so that it can be held against the wood while it is turning in the lathe. Once the cylinder is marked, sizing is done with a parting tool and calipers. It’s important that the sizing cut is done on the correct side of each mark so it’s a good idea to shade that side on the first few until you are comfortable with the sequence.
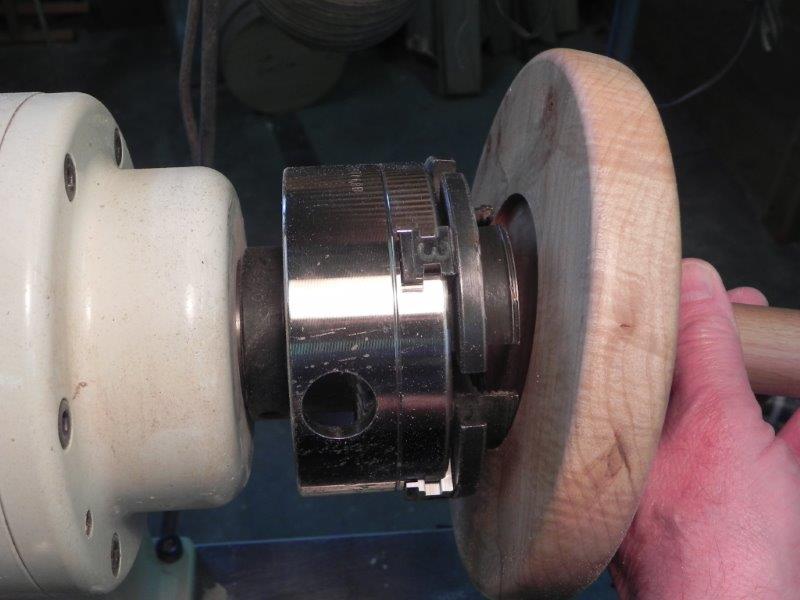
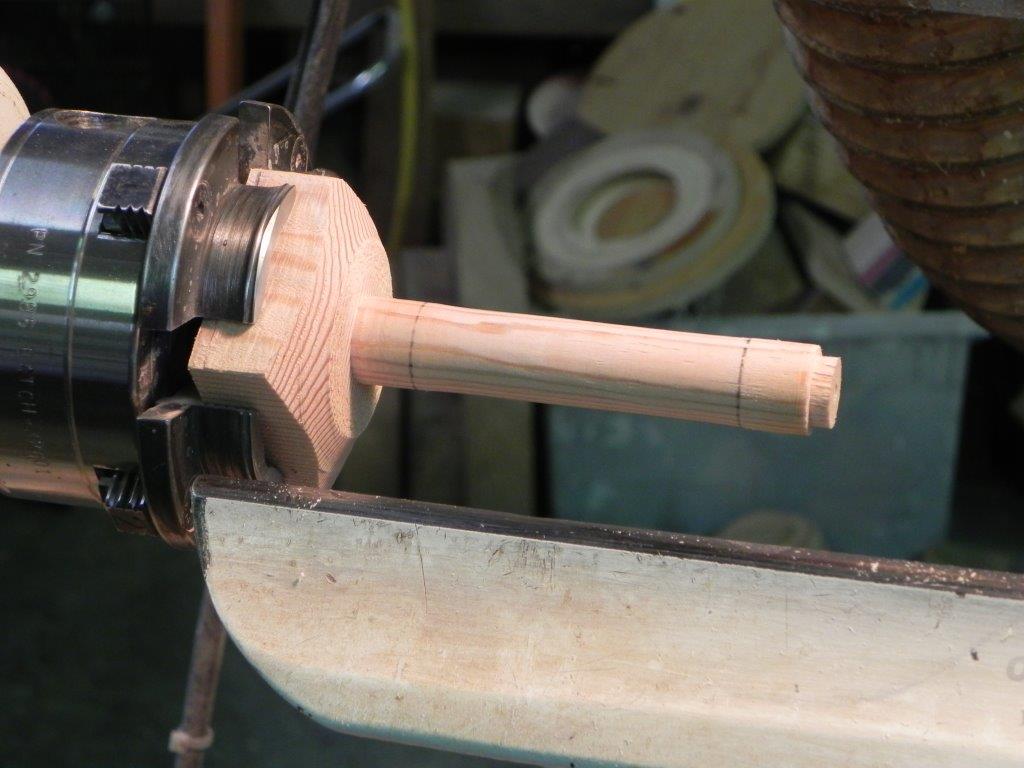
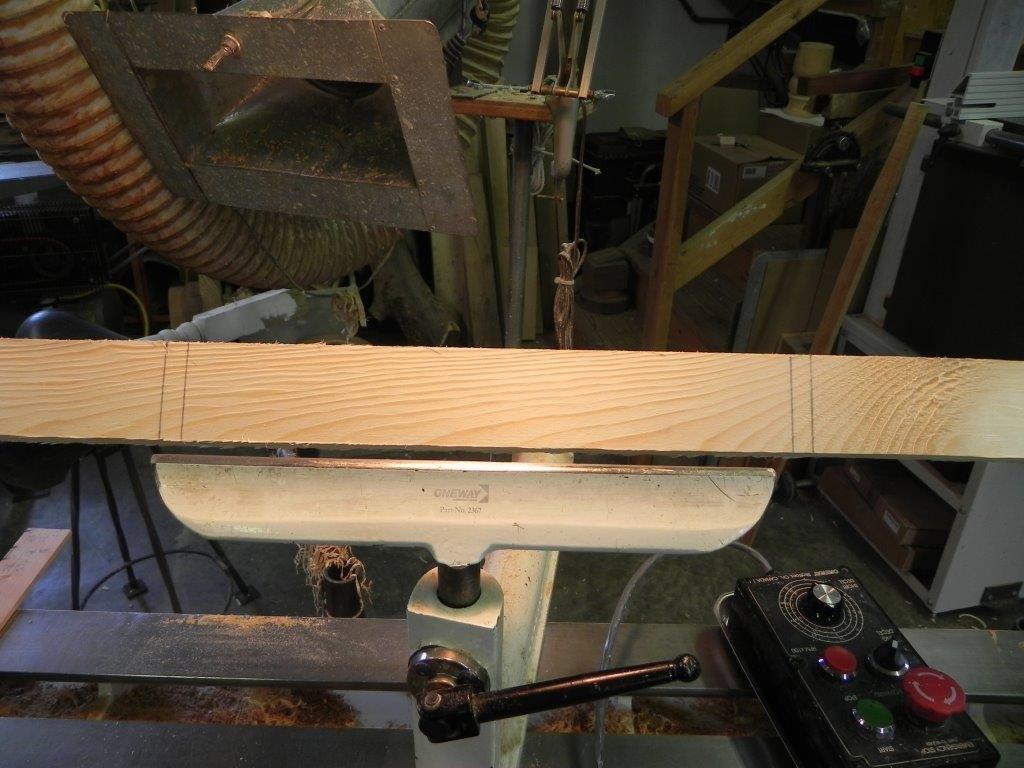
Calipers
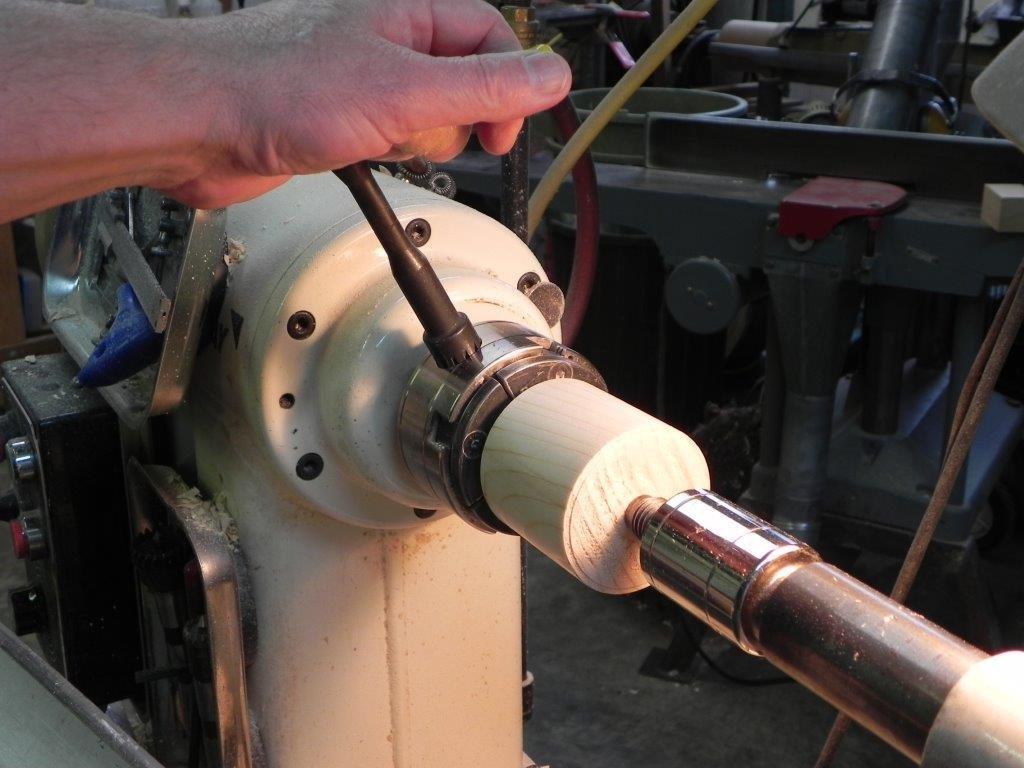
I have a caliper that has a sliding indicator showing the diameter as the parting tool sizes the piece, so I only have to use that one caliper for many jobs. It has size limitations so if diameters are too large or small I use multiple spring calipers and even a vernier caliper set to each diameter. It’s a good idea to turn a test cylinder with all the sizes used to check the calipers every now and then because vibration can change the setting. For a couple of repeat order jobs (small handles) I have permanent calipers made from thin steel plate with slots cut in them to the diameters I need. Using a single caliper introduces errors and wastes a lot of time constantly re-setting the diameters. All calipers should have rounded tips to ease them over the wood without catching on the moving wood.
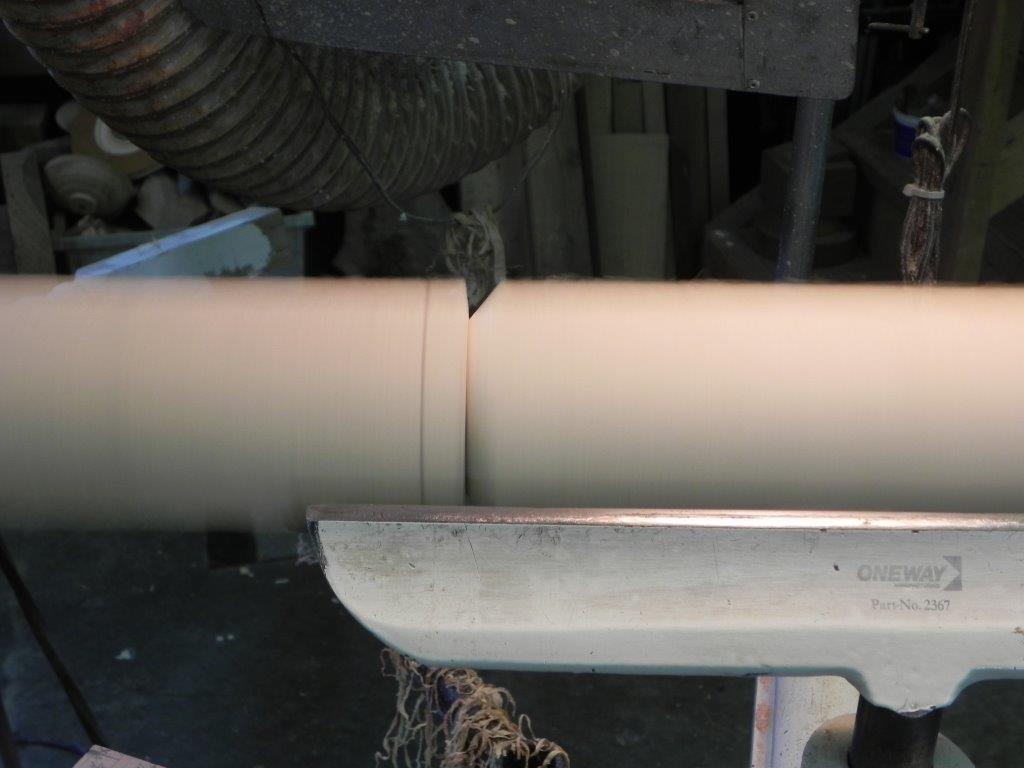
Turned elements of a spindle
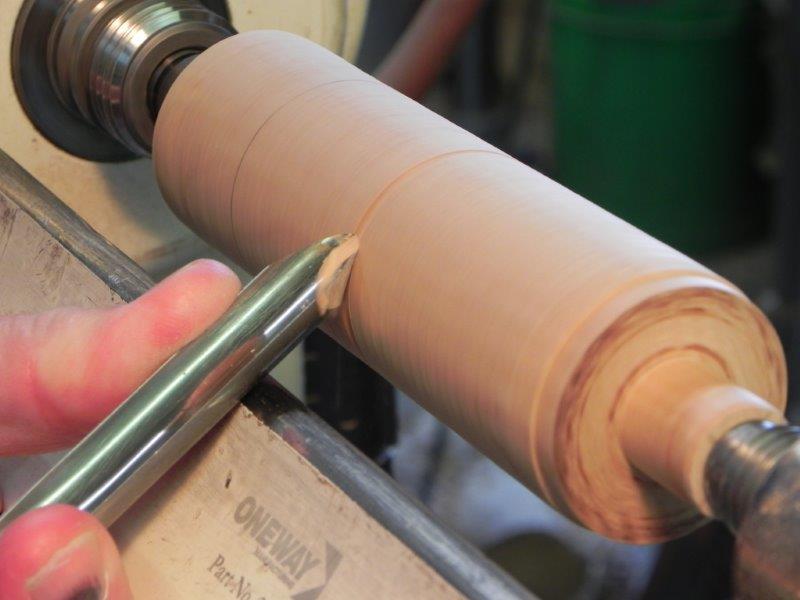
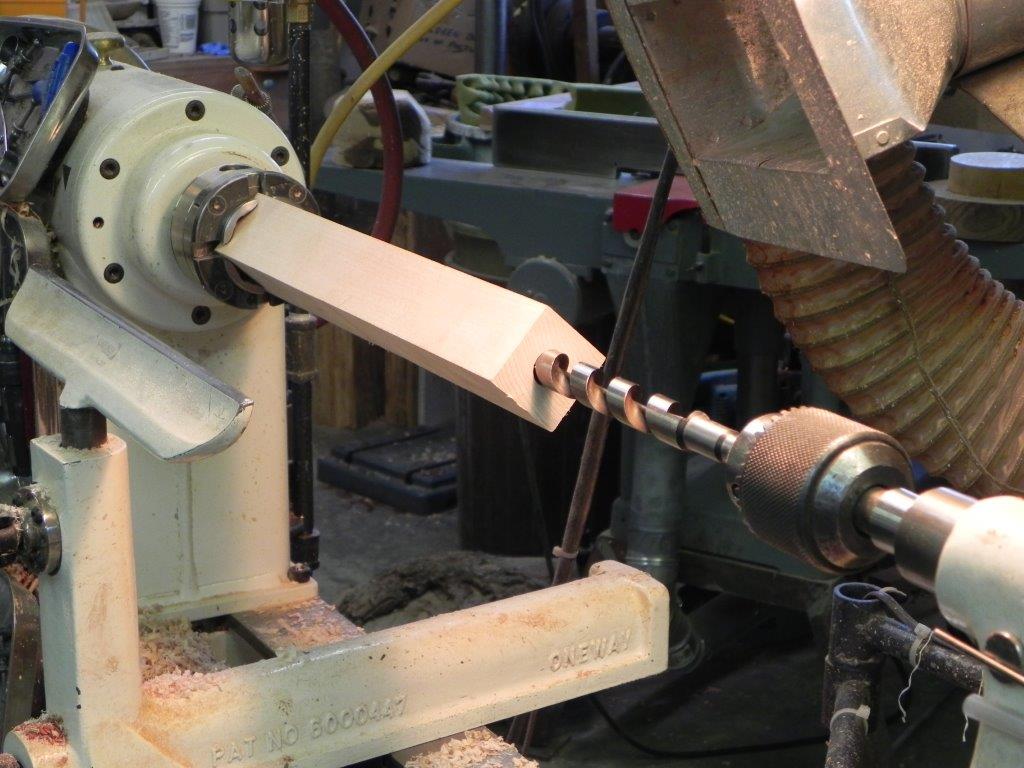
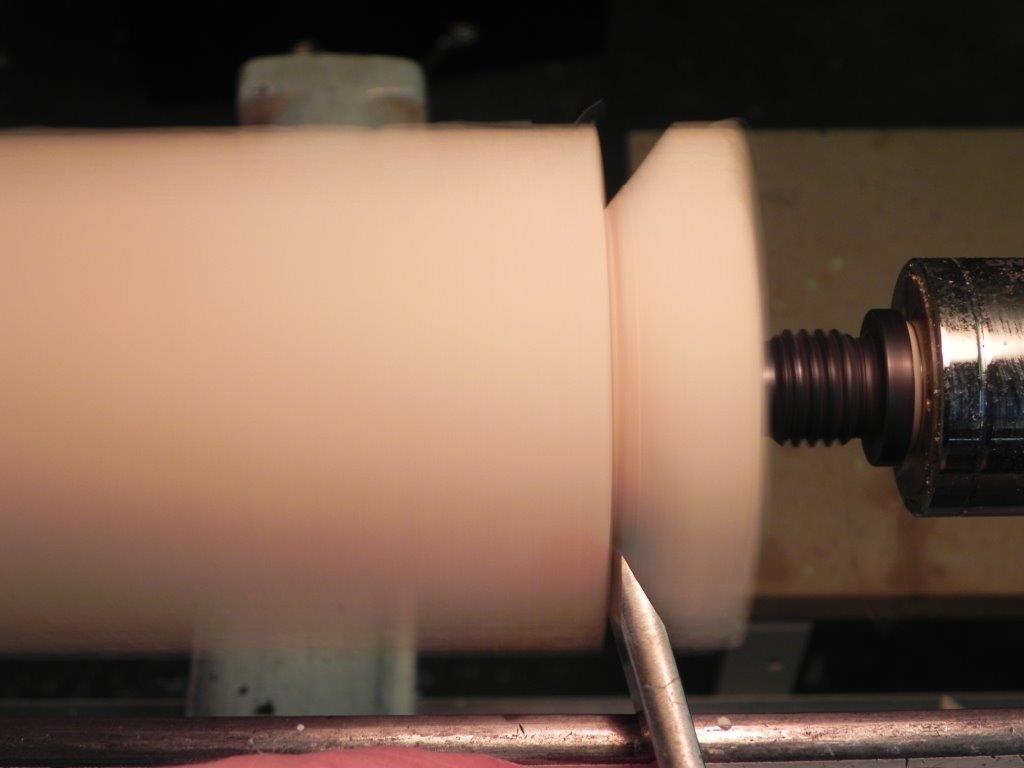
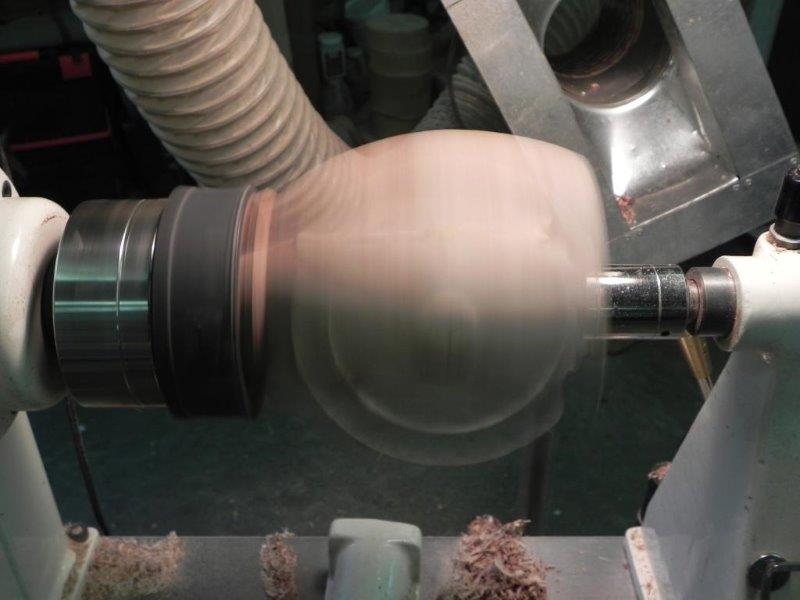
Each element is created using the correct tool for each, with gouges being the most versatile. Gouges can be use to cut beads, coves, halves of both and pommel cuts. Skews can be used for cutting beads (and halves), and planing straight, tapers, convex cylinders and some very long, shallow radius concave cylinders. A spindle-roughing gouge is an excellent tool for forming the larger portion of large beads, large coves and most, if not all, cylinders. The small, rough flats created by the parting tool while sizing are easily cleaned up with a planing cut from a suitable skew. A slight taper rather than a flat next to a bead or cove highlights the element much nicer than a flat and are easily created using the skew.
How to put this information to use
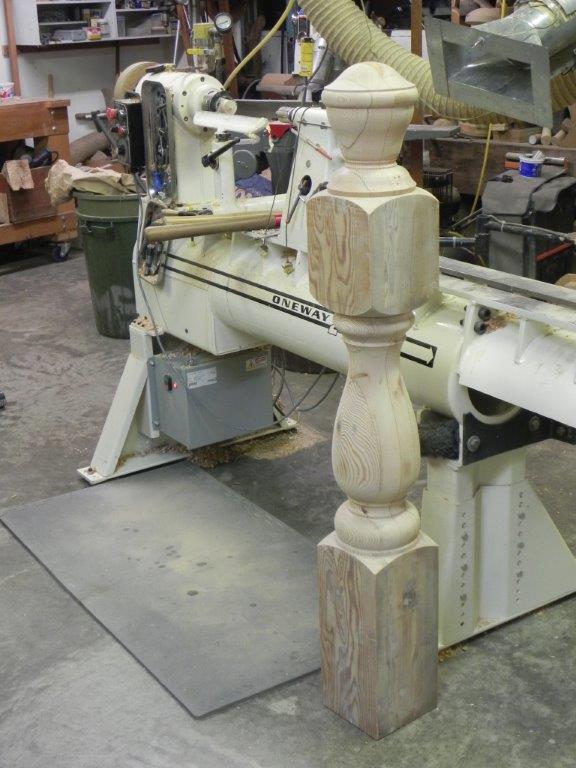
My objective in this post was to present the basic design aspects, techniques and tools used in repetitive turning. The skill that ties the whole thing together of course is turning the design elements themselves. My next post will follow the steps in creating yet another project for the Kaslo City Hall restoration: spindles for a balustrade (stair railing). I hope to include information on the proper use of the tools to create coves, beads and pommel cuts. Proper use of the basic tools has already been covered in a previous post.
Remember that practice is the key. Once you learn the technique for turning beads and coves (two of the three main elements in a spindle), it’s a matter of practicing them just like a musician practices scales. The cool thing is that this develops tool control, which is directly transferable to bowl turning, so there is no wasted effort here if you are a bowl turner.


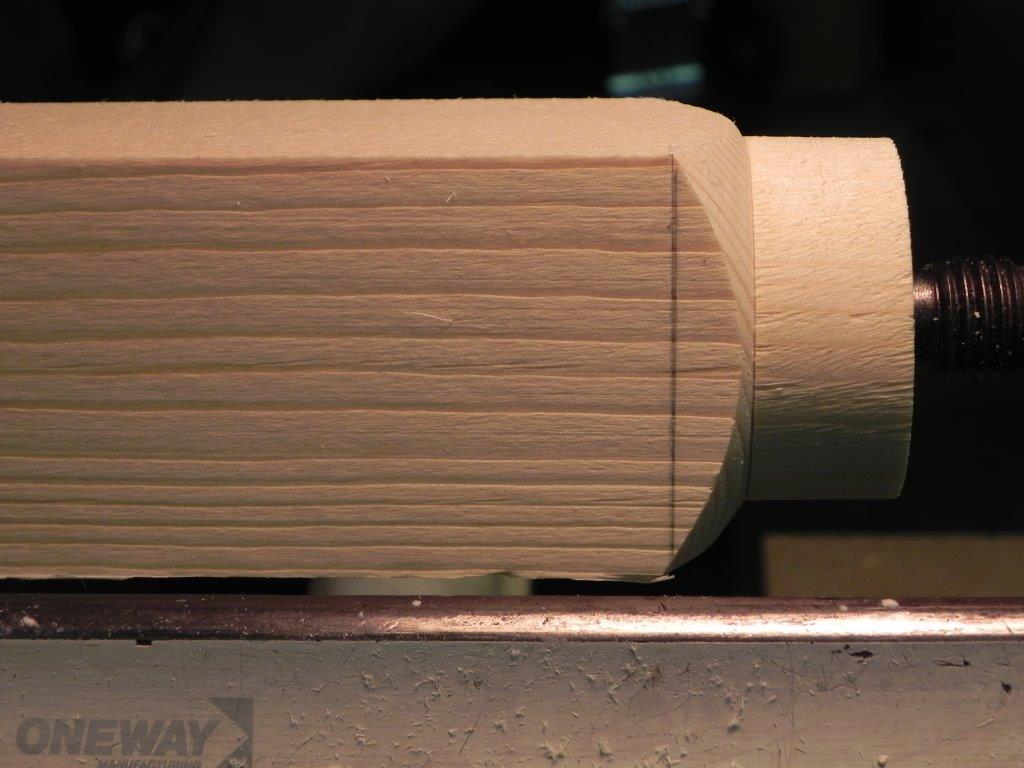
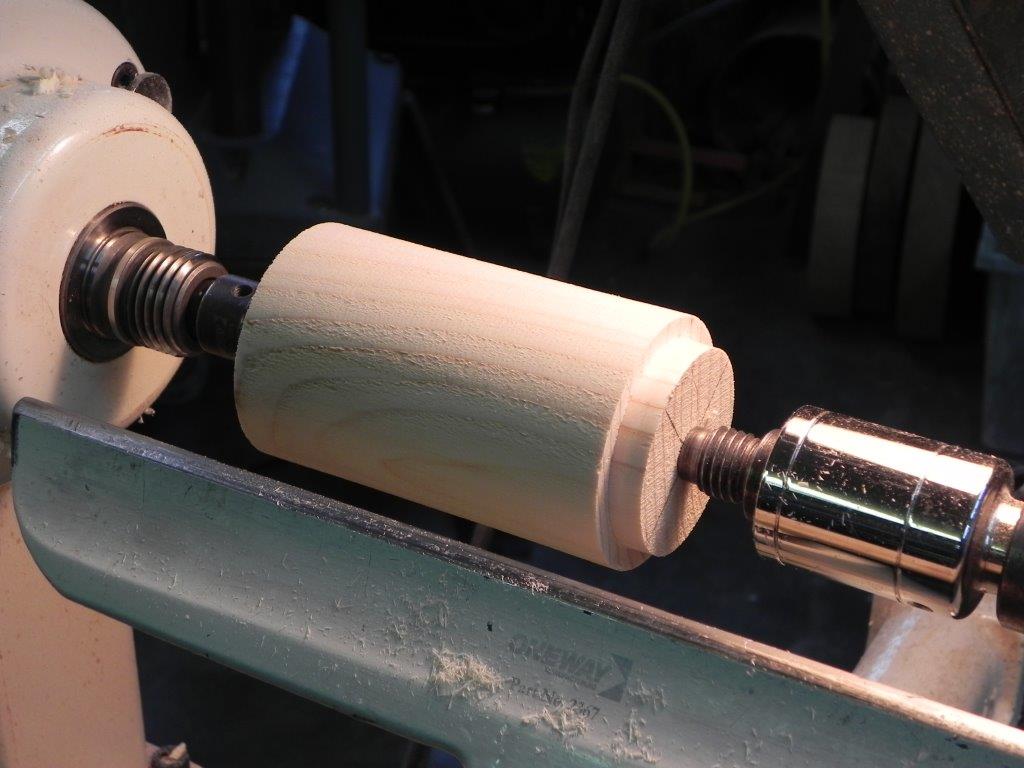


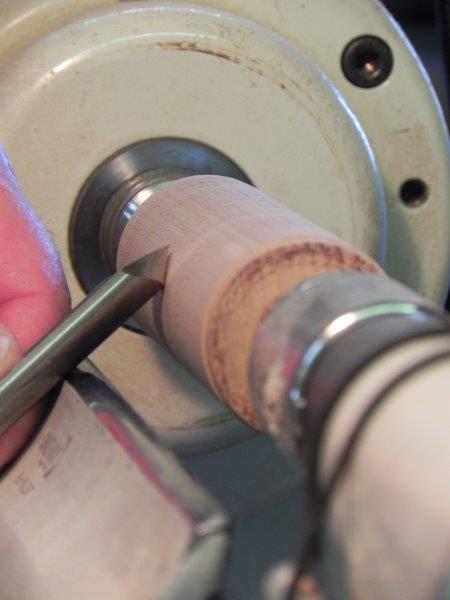
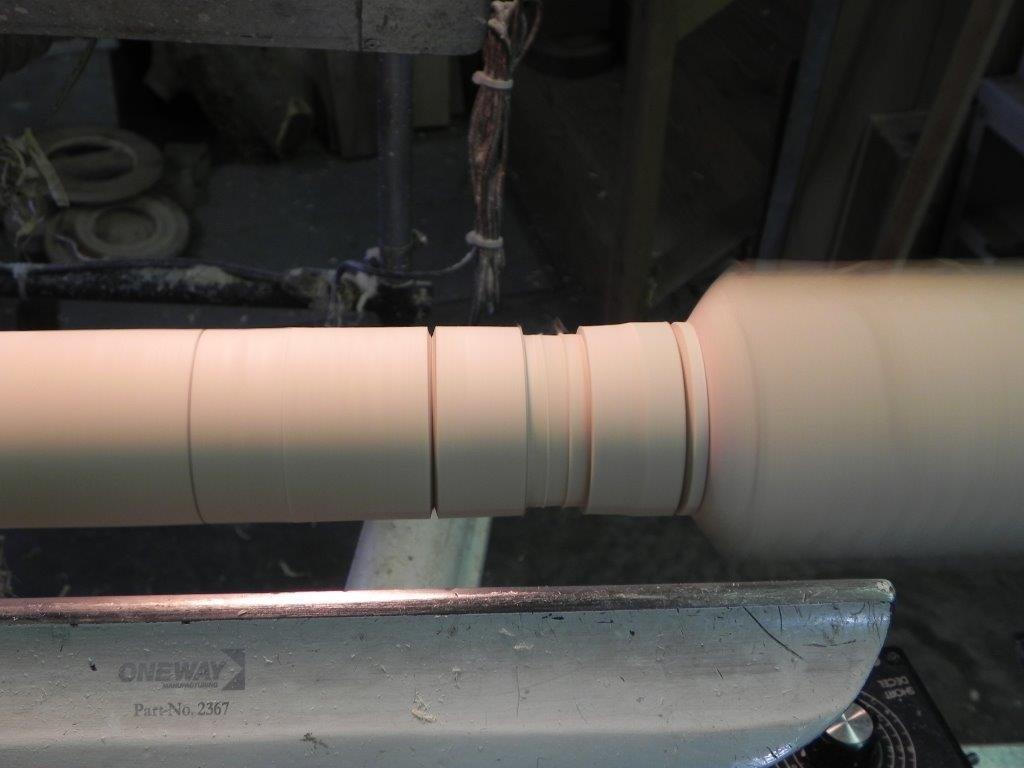
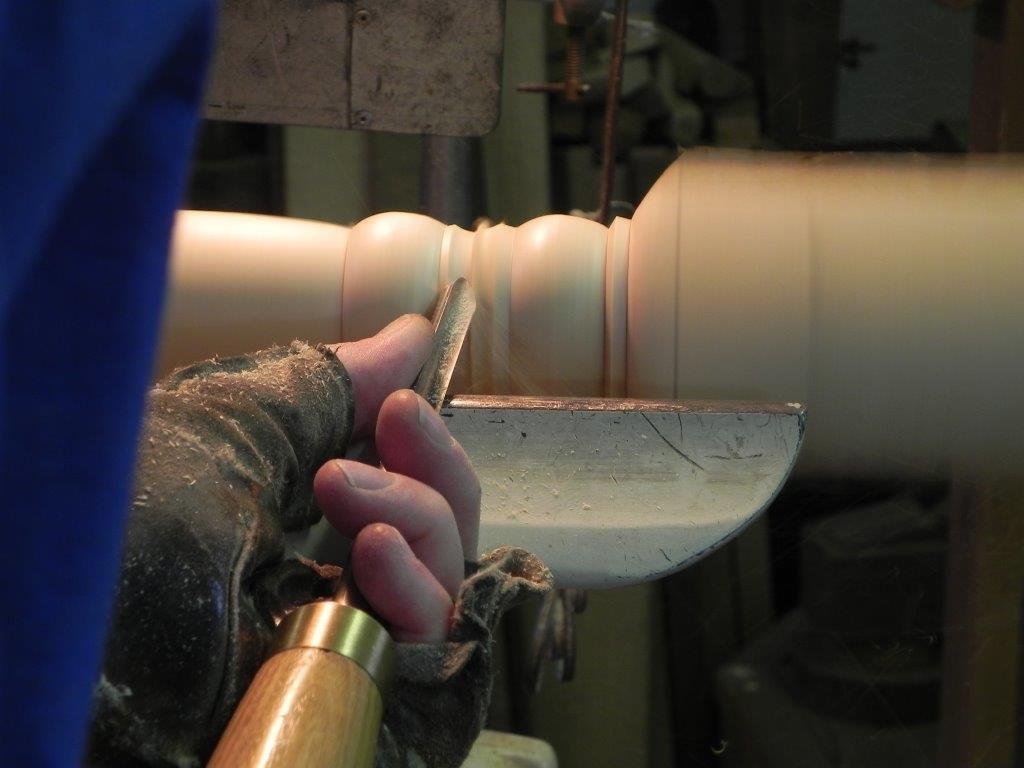
 Step 4.
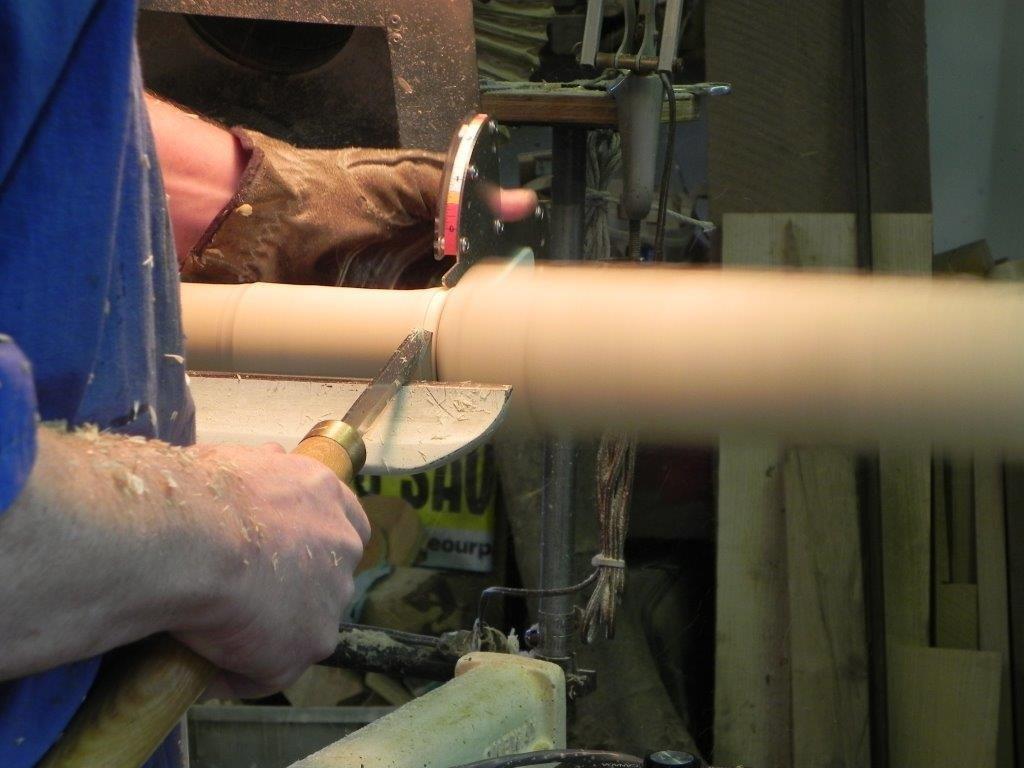
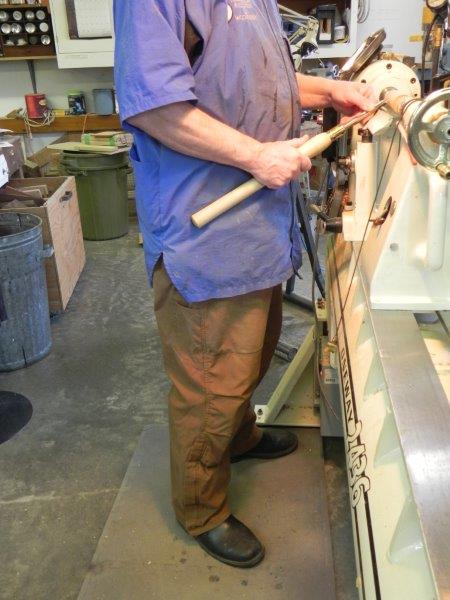
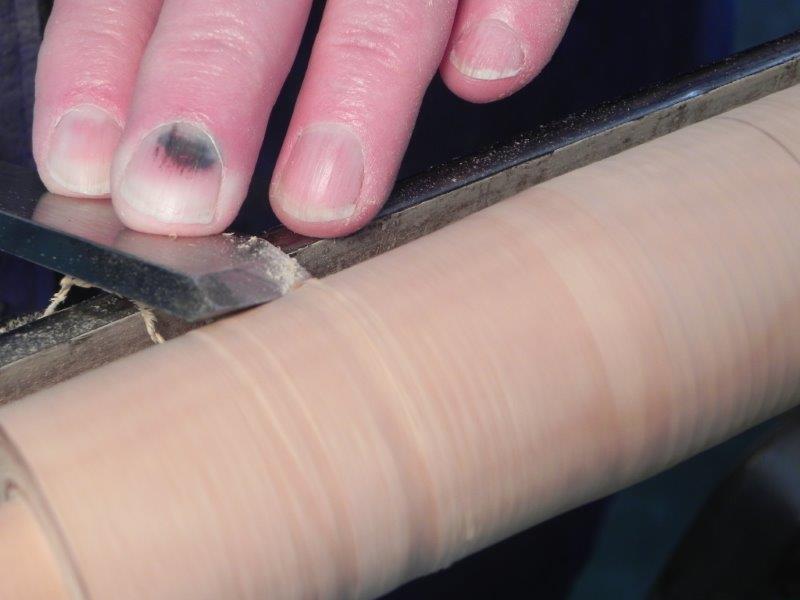
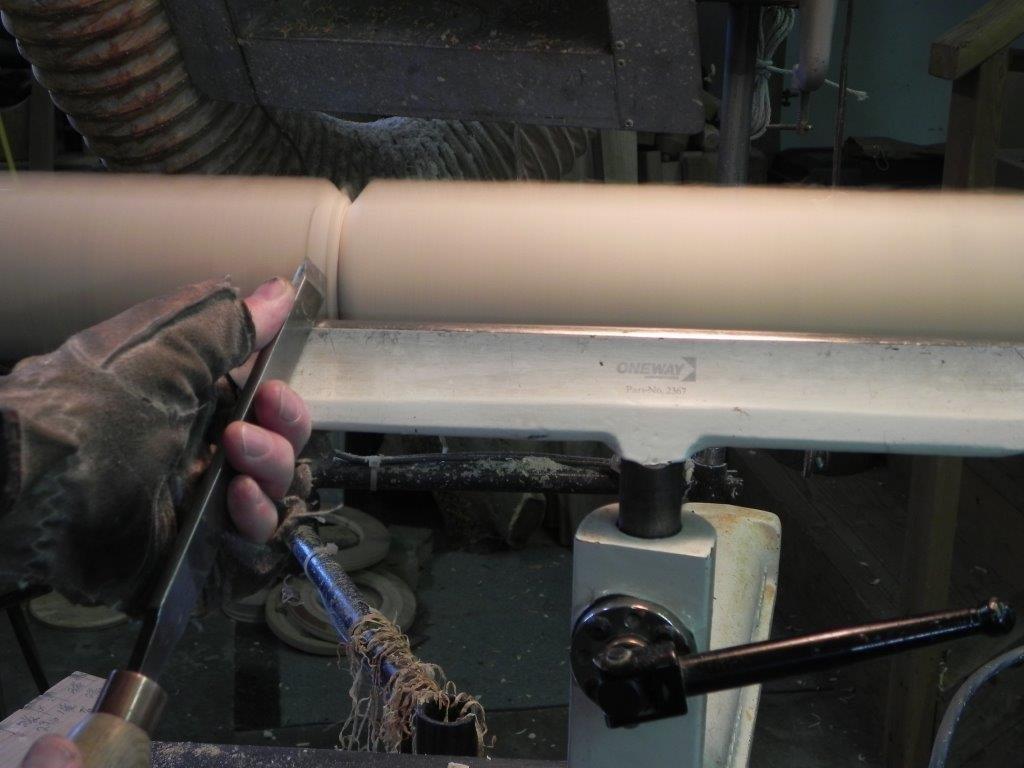
 Note the polished surface of the glove after much use. I doubt the palm of my hand would fare as well. It is imperative that the fingers do not come into play, wrapping the cylinder. Wrapping the cylinder could cause your hand to be drawn into the work and cause significant injury. Not to worry, once your fingers start to burn, you quickly get the hint to keep them free of the work.
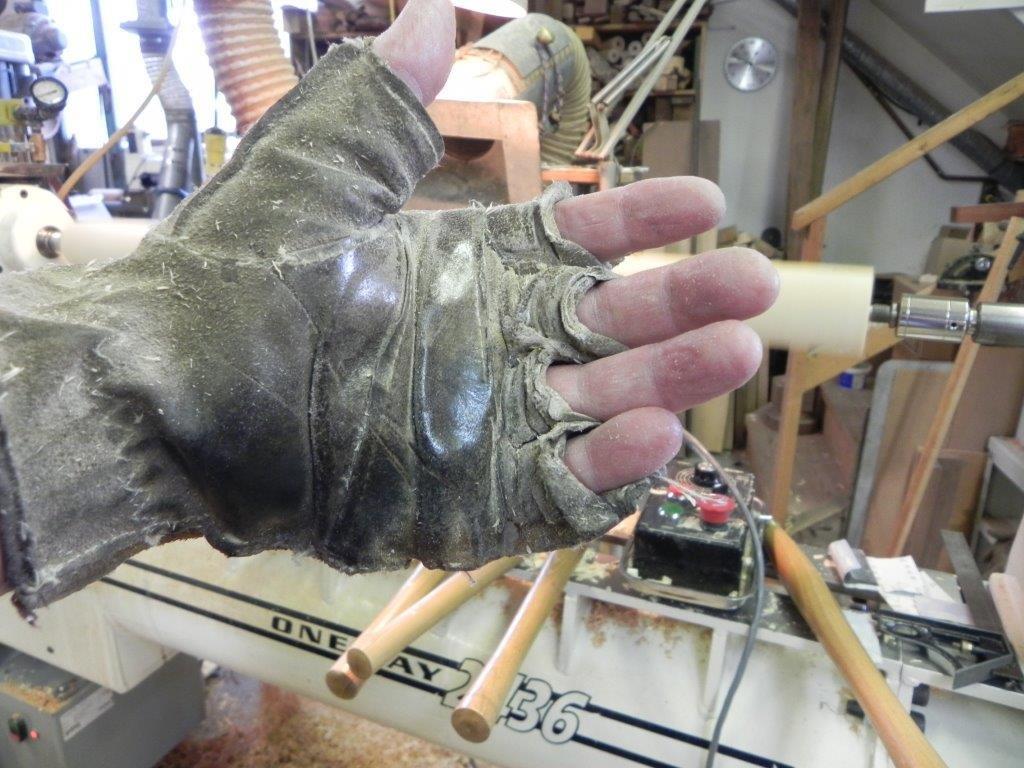 Step 5.
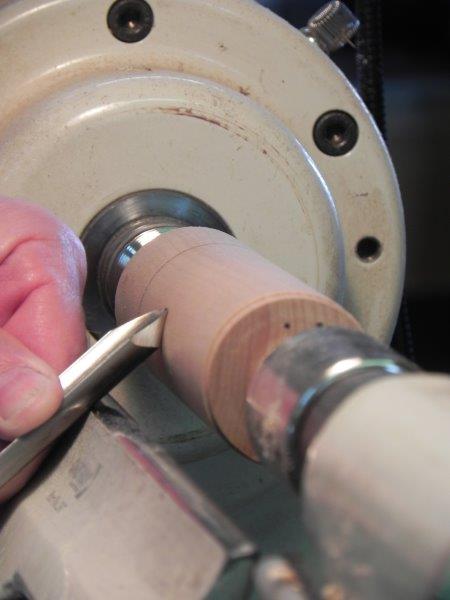
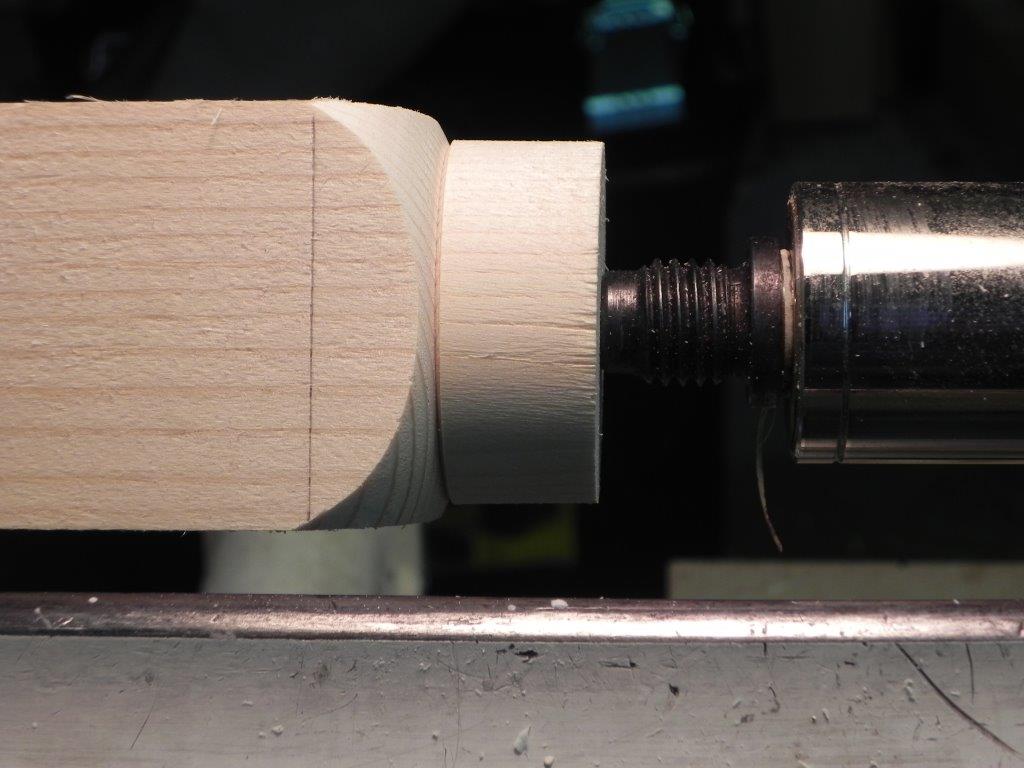
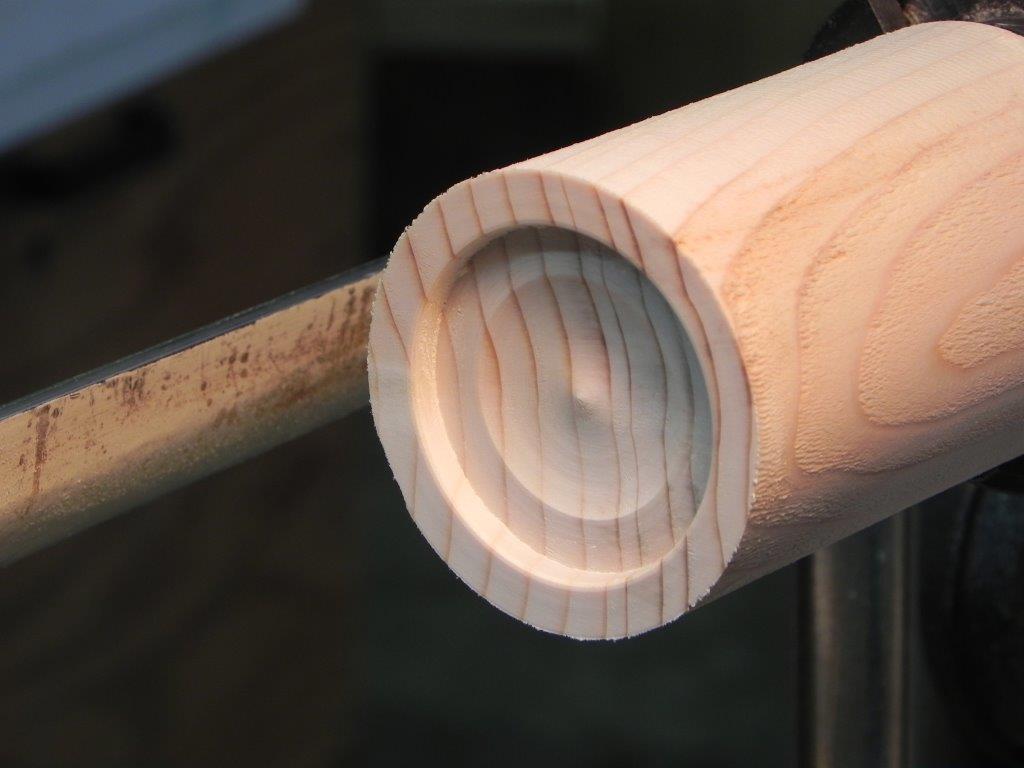
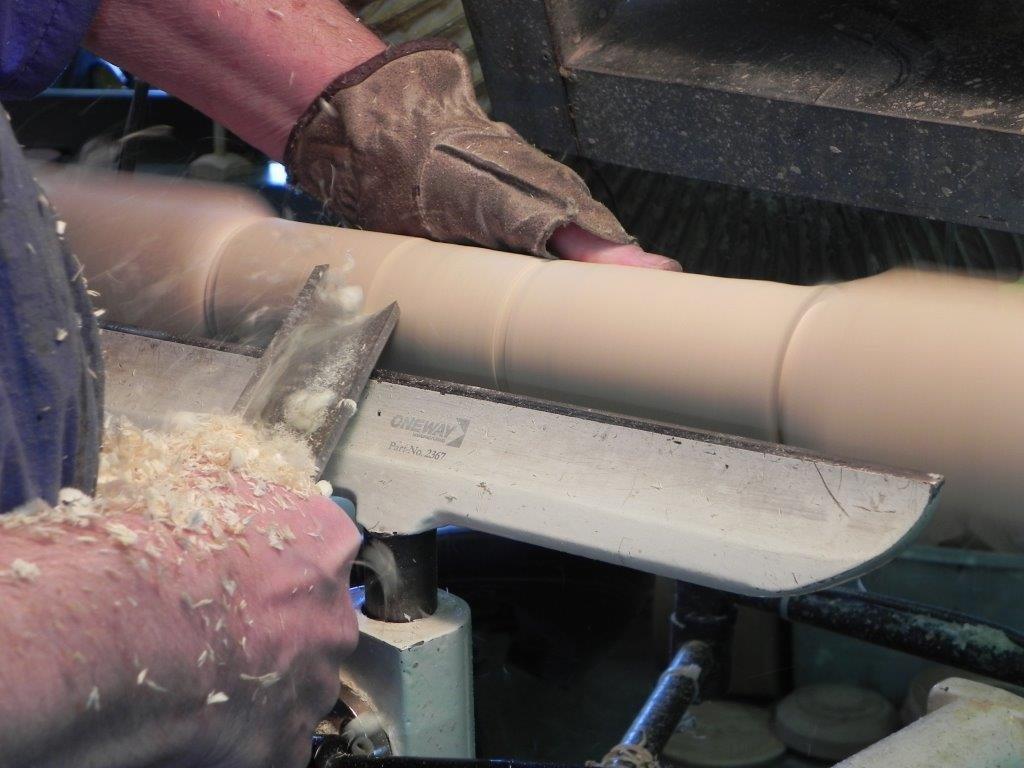
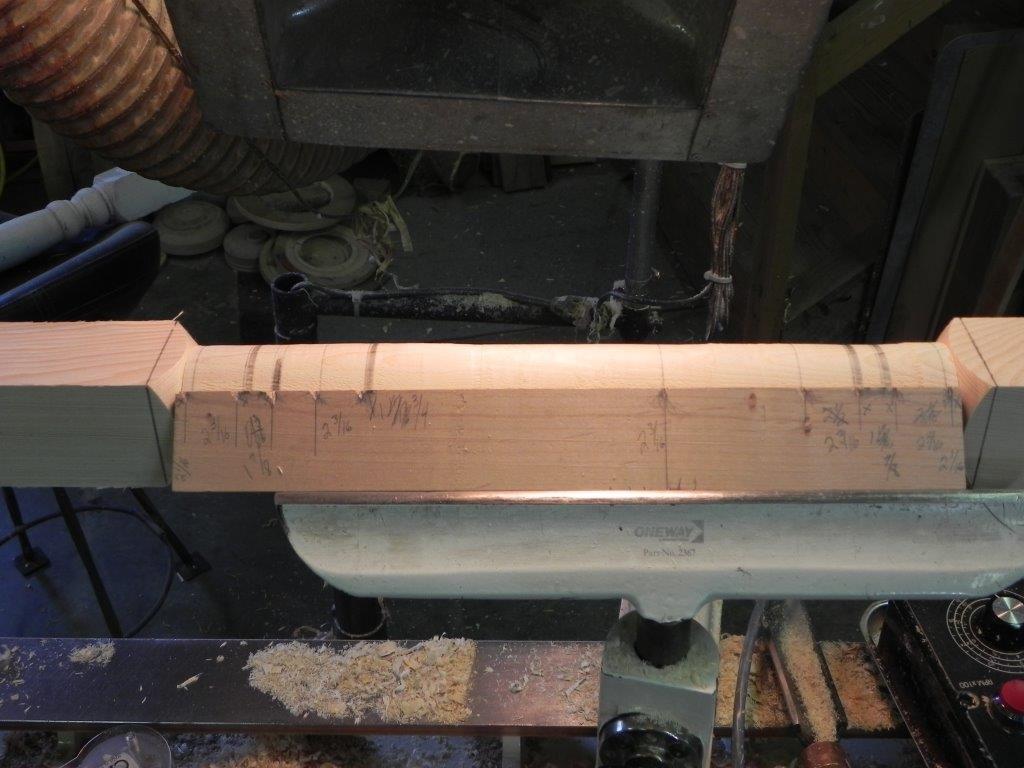

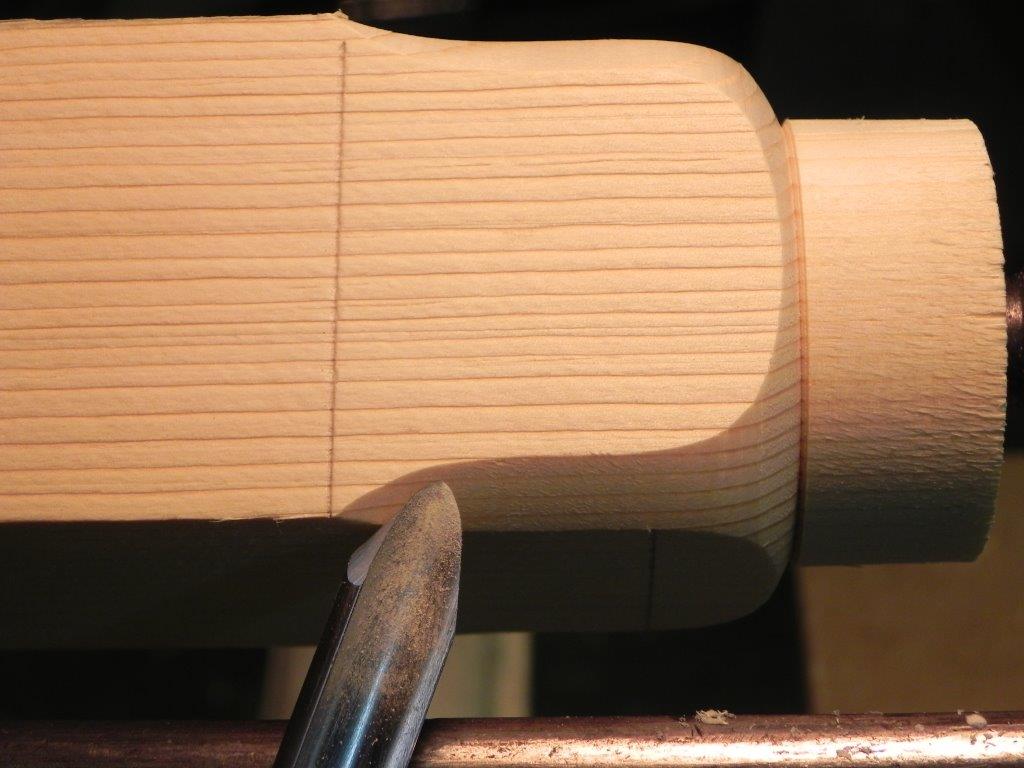
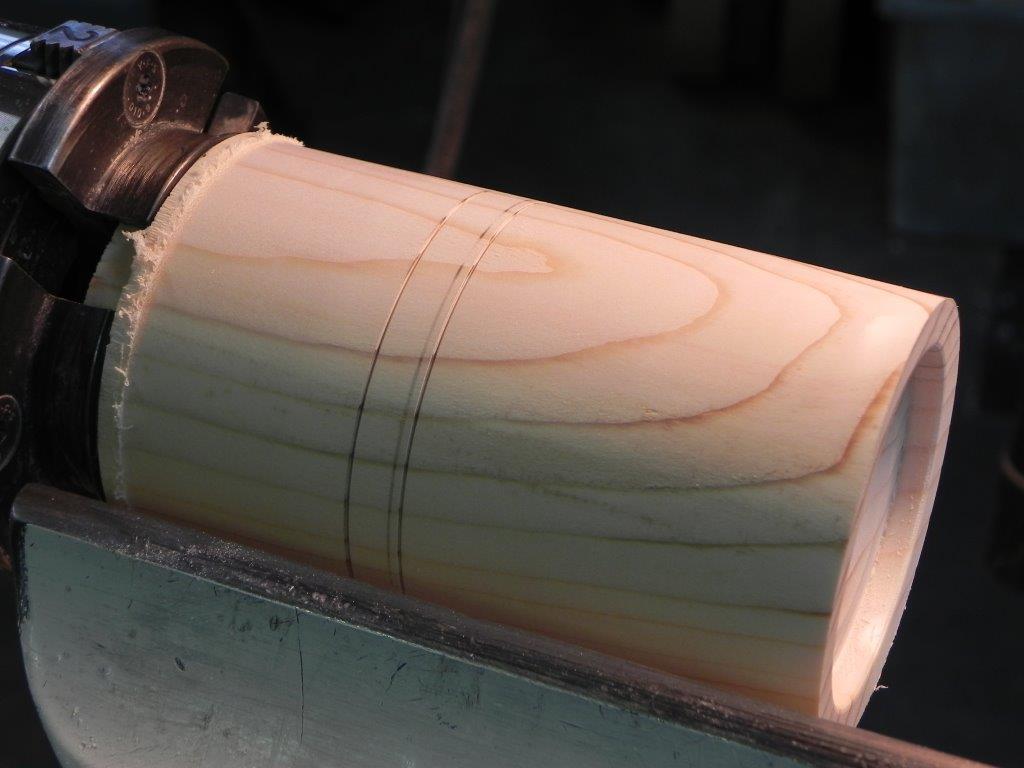
 Step 7.
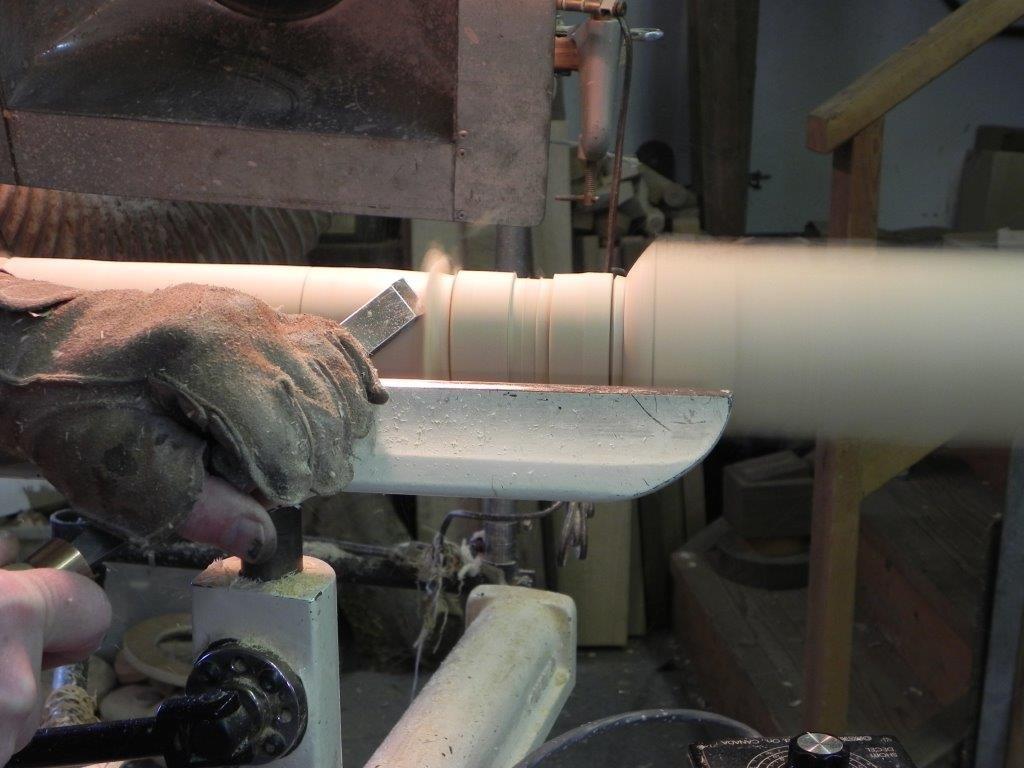 Step 8.
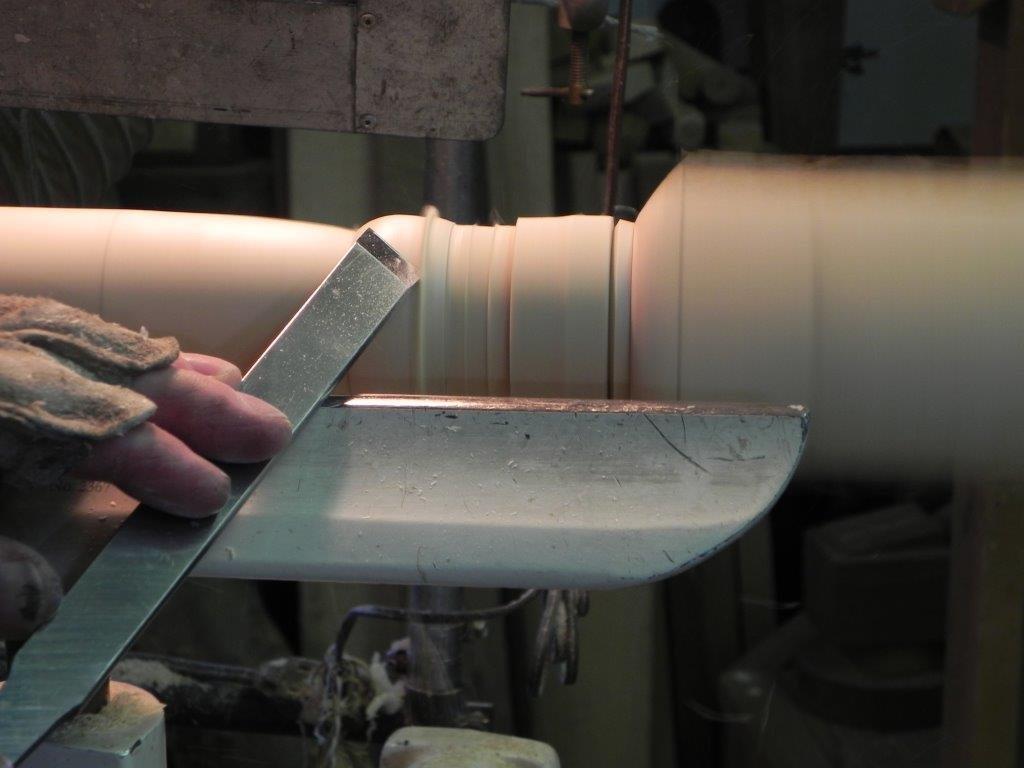 Another change in procedure: I typically cut a cove then trim the sizing cuts with a slight taper using a very small skew reserved for just that job. I found that I had room to make the trimming taper with the skew immediately after cutting the beads with the larger skew I was using, thus avoiding picking up a second tool for the job. Cutting the cove after this operation was backwards to my normal routine but everything worked just fine.
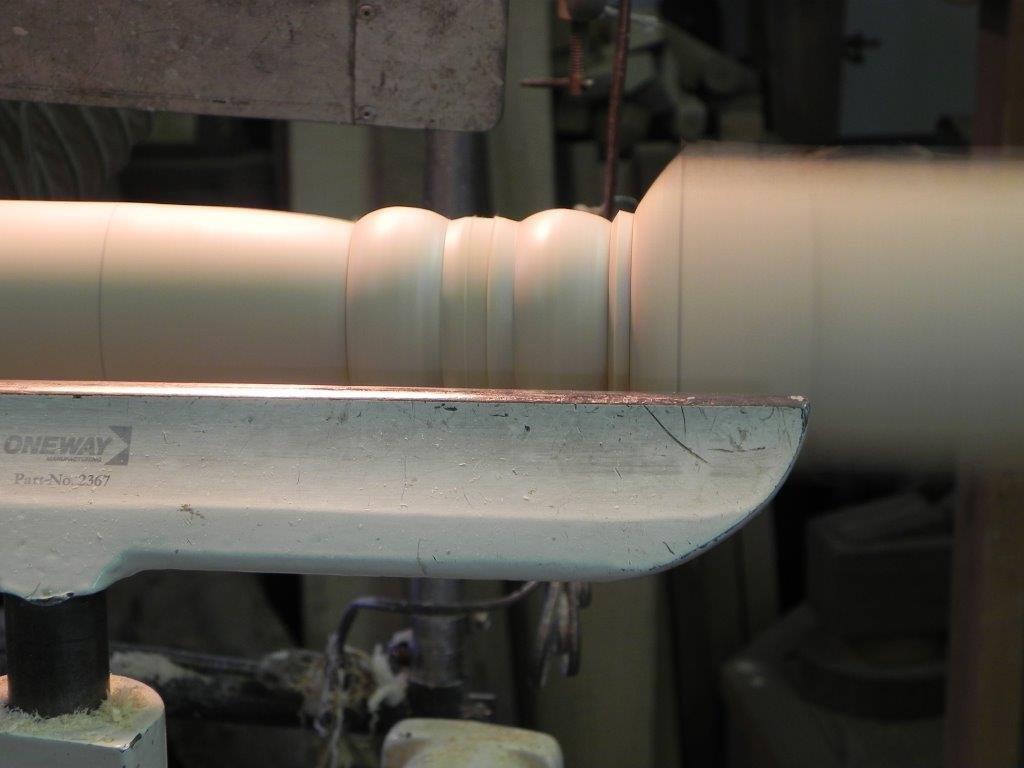
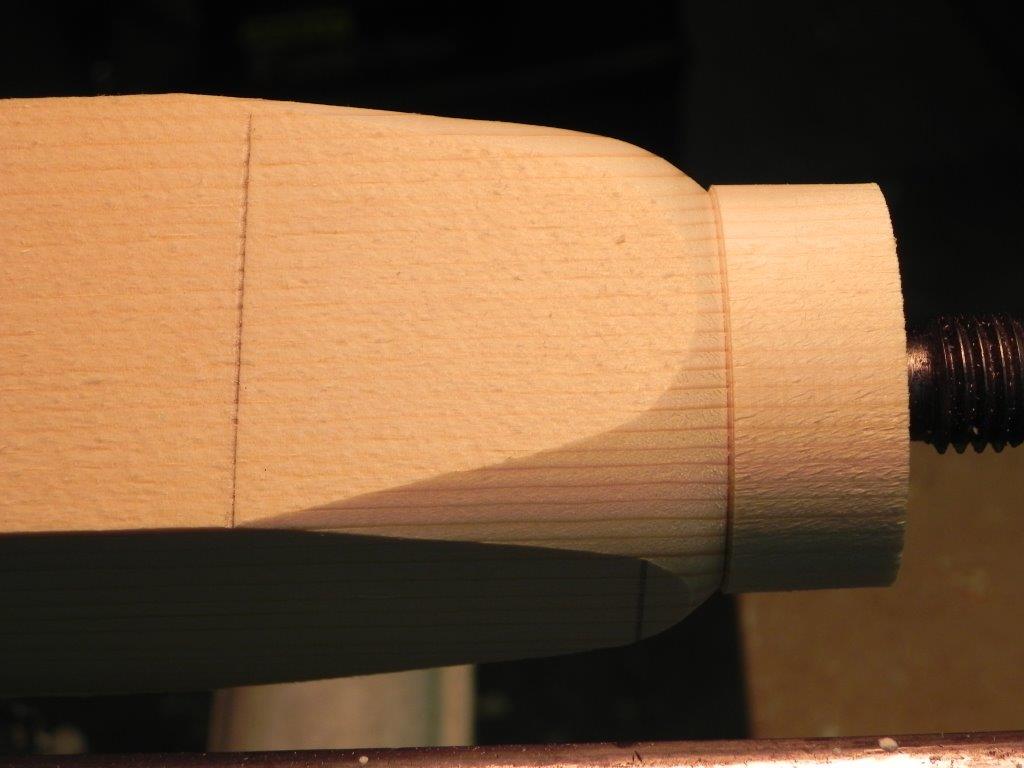
 Step 9.
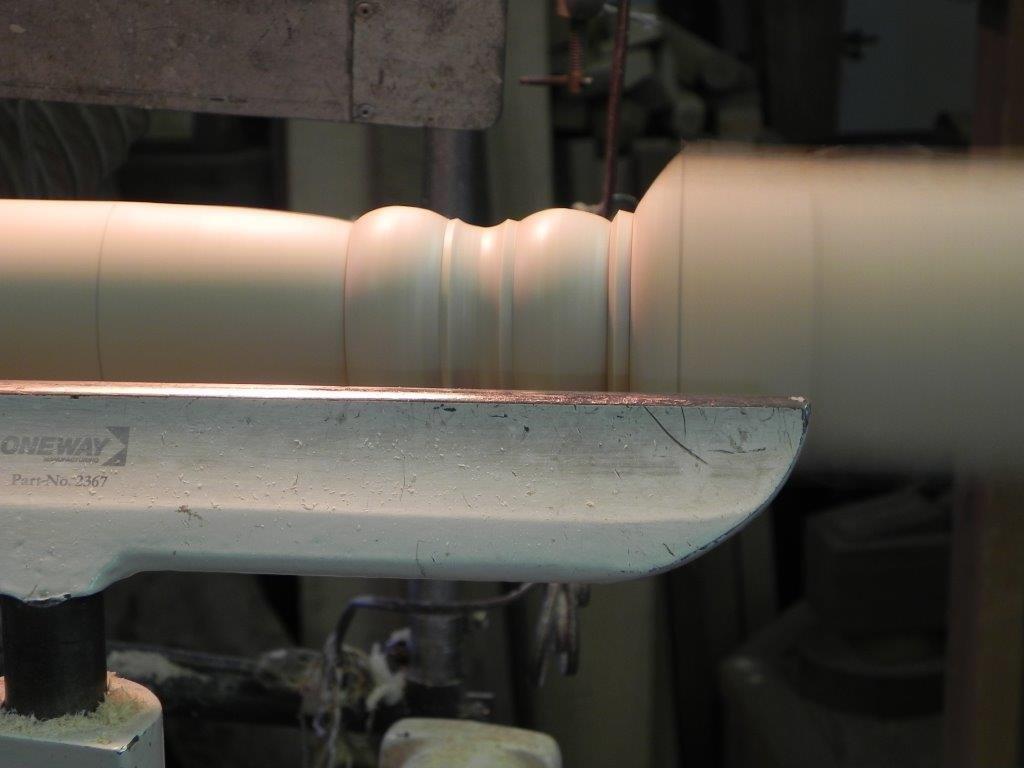 Step 10.
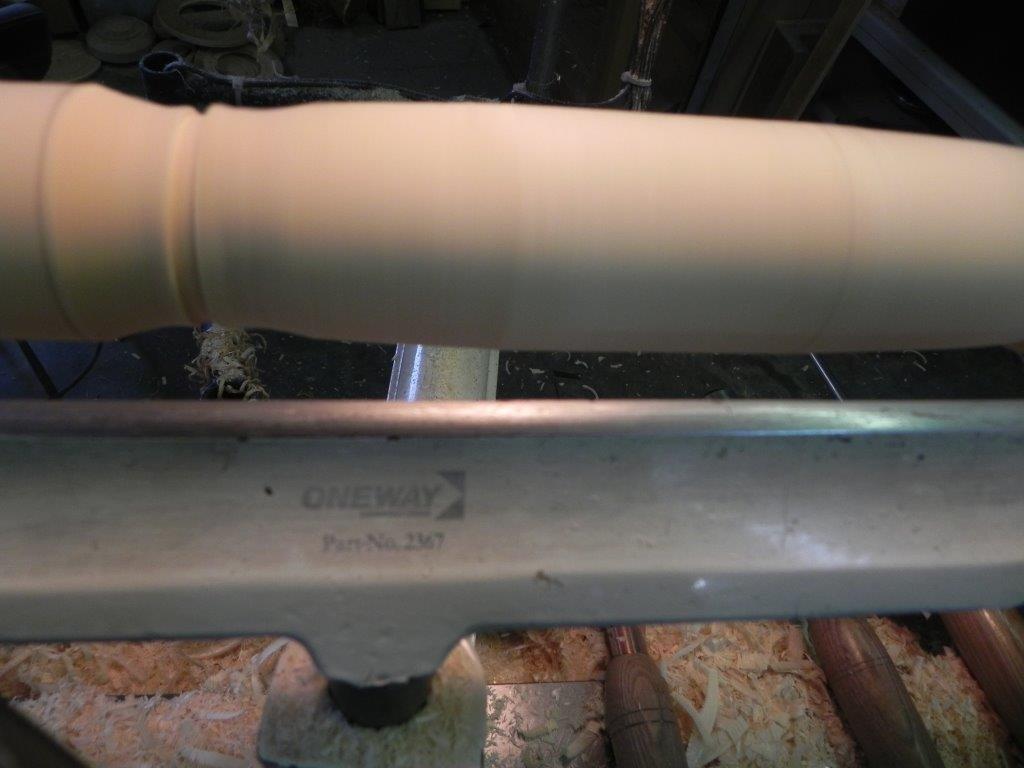 Step 11.
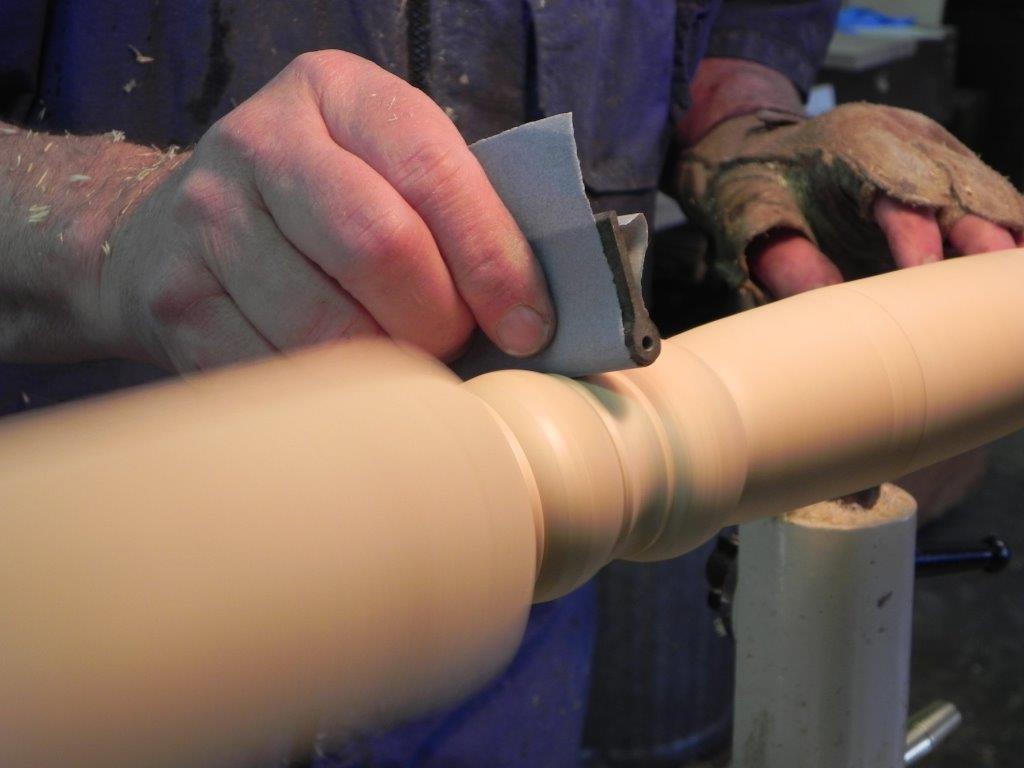 Carefully sand the center of the cove to maintain crisp detail.
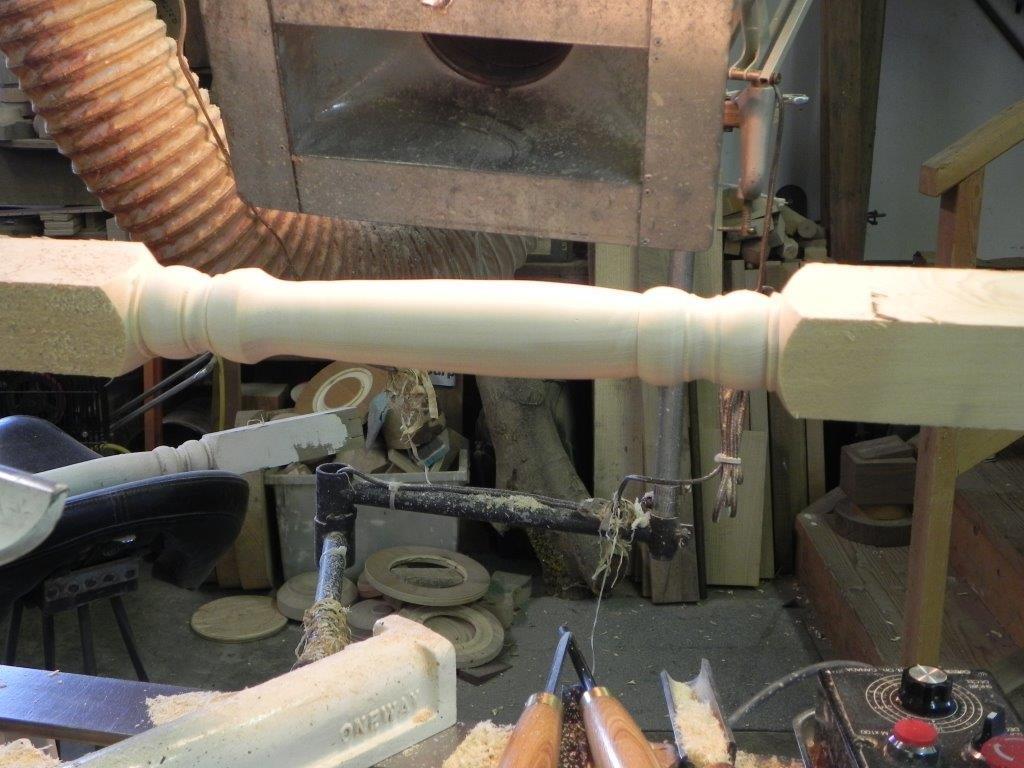 Stacked with the original, these spindles are ready to be put back on the pallet on which they came. Each one will differ minutely from the next but as my dad used to say, “A blind man running for his life would never notice.”