Originally written by Ed for Craftsy as “Things to Consider When Designing Turned Furniture Legs”>
There are so many considerations when designing a piece of furniture. Does it have to match other pieces? Is it to conform to a particular genre? Ornately carved? Simple, yet elegant? In any of these, turned legs may be part of the picture. If the design includes turned furniture legs, let’s take a look at a few things you should consider.
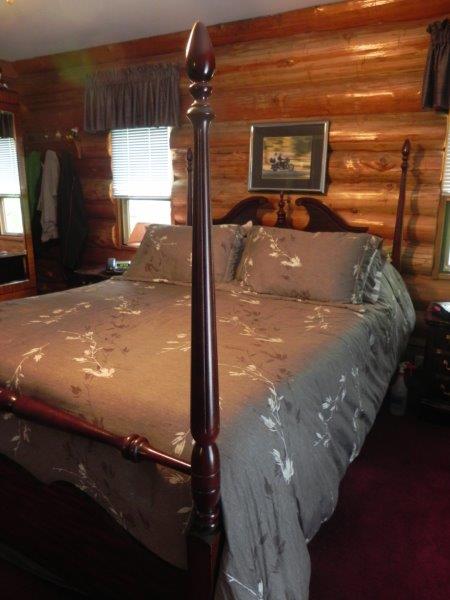
Though not a hand made piece, this bed incorporates several turned elements including the legs.
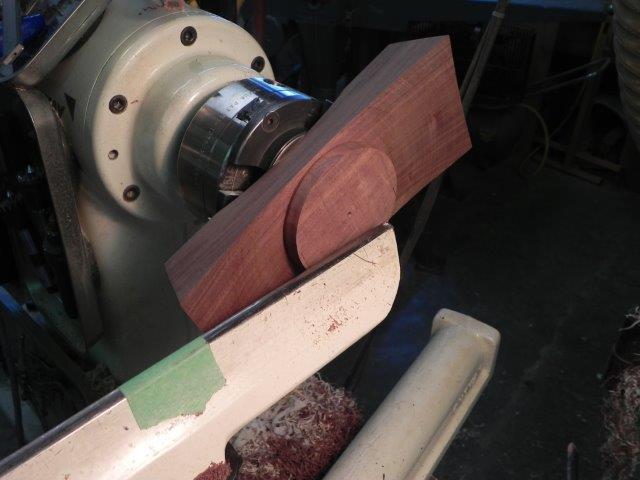
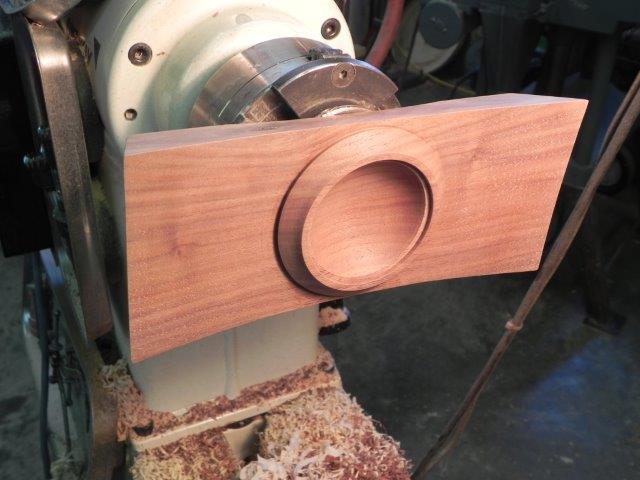
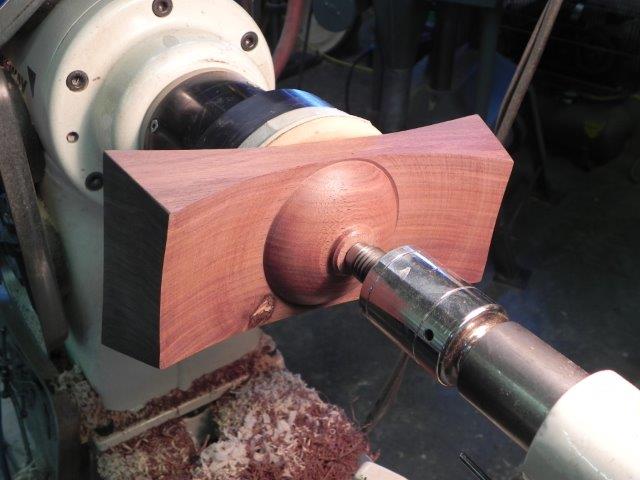
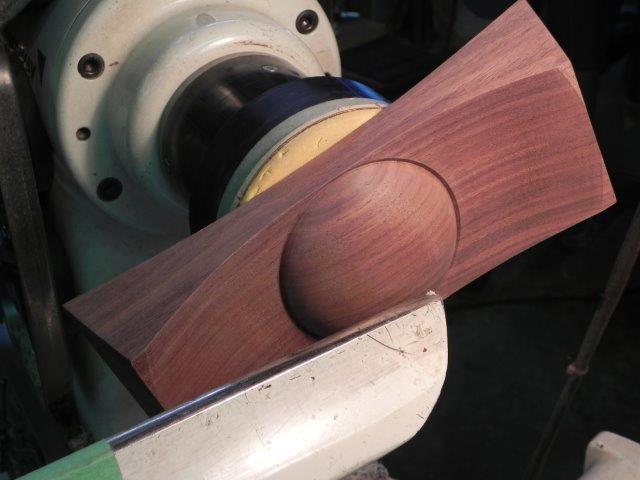
Basic elements of a turned spindle or leg
There are only three elements that make up a piece turned between centers: beads, coves and straights (cylinders). Even at that, straight lines are rare and usually in the form of a cone rather than a pure cylinder. If you look closely at what appear to be cylinders or cones, they will most likely have a deft curve to them. Your brain will tell you right away: “Straight lines are boring!”
By combining a very few beads, coves and sweeping curves in various combinations, the result is very often something that appears far more complex than it really is.
Light and shade
Artists use light and shade to create drama and depth. A woodturner can create those same effects by combining beads and coves. This is the same effect as the shadow lines created by the shapes in a crown molding or casing. Similarly, sweeping curves add depth with the more subtle shadows they cast upon themselves. If this is taken into consideration when designing a turned leg, a very attractive piece can be created that is actually very simple in execution. “Less is more” applies here.
The secret is in the execution. The crisp line that defines the edge of a bead or cove is key in producing a shadow line cast over the gentleness of the curve of the bead or cove. The significance is that beads and coves, for example, should never appear beside one another without a small step between to create that crisp delineation between the two. The enemy: sandpaper. Even the slightest rounding of an edge can kill the effect. The line of a sweeping curve should have uninterrupted transitions without even a hint of a flat. If there is a tiny flat, the eye may not see, but the brain will know that something is amiss.
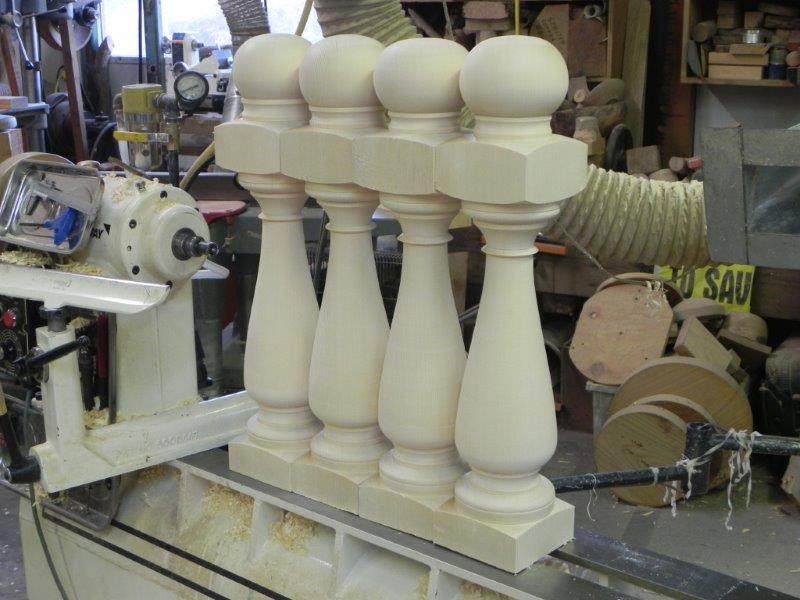
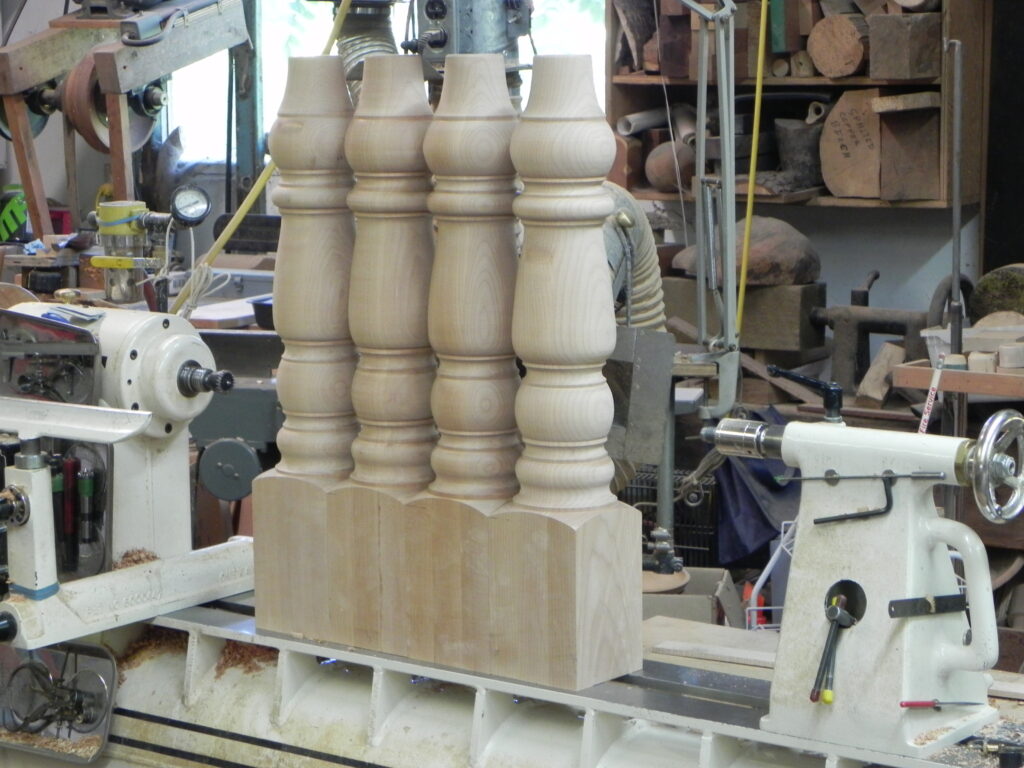
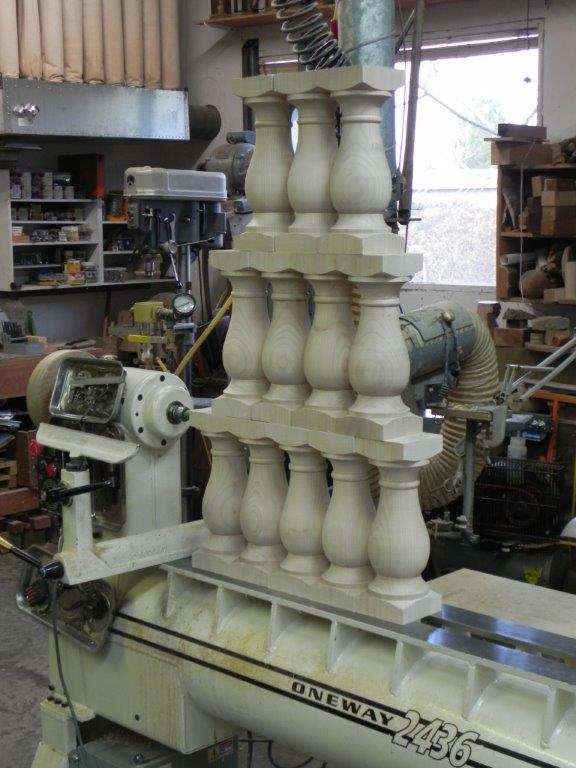
While the photo above is of newel posts rather than legs, they exhibit beads, coves, sweeping curves and the light and shade they create upon themselves very nicely. Once a finish is applied the effect is even more dramatic.
The human form
If you look carefully at examples of table and chair legs and other similar forms you will notice that the shape is sometimes reminiscent of the human form. We are attracted to that form by nature, therefore making it a good choice when considering a design.
Noted furniture designer Mark Sfirri turns the simile into a metaphor by employing abstract human forms he creates using multi-axis turning as part of his work to produce award-winning pieces.
Because our hips are more or less 5/8 of our full height, it is therefore no accident that the golden mean applies in this case. The golden mean is the ratio between the overall length (in this case) in relation to the lengths of the major portions of the piece. Usually stated as 1 to 1.6, 5/8 is a reasonable approximation.
Structural considerations
Structural stability and process cannot be ignored when designing turned furniture legs. Rails are more easily mortised into a leg at a flat section and the flat surface offers a reasonable thrust face to increase resistance to lateral forces when required. Square sections are left at the top and often near the bottom of a leg to accommodate rails for this lateral support. These square sections are called “pommels.” The transition between square and round is called a “pommel cut” (clever terminology don’t you think?). The execution of the pommel cut can create a very attractive and flowing ogee (“bird mouth” or “lamb’s tongue”) or a very simple half bead (curiously dubbed “half bead”) depending on the overall design of the piece.
Clearly the load bearing requirements and the use to which the piece will be put could require either a hefty, squat leg on a large dining table or a finer, more delicate leg on a hall table. Both are attractive in that they are appropriate for their intended use. Switching rolls would cause your brain to recoil in abject horror, never mind the dinner table crumpling under the weight of a light lunch.